
Pedidos
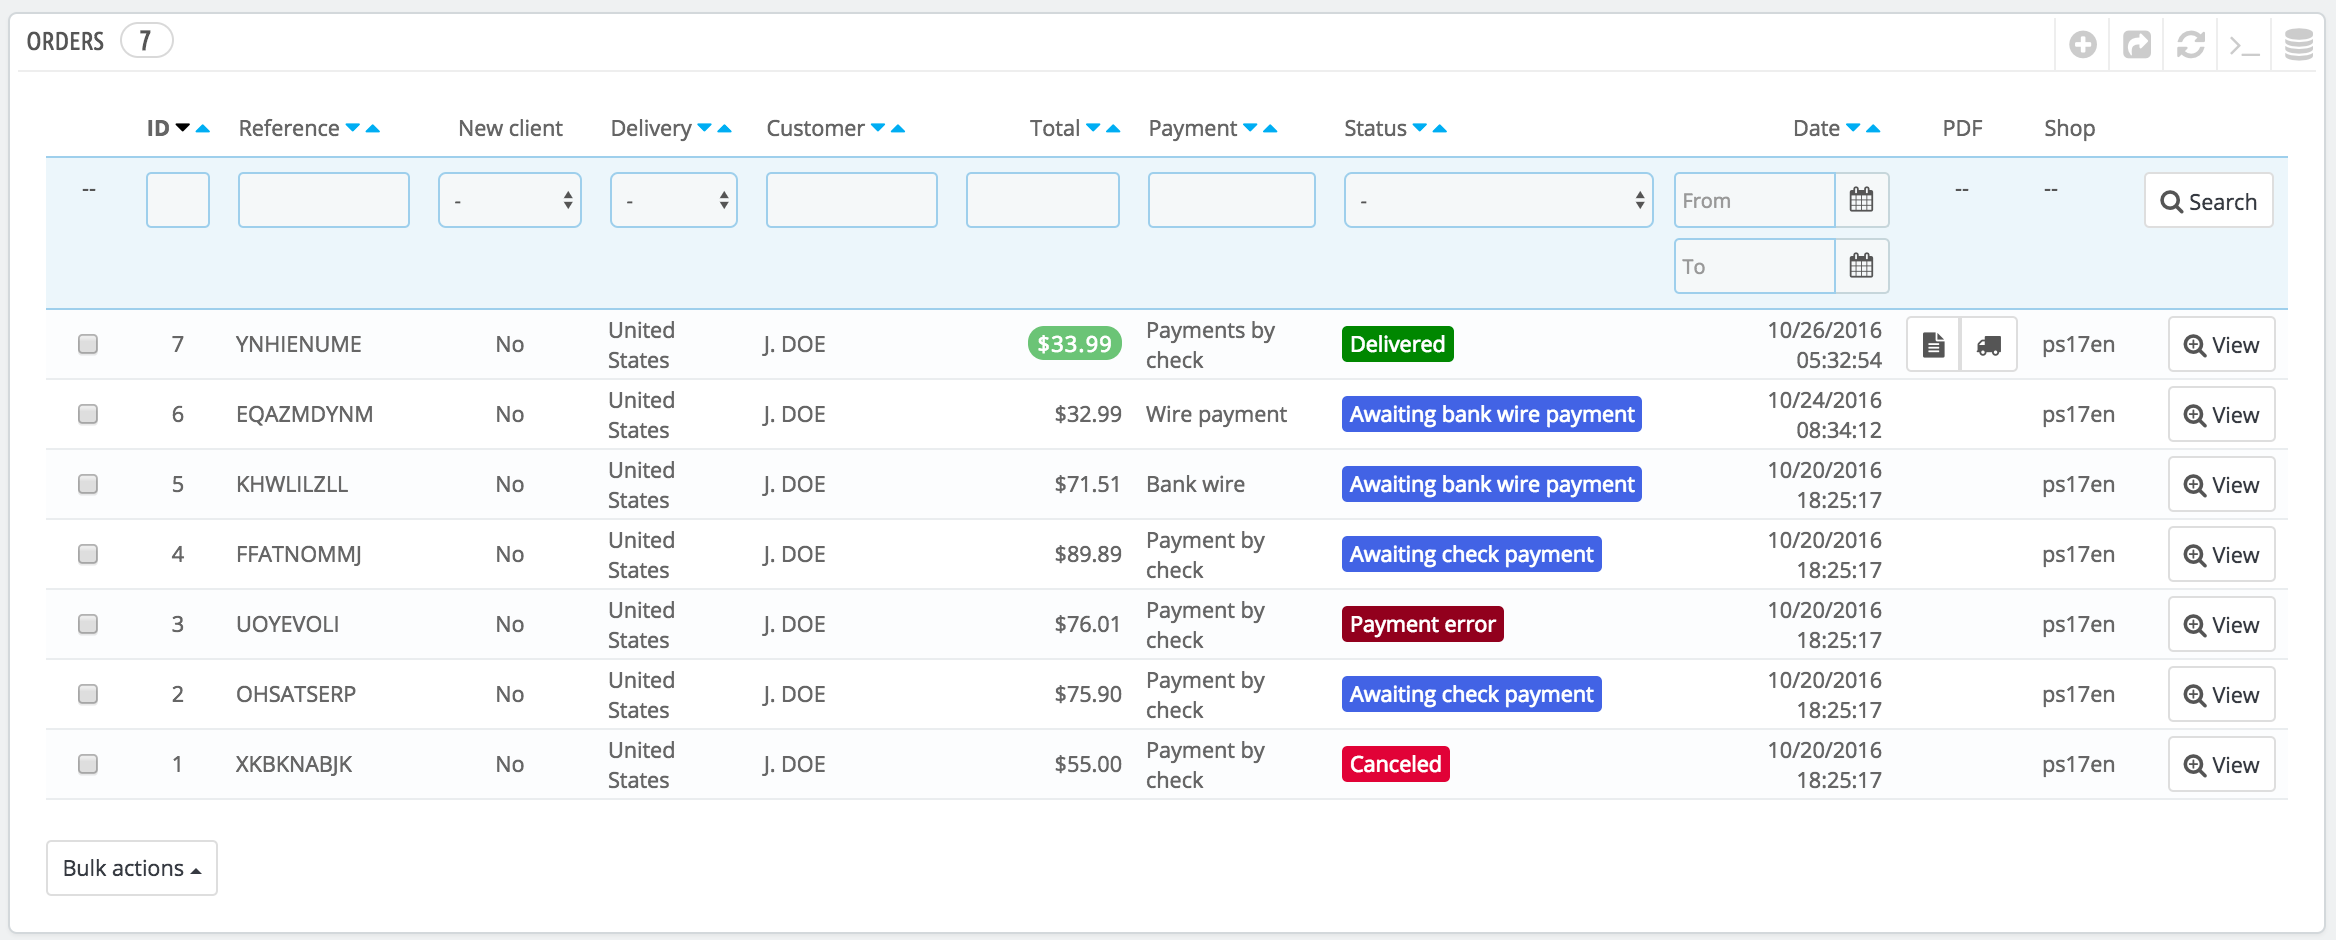
La página "Pedidos" bajo el menú "Pedidos" le permite ver toda la información de todas las ventas de su tienda. Todas las transacciones de su tienda están disponibles aquí, organizadas por fecha (por defecto, se encuentran ordenadas desde la compra más reciente a la más antigua).
Puede filtrar los resultados y encontrar fácilmente los pedidos que esté buscando utilizando los campos situados en la parte superior de esta página. Por ejemplo, para identificar los pedidos del Sr. Doe, teclee "Doe" en el campo "Cliente" y haga clic en el botón "Filtrar".
NO PUEDE ELIMINAR UN PEDIDO. En Europa está prohibido eliminar pagos o información y/o factura, almacenada por una empresa. Por lo tanto, la implementación de un botón "Eliminar" pedidos haría que PrestaShop fuera ilegal en Europa.
Puede exportar una lista de sus pedidos haciendo clic en el botón "Exportar" disponible en el menú de la barra superior.
No se puede importar pedidos.
Crear un pedido
Una de las grandes funcionalidades de PrestaShop es su capacidad de crear un pedido directamente desde el back-office. Por ejemplo, esto es tremendamente útil cuando un cliente quiere comprar un producto pero por alguna causa es incapaz de hacerlo, por lo que usted necesitará tomar el control de la situación y realizar el pedido por él mientras hablan por teléfono o durante una conversación por correo electrónico.
Al hacer clic en "Añadir nuevo pedido" se abre una nueva página con un único campo de texto, etiquetado como "Búsqueda de clientes". Al crear un nuevo pedido a través del back-office, la primera tarea consiste en asociar ese pedido con un cliente. Teclee las primeras letras del nombre, apellido o dirección de correo electrónico del cliente, y PrestaShop mostrará las coincidencias encontradas.
Si el cliente para el que tiene que crear el pedido no tiene ni siquiera una cuenta en su tienda, puede crear una sobre la marcha: haga clic en el botón "Añadir cliente" para abrir una ventana con los principales datos de la cuenta disponibles para rellenar. Una vez guarde la cuenta, ésta se convertirá en la cuenta seleccionada para el pedido.
Tenga en cuenta que también tendrá que registrar la dirección del cliente – un botón "Añadir nueva dirección" está disponible en la parte inferior de la página, en la sección "Direcciones".
Haga clic en el botón "Elegir" para seleccionar el cliente correcto, y aparecerá el formulario para completar el pedido. En su sección principal, "Carrito", es en donde tomará todas las decisiones necesarias para este pedido. También puede seleccionar un pedido previo realizado por el cliente, o un carrito abandonado por él/ella con anterioridad.
The page also enables you to see the previous carts and orders from that customer, if any. If it turns out you are dealing with a cart that a customer somehow cannot validate, you can use that cart for this order by clicking on the "Use" action button.
The "Search for a product" field enables you to dynamically find products to add: type the first letters of its name and PrestaShop will fill a drop-down list with matching products. Choose a product, select a quantity, and click "Add to cart" button. You can, of course, choose among the many combinations of a product, if any, in the "Combination" drop-down list that appears in that case.
Note that PrestaShop gives you an indication of the remaining stock for a given product, which enables you to tell the customer that you are out of stock for said product right from the order form.
If needed, you can also grant that order a voucher/cart rule, and even create one on the fly by clicking on the "Add new voucher" button.
Finally, you need to specify to which address the order should be delivery (and possibly billed). Here, again, you can create new addresses on the fly using the "Add a new address" button.
Viewing an Order's Details
In order to process the orders you receive, you have to view the information they contain.
From the Orders page, click on the line containing the order, or click on the button to the right of the order.
The order detail sheet fills a full page.
At the top of the page is a quick summary of the order: date it has been validated, total amount of money, number of customer service discussions about it, and number of products in the order.
The detail sheet of the order gives you access to:
- On the left, order information:
- The status and status history of the order.
- The shipping information: total weight of order and carrier chosen by the customer.
- On the right, customer information:
- Name and buying history.
- Private note, if any.
- Shipping and invoice addresses (with a rough location map using Google Maps).
- The method of payment that was used, the cost of the products, and the shipping costs.
- Various details on the ordered products.
Changing the order
Orders are not definitive. There are many reasons why you would need to change an order before its products are gathered, packed and sent to their new owner: one of the product is out of stock, the customer changed his or her mind, etc.
Adding a product
At the bottom of the "Products" list, you can find the "Add a product" button, which adds a field to the order.
When adding a product, the products table gets a new row added with a handful of fields. The first text field is actually a small search engine: type the first letters of a product to see a list of corresponding products. Select the one you want to add, and the grayed-out field of the row becomes available.
If the product has combinations, you can select it in a drop-down list that appears below the name: the unit price updates accordingly.
Set the quantity, and then click the "Add" button: the product is added.
You cannot add more product quantity than there is of available product.
Removing products
To cancel a product, go to the product list, and either delete the product by clicking on the "Delete" action, or by clicking on the "Edit" action if all you need is to remove some quantity of a product.
You can edit the quantity of many products at the same time.
If a product's quantity reaches 0, it is removed from the order altogether.
You cannot remove more than the quantity of product.
Click the "Cancel" button to cancel your edit.
Editing the order details
Many sections of the order sheet can be edited, enabling you to update or correct some of the data provided by the customer.
Order Status
The first drop-down list in the order page enables you to change its status. It is a very important part of the whole order monitoring process, as with each status change, new functionalities and documentation will be made available for the order.
You can choose between the following statuses:
- Awaiting bank wire payment.
- Awaiting Cash on Delivery validation.
- Awaiting check payment.
- Awaiting PayPal payment.
- Canceled.
- Delivered.
- On backorder (not paid).
- On backorder (paid).
- Payment accepted.
- Payment error.
- Processing in progress.
- Refunded.
- Remote payment accepted.
- Shipped.
In order to get a better view of the order's activity, every status change is recorded, and the log appears right above the status change drop-down list. Therefore, you should only change a status if it has been clearly confirmed: do not mark an order as "Delivered" when you have sent the package, use "Shipped"; do not use "Processing in progress" when in fact you have only taken a quick glance at the order, etc.
Since version 1.6.1.0, you can resend the email for a given order status to the customer. To send this email anew, click on "Resend email" next to the order status. If you have edited the order at some point, it will send an updated email.
Actions Buttons
The action buttons change depending on the order's status. For instance, once the order is in the "Delivered" state, the "Cancel products" is replaced by two new buttons: "Return products" and "Partial refund".
Product returns are not activated by default. To activate it, go to the "Merchandise returns" page under the "Customer service" menu, and activate the option in the option at the bottom of the page. This will apply to all products and all orders.
Standard refund. Available once the order reaches the "Payment accepted" status. Not available once the products have been sent.
To be used when you need to refund the totality of the order, and can be done as long as the products are still in your warehouse.
Click the "Standard refund" button and a new column will appear in the product list, titled "Refund". Set the amount and quantity for each of the affected products, choose one of the options at the bottom of the list (see below), and click the "Refund products" button at the bottom of the table.- Partial refund. Available once the order reaches the "Payment accepted" status.
To be used when you need to refund only part of the order and not the whole order, either because the customer returned the ordered product, or simply as a sign of goodwill for a damaged product that the customer chose to keep anyway.
Click the "Partial refund" button and a new column will appear in the product list, titled "Partial refund". Set the amount and quantity for each of the affected products, choose one of the options at the bottom of the list (see below), and click the "Partial refund" button at the bottom of the table. - Return products. Available once the order reaches the "Shipped" status. PrestaShop must be set to accept merchandise returns, which is in the Customer Service > Merchandise Returns page, with the "Enable returns" option.
To be used only when the customer has effectively returned products: once the returned product has been received, you can mark it as returned directly in the order form.
Click the "Return products" button and a new column will appear in the product list, titled "Return". Check the box of the affected products, indicate the quantity of items that were returned, and click the "Return products" at the bottom of the table.
When you set a product as returned or to be refunded, four options are available below the list of products:
- Re-stock products. When checked, PrestaShop will consider that the returned product is available for sale again, and will therefore increase the stock for this product. You should not click this when a product is returned due to it being broken...
- Generate a credit slip. When checked, a credit slip will be created for the selected items. A credit slip is an acknowledgment from your shop that merchandise has been returned and that a refund has been issued. The customer can then use it as a credit slip for his or her next purchase.
Generate a voucher. When checked, a voucher will be created for the amount of the selected items. A voucher takes the form of a discount code that the customer can enter during the checkout process.
You can edit the customer's existing vouchers by viewing the customer's page: from the current order's page, click on the customer's name in the "Customer" section; once in the customer's page, reach the "Vouchers" section. You can edit each voucher by clicking on the "Edit" icon.In PrestaShop, vouchers are part of a special kind of discount feature: "cart rules". They can be created and edited from the "Cart Rules" page, under the "Discounts" menu.
- Repay shipping cost. You can also choose to refund the shipping cost of the returned product, which is always an appreciated gesture.
If the customer paid the order using a credit card, the payment system should refund the cart automatically. If the order was paid using a check or a bank transfer, you have to issue the refund yourself, then mark the order as having been refunded manually in the back office (in the order's page).
Difference between a credit slip, a voucher and a cart rule
A credit slip is first and foremost a written proof that a product has been returned. Most of the time, the customer can use it as a voucher.
A voucher is a discount code which does not have to be tied to a merchandise return or a refund, and which can take more forms than a simple credit slip:
- A discount on an order (percentage).
- A discount on an order (amount).
- Free shipping.
You can apply a voucher to all customers, or a group of customers, or a single customer; you can set its expiration date.
A cart rule is basically an advanced version of a voucher:
- Name the discount.
- Allow the customer to use only a portion of the discount.
- Assign priorities between cart rules.
- Set the compatibility between cart rules.
- Have the discount only work with some carriers.
- Have the discount only work with a selection of products and/or categories and/or brands and/or suppliers and/or attributes... or all of these at the same time if necessary!
- Have the discount be applicable for free shipping and/or a discount on an order and/or a free gift... or all of these at the same time if necessary!
Documents
You can get many PDF documents out of the order page. When available, they are listed in the "Documents" section of the page.
By default, you can download the order itself as a PDF, by clicking on the "Print order" button on the left.
You can get an invoice for the order by clicking on the "Generate invoice" button from the "Documents" section. The invoice is also generated once you put the order in the "Payment accepted" status.
Once it is generated, the "View invoice" button below gets activated the top-bar.
You can customize the invoice layout: the PDF template files are located in the /pdf folder. These .tpl files are actually HTML files with Smarty tags for dynamic data. You can change the invoice's layout by editing the file named invoice.tpl.
It is possible to add a note to the invoice. In the "Documents" section, click on "Add note": it will add a message which will show on the invoice, below the tax table.
When you put the order in the "Processing in progress" state, a delivery slip PDF is generated, which you can then download from the "Documents" section.
Shipping
The shipping details of the current order can be partly edited. More specifically, you can change the tracking number and the carrier. In the "Shipping" section, click on the "Edit" icon: you will be able to change the shipping details according to your needs. The carrier can be changed as long as the order hasn't been shipped yet.
Shipping Address
The "Shipping address" section enables you to edit the destination address of the package your team is about to send. You can either use the drop-down list to choose another of the addresses that the customers has already registered on your shop, or you can use the "Edit" icon to edit the currently chosen address.
If you need to send the package to an address that is not already registered in PrestaShop, you must first create it. To do this, go to the "Customers" menu, open the "Addresses" page, and click the "Add new address" button. Do not forget to put the correct e-mail of the customer, as this is the way PrestaShop will know to associate that new address with your existing customer! Once done, go back to the order's page, and change the address using the drop-down list.
Note that a small map enables you to visualize the destination of the package on Google Maps.
Invoice Address
The "Invoice address" section enables you to edit the payment address of the order. Just as for the shipping address, you can either choose the drop-down menu to choose another of the addresses that the customers have already registered on your shop, or you can use the "Edit" icon to edit the currently chosen address.
If you need the payment to be tied to an address that is not already registered in PrestaShop, you must first create it. To do this, go to the "Customers" menu, open the "Addresses" page, and click the "Add new" button. Do not forget to put the correct e-mail of the customer, as this is the way PrestaShop will know to associate that new address with your existing customer! Once done, go back to the order's page, and change the address using the drop-down menu.
Discount
In the "Products" section, at the bottom of the products listing, you have the "Add a new discount" button. This creates a simple discount, not as advanced as the vouchers/cart rules system but still useful.
Clicking it will open a new form, with the following items:
- Name. Give the discount a short name. This will be public to the customer.
- Type. Choose the discount type: "percent", "amount" or "free shipping".
- Value. For the "percent" or "amount" types, set the value of the discount.
- Invoice. Select to which invoice from this order this discount should be applied. When there is more than one invoice, you can check the box to apply the discount to all the invoices.
The discount will be applied to the total before the shipping costs.
Attaching a message to the order
In the "New Message" section, on the right of the page, you can attach a comment on the order for your team.
You can also send this comment to the customer, in order to give him or her information concerning the order, a delay, a surprise, or keep him or her informed about offers and specials. This is a key point of customer relationship.
Choose a standard message. In case you are sending a message to the customer, you can select a pre-written message. Pre-written messages can be saved and used multiple times, saving you the hassle of writing them over and over again. If you would like to send one of these messages, select it from the drop-down list. You can then add further details to the pre-written message if needed.
You can create more pre-written messages using the tool in the "Order messages" page, under the "Customer service" menu.
Display to customer? This will determine whether the message is only visible to your team, or sent to the customer.
Message. In case you are using a pre-written message, it will display in the box. Otherwise, you can simply write your message there.
The message will be stored in the client's profile in your Customer Service database, which you can access either by going to the client's page, or to the Customer Service page. The message will also be sent to the client's e-mail address should you choose to.
Send message. Click this button to send your message to the customer or to save it for your team.
Show all messages. This link will take you to the "Customer service" page. This is fully explained in the "Managing the Customers Service" chapter of this guide