
Getting on board of PrestaShop
Od wersji 1.6.0.11 PrestaShopa każda nowa instalacja posiada domyślnie aktywowany moduł OnBoarding. Ten moduł został stworzony od podstaw, aby pomóc nowym użytkownikom na szybkie zapoznanie się z back-officem, przeprowadziwszy ich przez prostą personalizację do uruchomienia sklepu. Kolejne kroki pokrywają takie tematy jak dodawanie produktów do katalogu, konfiguracja metod płatności i wybór domyślnych opcji dostawy. Wszystko to odbywa się w przyjaznym dla użytkownika panelu.
Jeśli już znasz dobrze back-office PrestaShopa, to powinieneś wyłączyć ten moduł:
- Idź na stronę Moduły.
- Odnajdź moduł "OnBoarding".
- Wyłącz go.
Jak działa moduł
Nie można przegapić tego modułu: to pierwsza rzecz, którą widzisz na górze każdej strony back-office przez jej zawartością.

Od pierwszej chwili można zrozumieć jak działa moduł: w kilku krokach przeprowadza Cię poprzez ustawienia i ich opcje.
Naciśniecie "Let's start!" aktywuje cały proces, który można przerwać w dowolnym momencie i dokończyć później. Ten proces jest podzielony pomiędzy oknem, które znajduję się u góry stron back-officu, gdzie znajdują się instrukcje dotyczące kolejnych kroków, a głównym interfejsem strony, gdzie powinno się wykonywać powyższe instrukcje.
Krok 1: personalizacja twojego sklepu
Pierwszy krok pozwala Ci na spersonalizowanie Twojego sklepu. Można to uczynić dzięki instalacji nowego szablonu i dodaniu logo Twojego sklepu.
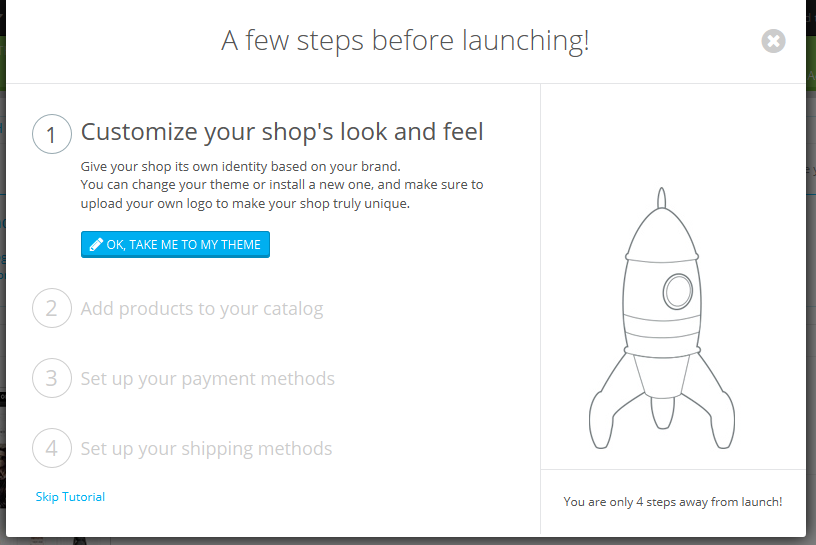
W tle moduł przenosi Cię z aktualnej strony na stronę ustawień Szablonów. Naciśnij ""OK, take me to my theme", aby ukryć okno modułu i pracować bezpośrednio nad szablonem: możesz zmienić aktualny szablon na ten, który jest już dostępny, albo pobrać nowy ze sklepu PrestaShopa: http://addons.prestashop.com/
Po zainstalowaniu i aktywacji nowego szablonu, powinieneś spędzić nieco czasu w ustawieniach Szablonów, aby określić wszelkie dostępne opcji i upewnić się , że są one poustawiane tak, jak chcesz.
Kiedy skończysz personalizować sklep, naciśnij na przycisk modułu "I'm done, take me to the next step", aby przejść dalej.
Krok 2: Dodawanie produktów do katalogu
Drugi krok przeniesie Cię do serca Twojego sklepu: produktów, które sprzedajesz.
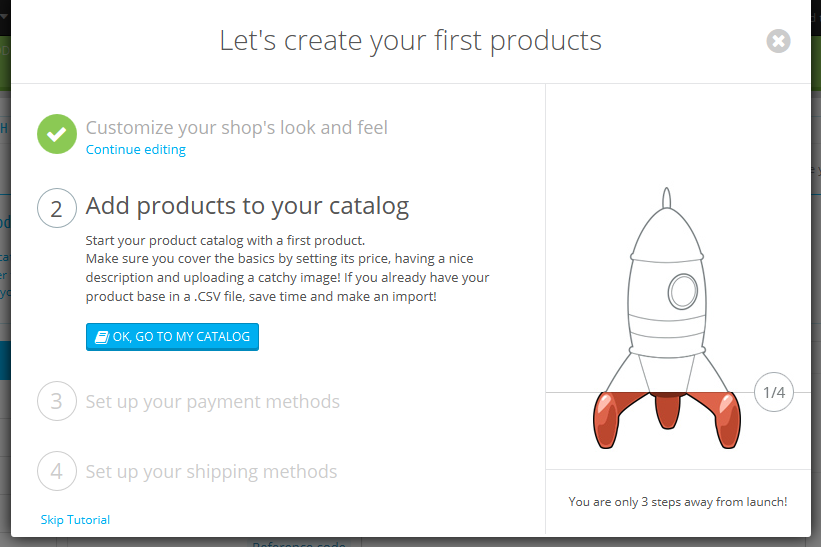
Naciśnij "OK, go to my catalog", aby zniknęło okno modułu. Strona back-office przedstawia obecnie formularz produktu. Przejdź przez dostępne pola oraz dostępne zakładki po lewej i nie krępuj się naciskać na przycisk pomocy, aby dowiedzieć się więcej o możliwościach, które oferuje PrestaShop
button to make the module's window disappear. The back office page is now the product creation form. Follow through the available fields and various tabs on the left, and do not hesitate to click on the Help button in order to learn more about all the possibilities the PrestaShop offers.
Create several products, even fake ones, in order to get a good feel of how the interface works. Then, once you are confident with your knowledge, create your real products.
When you are done with creating products, click on the module's "I'm done, take me to the next step" button.
Step 3: Setting up your payment methods
The third step is an essential one: if you do not set your payment methods, you will NOT receive payment for your products sold!
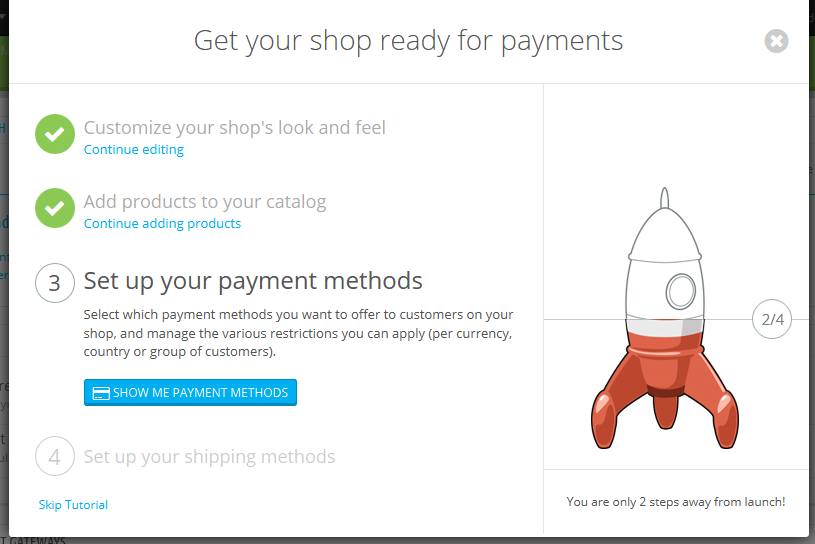
Click on the "Show me payment methods" button to make the module's window disappear. The back office page is now the Payment settings page. It presents you with several payment methods.
The ones available by default do not require an account, but mean that shipping will be delayed until you have verified payment: bank wire and payment by check both require you to manual check the payment and validate the order.
PrestaShop recommends several payment methods on this screen, which are in effect modules that you can install. The ones presented are secure, well-known and supported by PrestaShop. They also depend on where your shop is installed: an American seller will not get the same methods as a Polish one. Choose the one with which you already have an account, or with which you wish to work with, and configure the module with your account information. You can have as many payment methods as needed.
Further below that screen, you can set payment restrictions based on currency, customer group and country. Choose wisely, as these restrictions can prevent customers from using a given payment method, or even from buying from your shop altogether!
When you are done with setting up your payment methods, click on the module's "I'm done, take me to the next step" button.
Step 4: Set up your shipping methods
The fourth step is also an essential one: if you do not set your shipping options, you have no way to make customers pay for shipping. If you are only selling digital products (PDF, etc.), then it makes sense not to have a shipping partner, but if you do sell real products, you have to indicate who your shipping partner is.
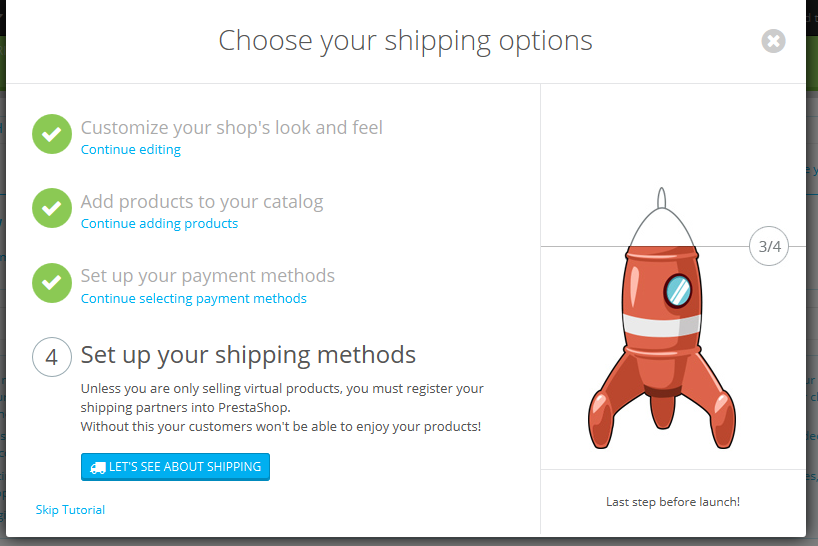
Click on the "Let's see about shipping" button to make the module's window disappear. The back office page is now the Carriers settings page. It presents you with two options: adding a carrier yourself, or using a carrier module.
If you are only selling digital products, click on "Skip tutorial".
Adding a new carrier is done through a handy wizard of its own, which will help you set everything up: name, transit time, shipping locations and costs, size/weight limits, etc.
You might prefer to use a faster way and install a carrier module. A few are listed by default on the main page, but you find more on the "Modules" page. Install the one with which you have a contract, and configure the module with your contract information.
When you are done with setting up your shipping methods, click on the module's "I'm done, take me to the next step" button.
All done!
You're (mostly) done!
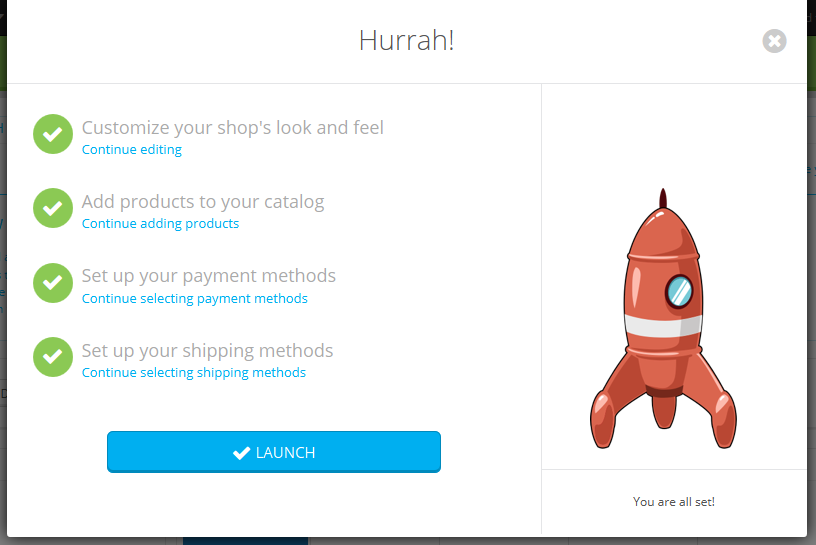
You have gone through all the essential steps in configuring your shop. There are many other steps, but those are necessary for selling on the Internet.
Clicking the "Launch" button will end the module's instructions, and will give you the animation of the rocket rising in the sky!
Before you put your shop out of maintenance mode and make it available to everyone on the Internet, you might want to wait a bit and check all the other preference pages in the back office, making sure that they are all set the way you want them to. If so, do not click on "Launch" and click on the cross button in order to close the module's window.
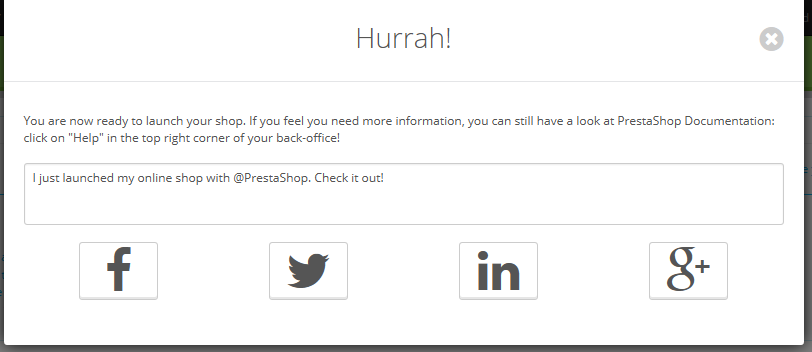
Once you have it all set, go to the Maintenance preference page and enable your shop. Done! Good luck with your online endeavors! Start them by promoting your shop: share your launch on social networks using the final window of the module.
Once you are done, the module does not appear anymore in your back office.