Debe invertir gran parte de su tiempo en asegurarse de que cada apartado de su futura tienda en línea se encuentra correctamente configurado, asegurado, validado y preparado antes de iniciar la apertura de su negocio a través de Internet.
Aunque PrestaShop facilita en gran medida la instalación y creación de su tienda online, no es posible que pueda empezar a vender productos a los 5 segundos de haber completado la instalación: debe ser consciente de que va a tratar con productos, clientes, y (lo más importante) con dinero real que fluirá desde sus clientes a su cuenta bancaria. Por todo ello, le pedimos que se asegure de que nada falle en el proceso de validación de un pedido, teniendo en todo momento localizados los productos en su almacén, y que siempre compruebe que el pedido ha sido enviado y entregado a su cliente sin que se haya producido ningún error, e incluso que ningún imprevisto haya sucedido sin su conocimiento.
PrestaShop es una herramienta muy completa, y el abanico de posibilidades que tiene puede parecer abrumador. Este capítulo le muestra algunas acciones básicas que debe realizar en su tienda antes del gran lanzamiento. Muchas otras acciones pueden efectuarse antes de la apertura de su tienda, pero los pasos descritos aquí son esenciales..
Consideraremos que todavía está dentro de la primera hora después de la instalación de PrestaShop, utilizando PrestaShop en el modo de una tienda individual, predeterminado así por defecto.
Desactivar su tienda significa asegurarse de que nadie puede acceder a ella mientras se encuentre realizando modificaciones, creando productos, estableciendo precios e impuestos, instalando módulos de pago o un nuevo tema, estableciendo transportistas.... Esta acción es denominada "poner su tienda en modo mantenimiento".

En su back-office, diríjase a la página "Parámetros de la tienda / Configuración". Las opciones de mantenimiento se encuentran en la segunda pestaña y cuenta con tres simples ajustes:
Si ya ha configurado el tema utilizado por su tienda y añadidos sus productos, puede establecer su tienda en modo Catálogo. Esto significa que los clientes podrán navegar por las páginas de su tienda, pero no se les mostrará ningún precio, y no podrán añadir nada a sus carritos hasta que usted no desactive el modo Catálogo. Puede activar el modo Catálogo en la primera opción de configuración disponible en la página "Parámetros de la tienda / Configuración de Productos".
|
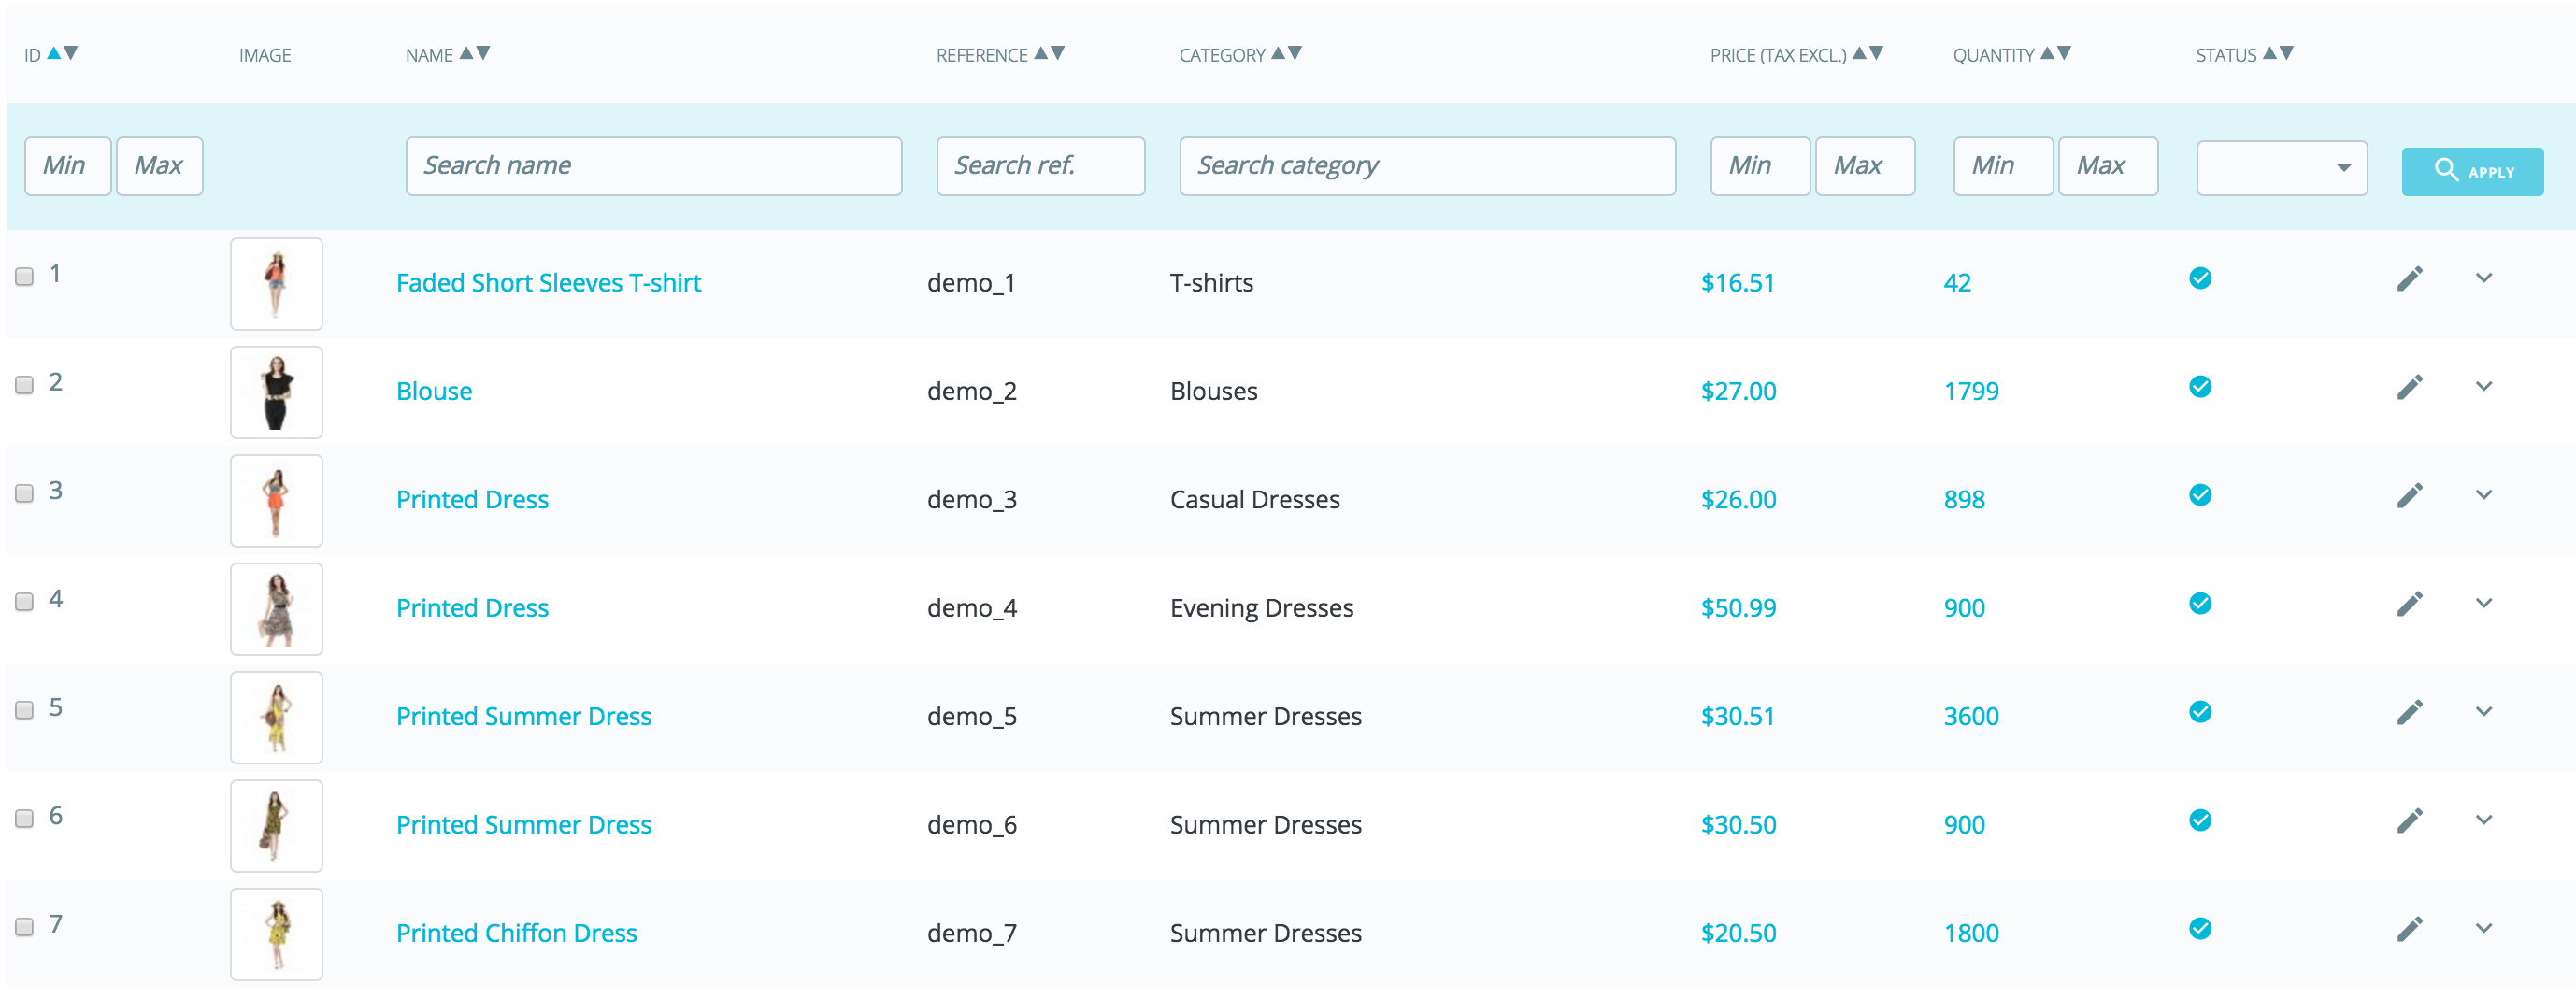
La instalación predeterminada incluye un puñado de productos – principalmente ropa de mujer. Su único uso es ayudarle a explorar la organización que tiene una tienda real. Después de haber aprendido los entresijos de las relaciones entre productos, categorías, pedidos y clientes, debe eliminar todos estos elementos para inicializar su tienda desde cero.

Por lo tanto, debe eliminar todos los datos predeterminados incluidos en la tienda, lo que incluye:
Esto significaría el tener que navegar a través de varias pantallas del back-office y eliminar el contenido de una página tras otra, pero hay una manera mucho más sencilla de realizar este proceso:
NO HAY VUELTA ATRÁS. Asegúrese de sólo hacer clic en estos botones tan sólo si tiene la intención de limpiar su base de datos a partir de su contenido por defecto.
Ahora que tiene una tienda limpia gracias a la reinicialización de datos realizada anteriormente, puede comenzar a configurar todo a su gusto, comenzando por su información personal y sus preferencias.
Debe prestar atención a los siguientes ajustes, la mayoría de los cuales son importantes, ya que se muestran en el front-office, y por tanto también, a la vista de sus clientes.
Algunos de estos ajustes requieren modificar la configuración de un módulo, en lugar de realizar cambios en las preferencias de Prestashop Configurar un módulo es fácil:
Debe leer la documentación de cada uno de los módulos aquí presentados, para obtener mayor información. |
Ajuste | Descripción | Dónde encontrar esto |
|---|---|---|
Nombre de la tienda | Define su marca, principalmente en los motores de búsqueda (Google, Yahoo!, Bing...). | Menú "Parámetros de la tienda", página "Contacto", pestaña "Contactos de la tienda", A continuación, en la sección "Destalles de contacto", haga clic en el campo nombre de la tienda. |
Logo de la tienda | Define su marca visual. El logotipo predeterminado reza como "Classic", que es el nombre del tema predeterminado. | Menú "Diseño", página "Tema y Logotipo", sección "Su tema actual", a continuación sustituya las diversas imágenes predeterminadas por su logotipo. |
Moneda predeterminada de la tienda | La moneda predeterminada que desea establecer para el coste de sus productos. | Menú "Internacional", página "Localización", sección "Configuración". |
Información la tienda | Varios bloques que presentan el número de teléfono de su tienda, su dirección de contacto y la dirección de correo electrónico utilizada por su tienda. Éstos son mostrados en diveros lugares del front-office de su tienda. | La información procede del menú "Parámetros de la tienda", página "Contacto", pestaña "Contactos de la tienda", sección "Contactos de la tienda". Para desactivarla, consulte el módulo "Información de contacto". |
Carrusel de imágenes | El carrusel de imágenes presenta varias imágenes, que se desplazan una tras otra. Es una fuerte firma visual para su tienda y sus productos. Por lo general, se coloca en la parte central de la página principal. | Módulo "Carrusel de imágenes". |
Páginas | El contenido de las páginas estáticas, tales como "Sobre Nosotros", "Entrega", "Aviso Legal", "Términos y Condiciones de Uso", y "Pago seguro". Algunos de ellos tienen un contenido predeterminado, el cual debe adaptar a su negocio. Algunos otros están vacíos, y debe introducir su propio texto personalizado. Se muestra en la sección "Nuestra empresa" en el pie de página. | Menú "Diseño" menu, página "Páginas", Posteriormente, cree y edite cada página según las condiciones de su tienda. |
| Social networks | A block presenting several icons to follow your company on social media. It won't display by default, so make sure you enter your social media links on the module. | "Social media follow links" module. |
| Social media sharing | On each product page, 4 buttons to share the page's URL on social media: Facebook, Twitter, Google + and Pinterest. | "Social media share buttons" module. |
| Top menu | The top of the default theme uses a top menu to indicate categories that the visitor can go to, as well as links to other locations. | "Main menu" module. |
| Reassurance | On the product page, a block allows you to display some reassurance details. Use it to give some details about your return policy ("Free returns!"), your security policy ("Secured payments"), etc., so that visitors will feel it's safe to order from your shop. | "Customer reassurance" module. |
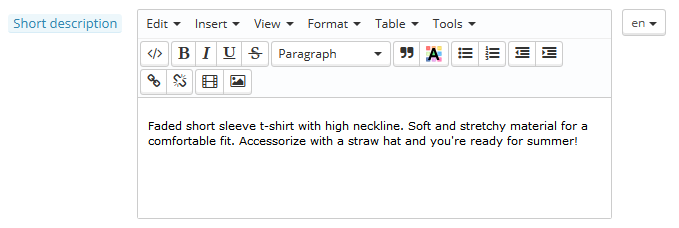
Homepage content | The default theme contains a lot of demo content: texts, images, links, etc. If you intend on using that theme for your own store instead of buying your theme, you should make sure to remove all the default content first. | "Banner" module: change the image at the bottom of the home page. "Custom text blocks" module: display your own messages at the bottom of the home page, below the banner. Other modules available in "Installed Modules", "Theme modules" section will help you define the various settings for your front office, make sure you check them all! |
| Legal compliance | Some countries require you to give specific information to your customers, regarding your various policies. The "Legal compliance" module is here to help. | Please read the "Complying with the European legislation" page to know more about the changes you should make. |
These are the most visible default settings on your front-end – at least with the default theme.
The "Where to find it" column enables you to see where you can find the interface to change these aspects of your store. This user guide will provide you with more details for each interface.
PrestaShop is able to work with many languages, both in the front office and the back office. As soon as more than one language is enabled in your back office, each back office text-field is accompanied with a language code selector, which indicates the current language, and which you can click in order to choose another language in which to write that field's content.

The product page is functioning a bit differently. You won't find a language selector for each text field, but rather a general language selector at the top of the page. Once you've selected a language you can then change the all the contents in this language. Make sure you're editing the right one! |
By default, PrestaShop is installed with two languages: the one used when installing the software, and the one attached to the default country at installation (if different). To manage the currently installed languages, go to the "Localization / Languages" page from the "International" menu. It presents you with a table of the available languages.

The currently enabled language(s) have a green check mark, while the others have a red cross. Click on a checkmark to disable the selected language; click on a cross to enable it back.
You can install and enable many languages if you think your shop needs them, but be aware that you will have to translate your content for all of the enabled languages: product names, descriptions, tags, category names and descriptions, static content (pages), module settings, etc. |
You can easily import many more languages in the "International / Translation" page ("Add/update a language), and then enable them in the "Localization / Languages" page.
Should you have people helping you with your shop (whether they are your family, your friends, or paid employees), you should make sure to create an employee account for each of them – if only to know who has performed which recent action. The other advantage is that you can give them specific profiles and specific access rights to the administration pages: for instance, you might not want everyone to have access to your statistics, your invoices or your payment settings.
You can create as many profiles as needed.
To create a new employee account, go to the "Advanced Parameters" menu, "Team" page, and click the "Add new employee" button. Give it a name, such as "Martin Doe" or "Shipping handler", and save.
An account can be used for as many people as needed – but we do advise you to create one for each helping person.
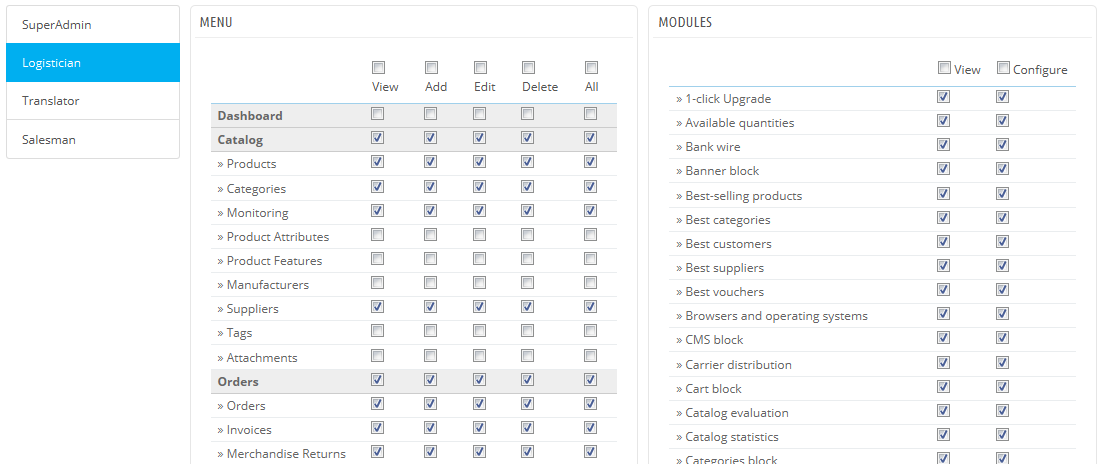
Now that you have a proper account for this employee, you should give that account specific permissions, tailored to the employee's tasks. By default, a new profile cannot do much. It is up to you to set exactly the parts of your shop to which that profile should have access. It can be a tedious task, but it is an important one.
To assign permissions to an employee account, you must use the "Profile" option in the account creation page: this menu lets you pick the account's profile (SuperAdmin, translator, etc.)
You can edit these permissions this way: go to the "Permissions" tab, and select the profile you want to change. A long list of permissions appears: edit them at will. Your changes are saved automatically.

Your shop is meant to earn money, and this can only become a reality if you use at least one payment module. Several modules are already available in the default install, which you can install and configure (from the "Installed Modules" page under the "Modules" menu, in the "Payments & Gateways" category), and create restrictions for them (in the "Preference" page under the "Payment" menu). Many payment modules require you to first set up an account on the service they were built for.
You can also install other payment modules, downloaded from the Addons marketplace: http://addons.prestashop.com/en/4-payments-gateways-prestashop-modules
Check and bank wire are the only two payment methods which are enabled by default. If you choose to keep them, you need to configure them with your information: check order and address, account owner, bank details (IBAN, BIC, etc.). These payment methods are configured through the "Wire payment" and "Payments by check" modules, which you can find in the "Installed modules" page. |
Products sold on your shop must be shipped to your customers – unless you only sell downloadable products, in which case the "Shipping" menu will be of little use to you.
Whether you are sending your products yourself by regular post office mail, or you have set up a contract with a carrier, you should set this information within PrestaShop.
See the "Managing Shipping" chapter of this guide in order to learn about shipping and carriers.
Merchandise return is not enabled by default. If you want to allow your customers to return products and get a refund or a voucher, you can do it in the "Merchandise return (RMA) options" of the "Merchandise returns" page, under the "Customer service" menu. |
Your shop should have its own theme in order to have a distinctive style, and therefore be more recognizable, separating it from the numerous other online shops.
There are many themes to choose from on the PrestaShop Addons marketplace: http://addons.prestashop.com/en/3-templates-prestashop.
You can also choose to create your own theme, or have it created for you by a developer. Refer to the PrestaShop Designer Guide for help.
Once your theme is installed, you should explore it fully in order to know it by heart and be able to help customers out of a situation. Read its documentation carefully.
You can and should customize some of the theme's aspects, most notably its logo in various situations (header, mail, invoice, etc.). This is done using the "Theme & Logo" page, which you can find under the "Design" menu.
PrestaShop comes bundled with more than a hundred modules. These are very varied: analytics, front office features, payment, shipping... You should explore the available modules in full, in order to know which ones you might want to enable, and which you'd rather keep disabled.
You can also find many other modules on the Addons marketplace: http://addons.prestashop.com/en/2-modules-prestashop
Every time you activate and configure a module, make sure that it does work well within the confines of your theme, in case its features impact your shop's front-end. |
This is described in details in the "Managing Products" and "Managing Categories" chapters.
If you haven't done this already, you should take the time to write the content for the various static pages which are either already available in your PrestaShop installation, or ones that you feel are needed.
Some pages already exist, but their content should really be triple-checked, as they can have a lot of impact on your shop's legal status, among other things.
The default pages are "About Us", "Delivery", "Legal Notice", "Terms and Conditions of use", and "Secure Payment". Some of them have default content, which you should update; some others are empty, and you should paste your own text.
To edit these pages, go to the "Design" menu, click the "Pages" page, then choose the page you want to edit, or create new ones.
You can create as many pages as you feel are necessary.
Now that you have product categories and static pages, you should arrange them in a logical and compelling way in the top menu.
This is done using the "Main menu" module: go to the "Installed Modules" tab of the "Modules" page, type "menu" in the module search form, and you should find the module. Enable it if it is disabled, then configure it: remove the pages or categories you deem unnecessary, add other pages, and move the content around, until you are satisfied with your menu's hierarchy.
Now that all is set and done, you can finally open your shop to the public.
Go the "Shop Parameters / General" page, and change the two options in the "Maintenance" tab:
Your shop should now be fully ready to receive its first visitors... and take its first orders!