
The "Contact us" page on your store displays a contact form to get in touch with you. According to your customers' needs, their messages can be sent to different services so that the right person will handle the requests.
You can create multiple contact accounts to better dispatch their requests. For example: customer service, technical support, sales department, etc.
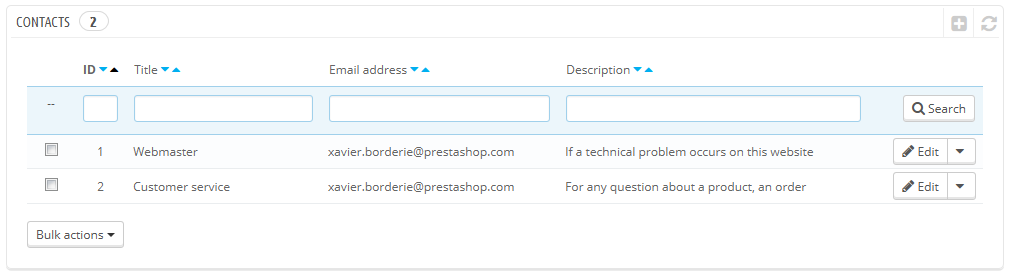
On the "Contacts" page, you can access the existing list of contacts. In order for the message to be redirected to the intended recipient, you must configure the contacts in your shop.
Creating a new contact
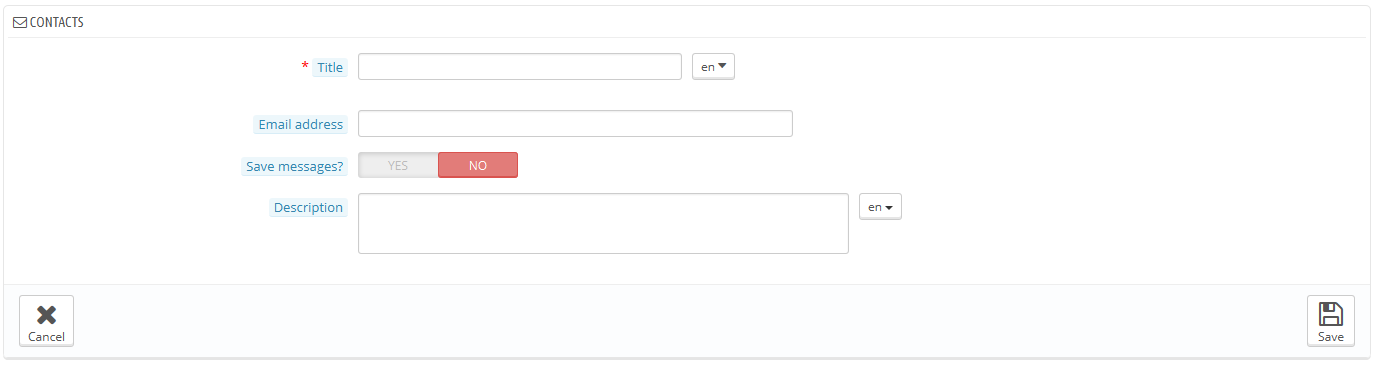
Click the "Add new contact" button to access the contact creation form:
- Title. The name of the contact: either a person's name or the name of the service itself. You could also choose to use a sentence, such as "I have a problem with my order", "I want to return a product" or "I want to become a partner". Indeed, this information is displayed in the "Subject" drop-down menu of the contact form, and this is what your customer will see when contacting you.
- E-mail address. The address can be the same as another contact. In fact, all contacts can share the same address if you don't really have a team – customers will never know, but having many contacts helps them trust your shop, as it means there are many people working for your shop.
- Save messages?. Indicate if the e-mail is to be saved in the "Customer Service" tool, or simply sent to the e-mail address. If disabled, PrestaShop will not help you handle customer service for this contact. This might be useful for "Partner e-mail", as you might not want your customer service employees to have access to these.
- Description. Make it short, no more than a single line, as it can be displayed to the customer in the contact form (depending on your theme).
How the customer can contact you
To contact the appropriate team of employees from your shop's front office, the customer clicks either on the "Contact us" link at the top of the page, or one at the bottom of the page. The contact form appears.
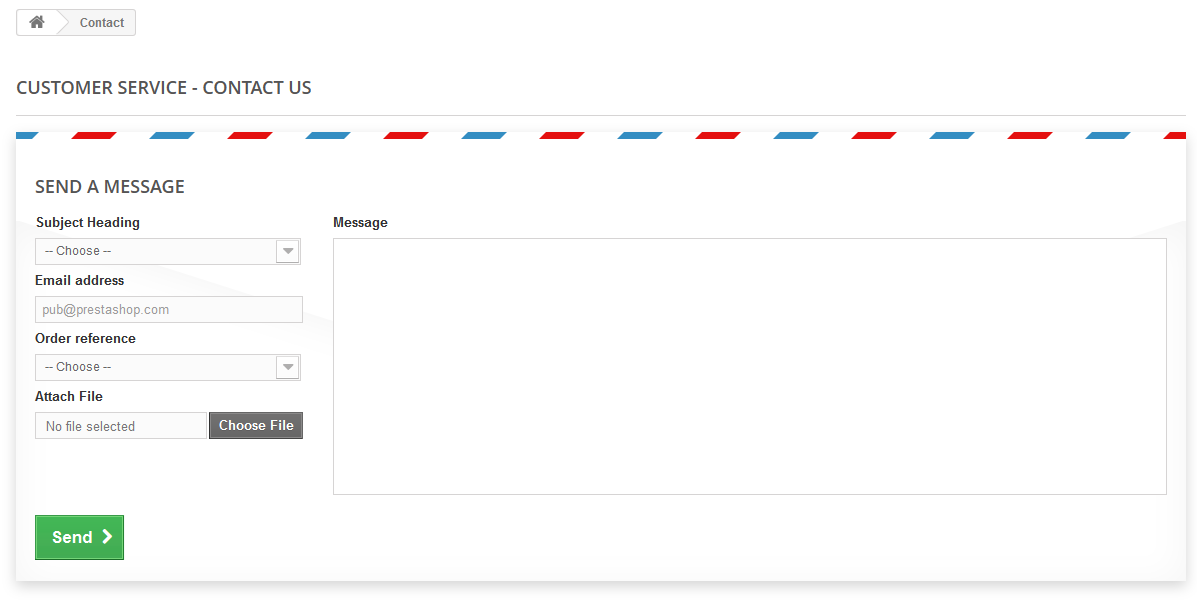
The customer is then asked to choose the service to contact, enter the e-mail address and then complete the message. A drop-down menu makes it possible to choose which order is being discussed, and even which product from that order.
The module "Contact Information" also allows you to display your contact details in the footer and the "Contact Us" page on your shop. Your contact details are managed in the "Stores" page.