
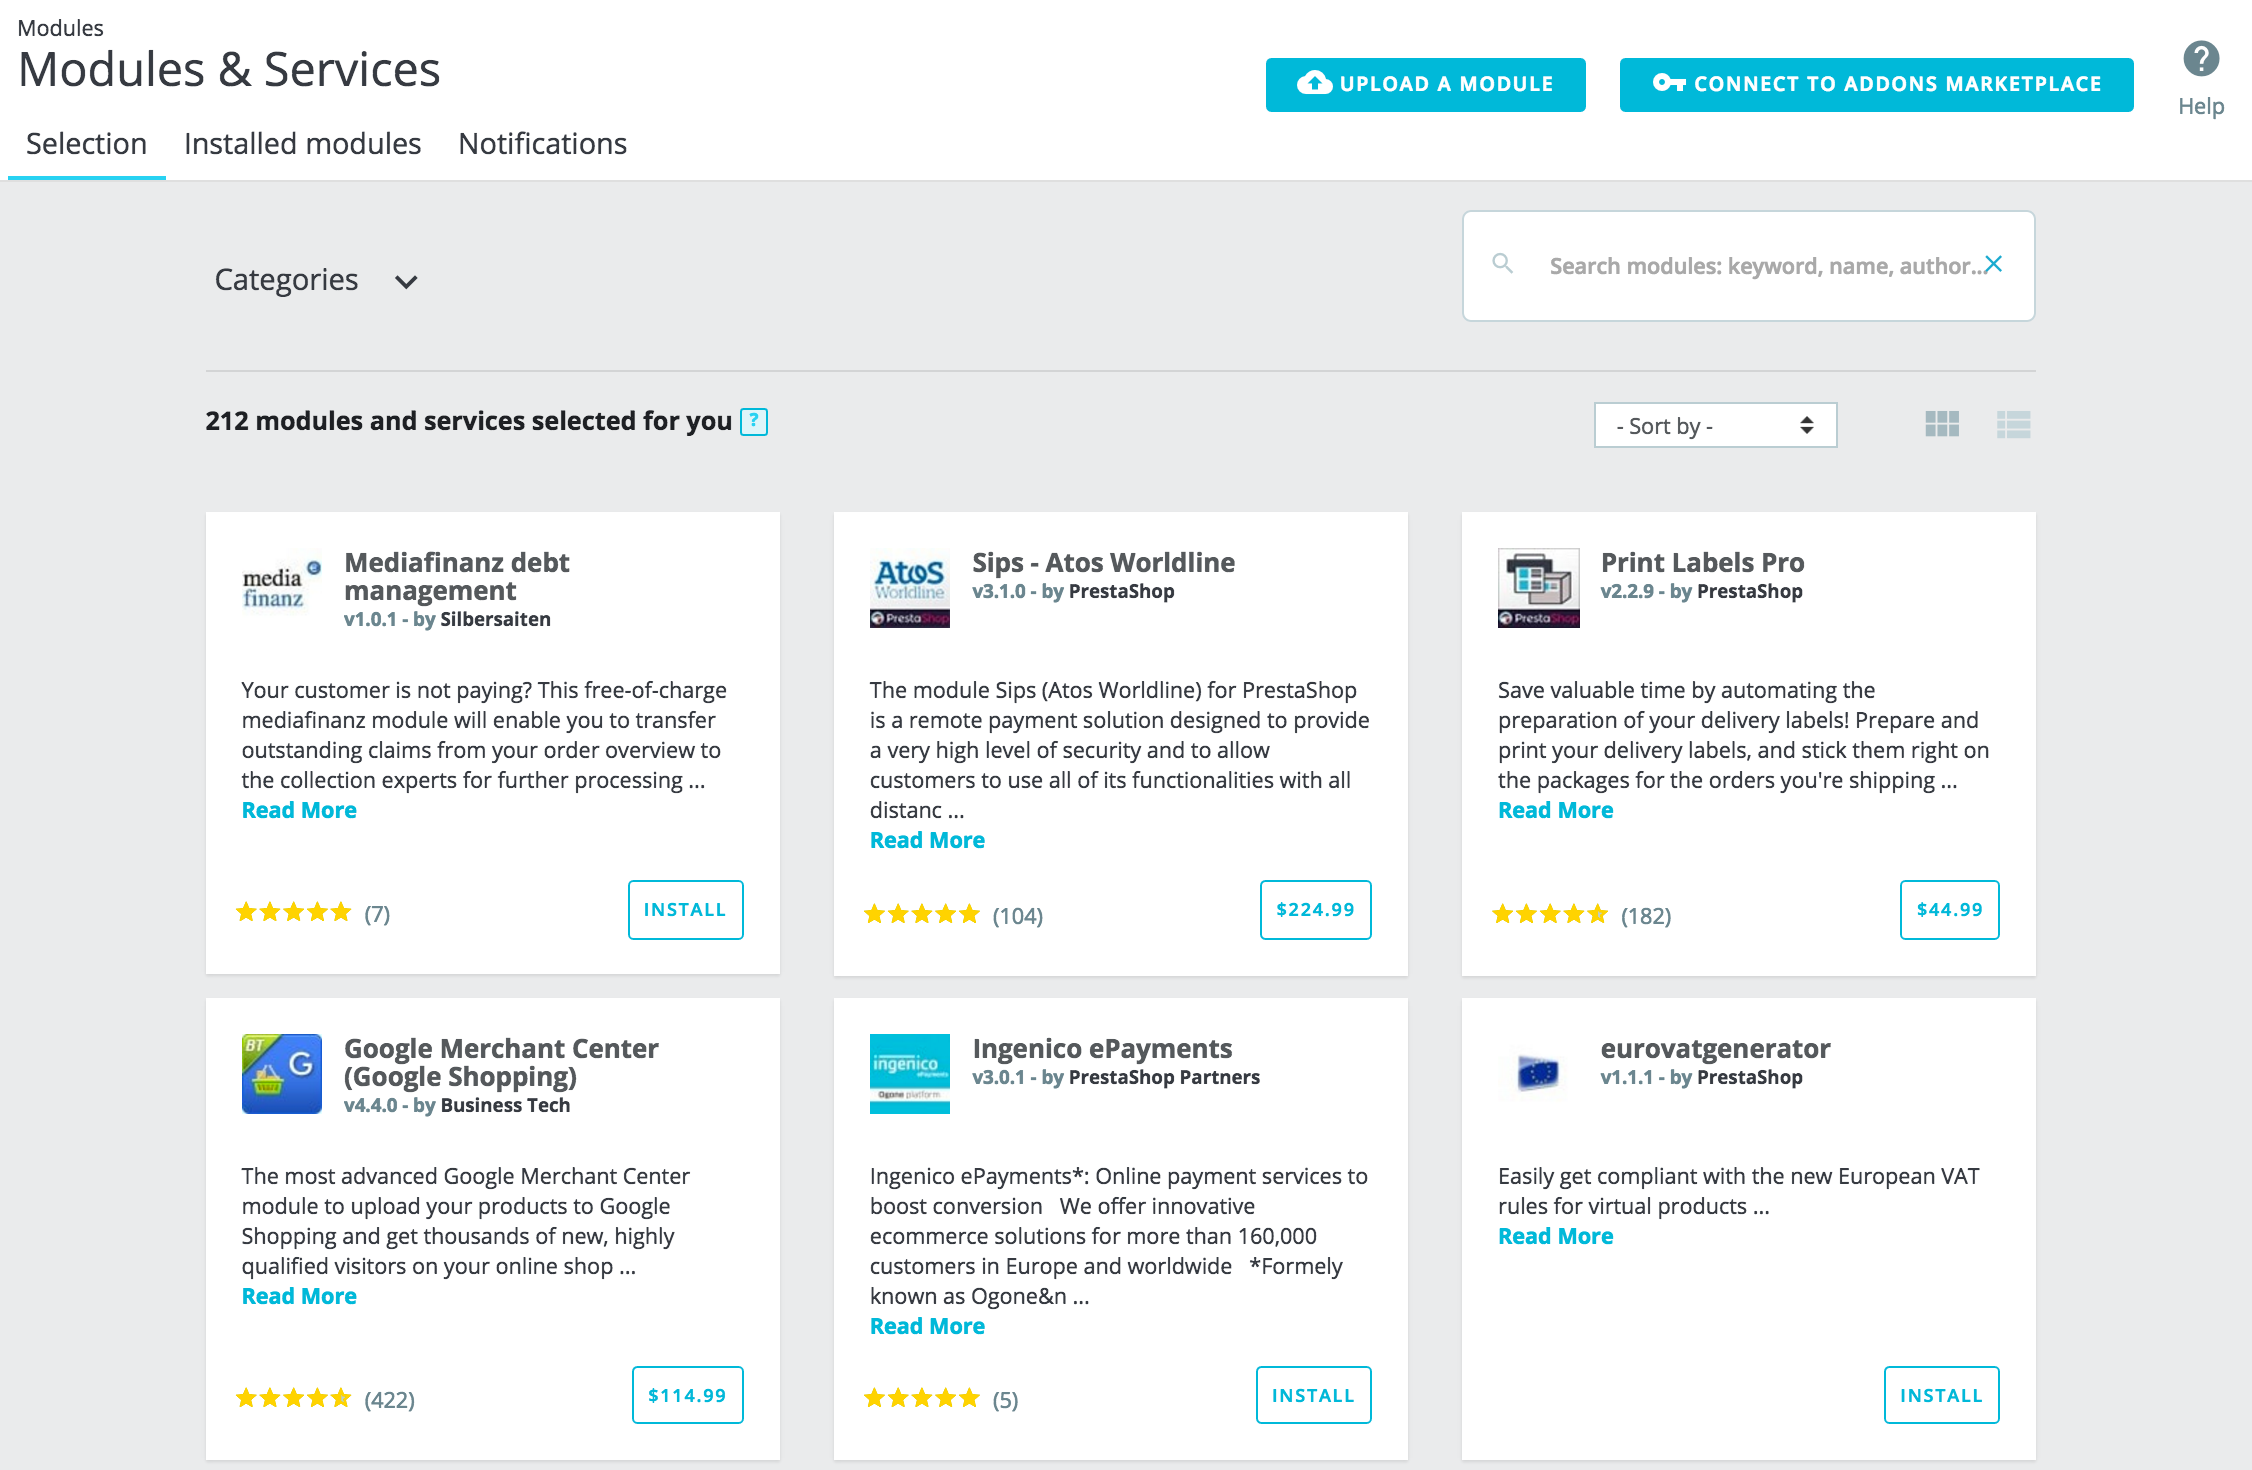
L'onglet “Sélection” permet de découvrir de nouveaux modules et services afin d'optimiser votre boutique. Vous trouverez une liste de tous les modules que vous pouvez installer (et non de ceux déjà installés).
La sélection de modules recommandés est basée sur votre pays, votre langue et votre version de PrestaShop. Elle inclut les modules les modules les plus populaires de la marketplace d'Addons et les modules partenaires gratuits.
Quelle est la différence entre un module et un service ?
Un module vous permet d'ajouter des fonctionnalités à votre boutique comme des nouveaux moyens de paiement, la synchronisation de l'inventaire et des commandes avec votre logisticien, un export pour rendre les guides de de shopping intelligents et de nombreux outils pour vous et vos clients. Les modules sont fournis avec un fichier qui doit être installé avec logiciel PrestaShop.
Au contraire, un service n'est pas tangible, vous n'avez rien à installer sur votre boutique pour que le service fonctionne mais vous devez signer un contrat avec le fournisseur de service. Le services sont identifiés à l'aide du bouton "Découvrir".
Rechercher un module ou un service
ISi vous rechercherze un module particulier pour répondre à un besoin spécifique, deux manières vous permettent de rechercher un module :
- Parcourir les catégories. En cliquant sur "Catégories", vous afficherez une liste de catégories : les modules sont organisés en catégories fonctionnelles, en fonction de la manière dont la boutique est optimisée. Souhaitez-vous améliorer sa navigation ou préférez-vous mettre en place de nouvelles actions marketing ? Une fois que vous avez terminé les nouvelles catégories, sélectionnez "Toutes les catégories" pour réinitialiser la sélection.
- Utiliser la barre de recherche. Si vous avez des besoins spécifiques, vos pouvez également saisir des mots-clés à droite de la page. Par exemple, si vous saisissez "newsletter", vous verrez tous les modules et services liés aux newsletters. Vous pouvez également rechercher des modules par nom de module ou par auter. Pour supprimer un clavier, cochez la case correspondant. Pour réinitialiser la rechercher, cliquez sur la croix bleue située à droite de la barre.
Vous pouvez utiliser la barre de recherche et les catégories simultanément pour affiner les résultats de votre recherche.
Si votre recherche ne renvoie aucun résultat, un lien vous invite à accéder à la marketplace Addons pour trouver plus de modules.
Filtrer les modules
En plus de l'option de recherche, vous pouvez également trier les modules afin qu'ils répondent mieux à vos besoins à l'aide des filtres suivants :
- Nom. Trier les modules par nom, de A à Z.
- Augmenter le prix. Afficher les modules en commençant par le moins cher. Les modules gratuits seront affichés en haut de la liste, ils seront triés de A à Z.
- Baisser le prix. Afficher les modules en commençant par le plus cher.
- Popularité. Trier les modules et les services en fonction de leur note sur Addons. Les modules intégrés sont intégrés suy do not have any rating available on Addons.
What is a built-in module?
Built-in (or native) modules are available within your shop from its set-up. Some are already pre-installed to help your shop running (you will find them in the "Installed modules" tab), while other are available in the "Selection" tab. You can choose to install it or not, depending on your needs. They cover the basics of e-commerce and come for free.
Displaying results
There are two options to choose from to display the list of modules.
- Card view. Each module is displayed in a card, providing more space for information display.
- List view. Each module is displayed in a row, allowing to display more modules at the same time. You will find the same information as the card view, except for the popularity
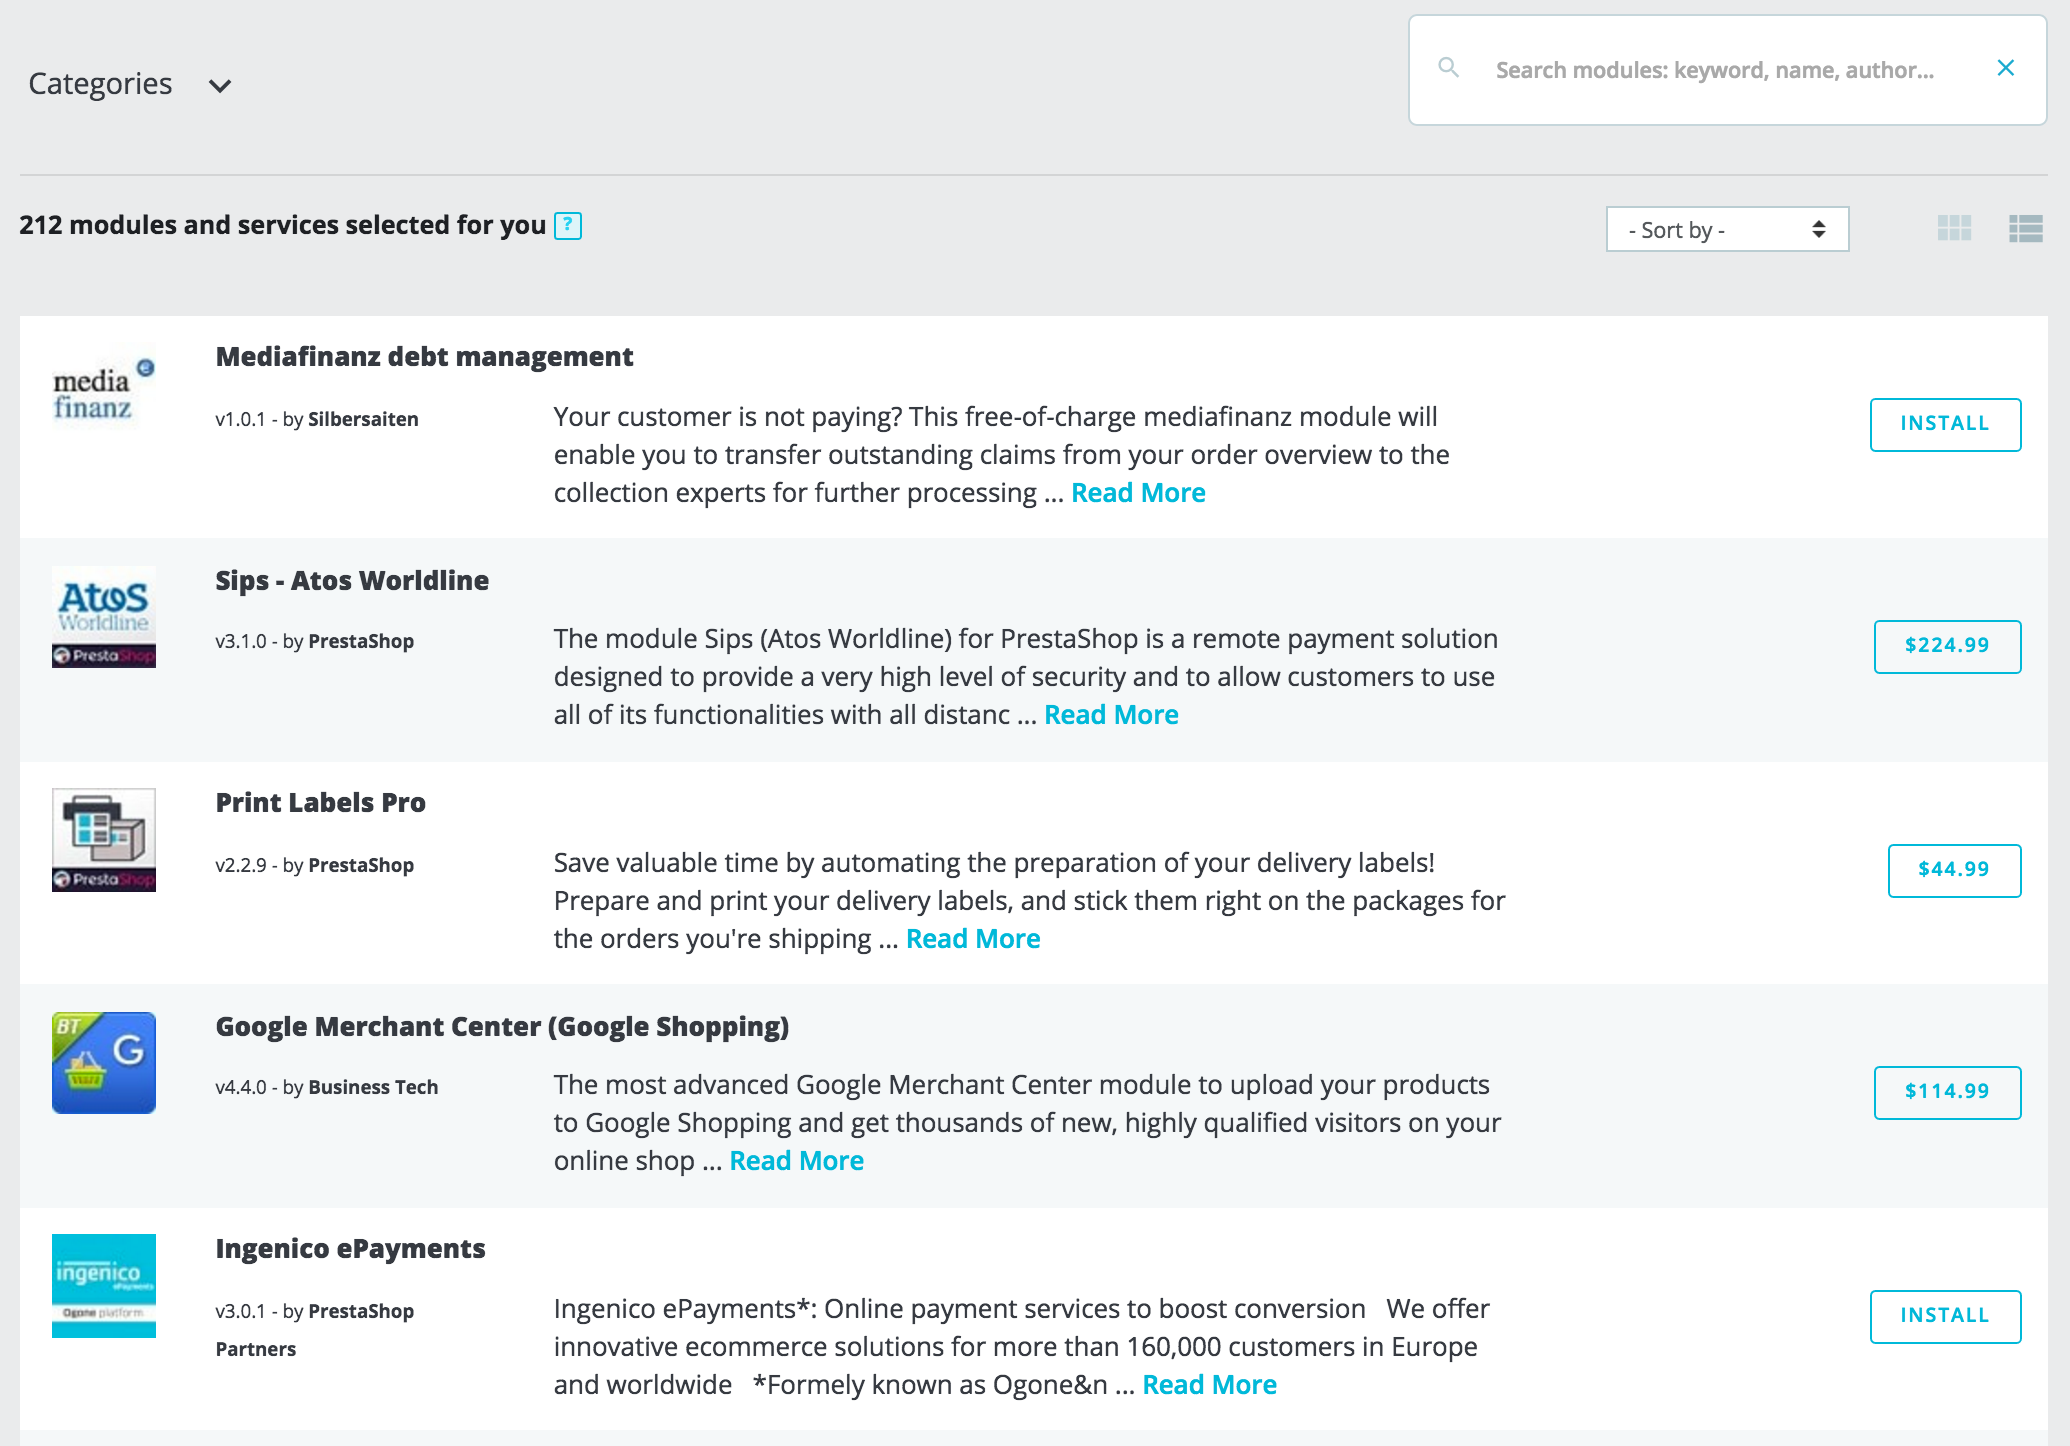
By clicking on "Read more" you will find more details on each module or service.
Modules and service information
Each module comes with a set of information to guide you in your choice.
- Module name. The name for the module.
- Module author. The author of the module.
- "By PrestaShop" is used for both built-in modules or for modules made by PrestaShop and sold on Addons marketplace.
- "By PrestaShop partners" identifies modules developed by PrestaShop's institutional partners, and they often come for free.
- "By Community developer" includes individual contributors or agencies from the PrestaShop community whose modules are available on Addons.
- Module version. The version of the module you would be installing.
- Short description. A short sentence to describe the module or service's purpose, and how it can help you
- Popularity. The rating of the module as available on Addons (out of five stars) and the number of ratings.
Read more
If the basic information is not enough for you to make a decision, you can click on "Read more" to have more details. A pop-up will open, with an image for the module (its icon or sometimes a screenshot) and several tabs. This information is provided by the module's author, therefore they can vary from one module to another in term of both quantity and quality.
- Overview. A short description of the module.
- Additional information. More detailed information.
- Benefits. What the module will bring to your shop.
- Features. Which features you can expect from the module.
- Demo video (optional). A short video presenting the module.
- Changelog (optional). A list of the novelties from the module's last version. What has been improved or added.
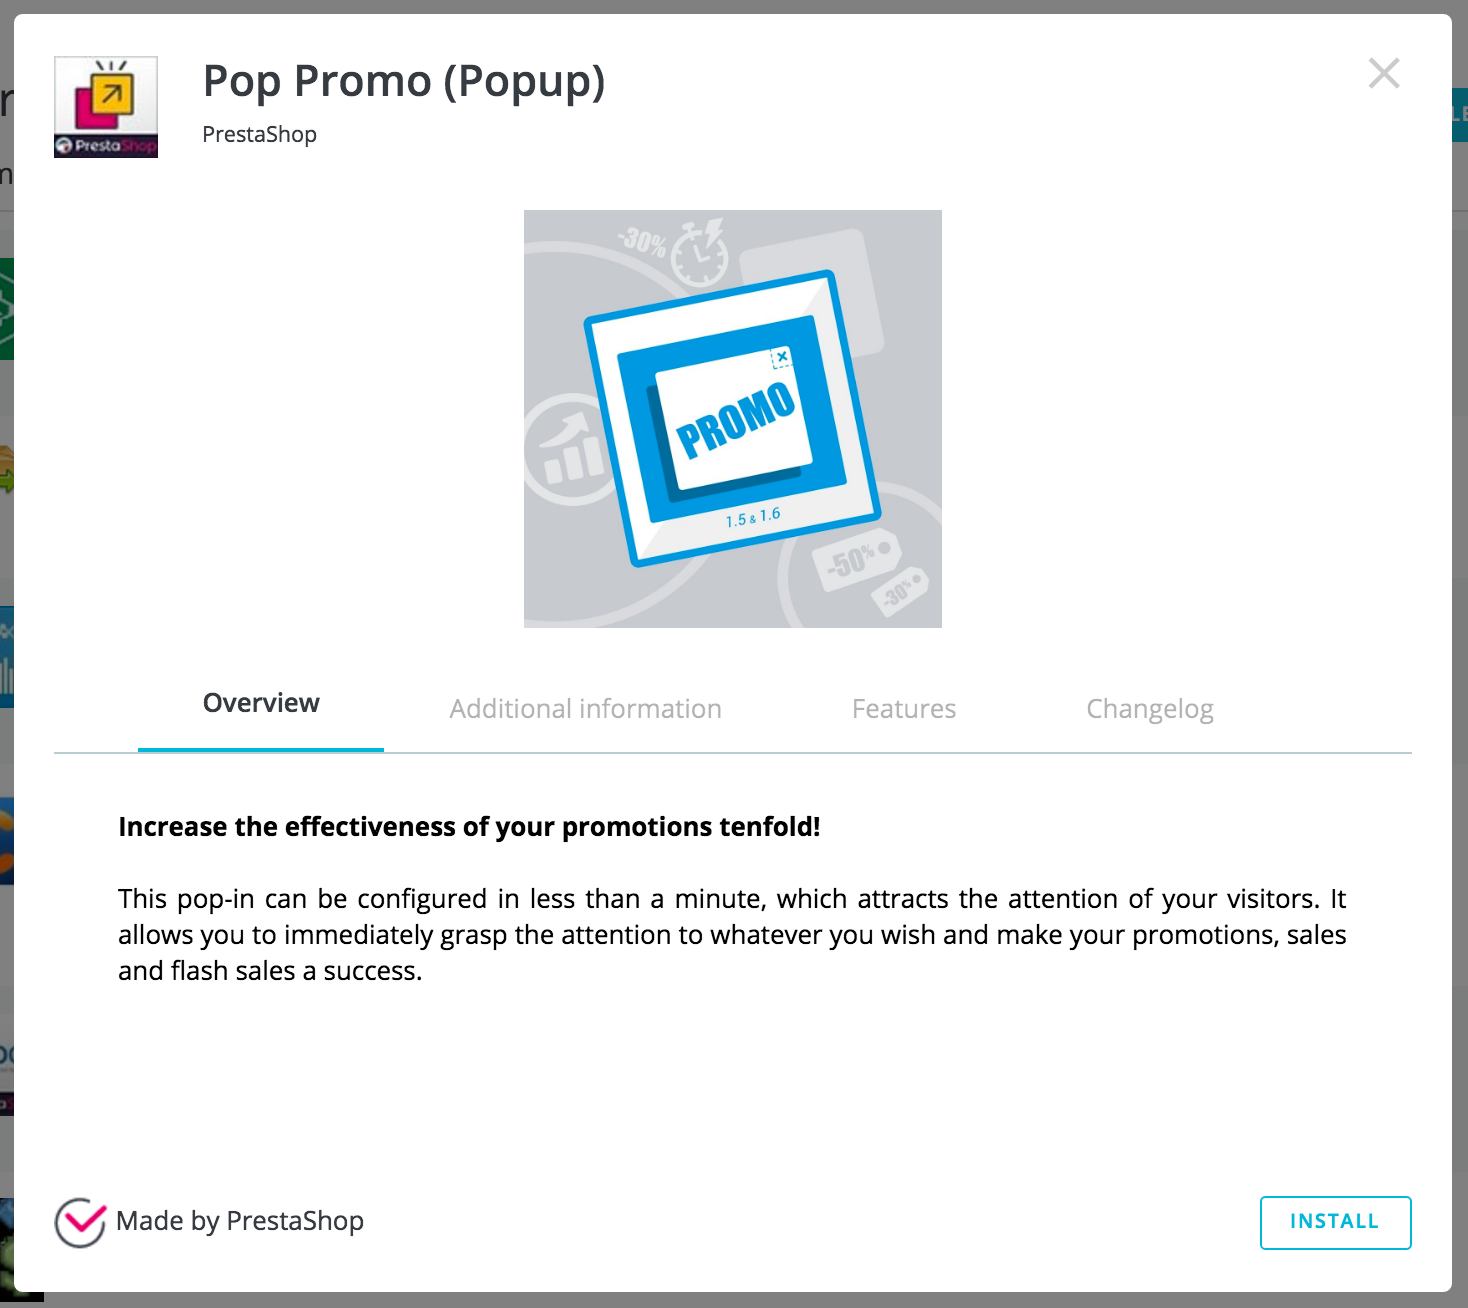
At the bottom of the pop-up window, some badge can appear:
- Made by PrestaShop. This module has been developed by the PrestaShop team.
- Official Partner. This module has been developed by a PrestaShop Partner or Partner agency.
- PrestaShop's Favorite. These modules have been rewarded by the PrestaShop team as particularly simple and useful modules!
Installing or purchasing a module
When you have chosen the module you need, depending on the type of module it is, you can perform three different kinds of actions.
- Install it. Free modules have an "Install" button. By clicking it, the module will get installed in your shop. Once installed, a new menu will appear to manage your module : you can configure, uninstall, disable, disable on mobile, or reset the module. Read more about these options in the "Installed Modules" section.
- Purchase it. For paying modules, instead of "Install", the button will display the price of the module. By clicking it, you will be redirected to the Addons page for the module, where you can complete the purchase. Don't forget to tie your shop to your Addons account to automatically retrieve the module in your shop!
- Discover it. Services display a "Discover" button. By clicking it, you will be redirected to the Addons page for the service, where you can subscribe to the service.
When you have installed a module, you will find it in the list of modules from the "Installed modules" tab, which is the next chapter.
Uploading a module manually
Once you have downloaded a module from the Addons online shop to your computer, it is up to you have it installed on your PrestaShop site.
If you haven't linked you store to your Addons account, there are two ways to install a module: either using the dedicated form or using your FTP client.
Installing using the upload form
To install a new PrestaShop module automatically, click on the "Upload a module" button at the top of the page. A pop-up window will open.
This block enables you to upload the archive file of the module, as downloaded from Addons. You can either upload a zip file, or a tar.gz one (tarball). Simply drop the module's file here, or browse to the file that you downloaded by clicking on "select file". Do not point to the module's uncompressed folder or any of its unpacked files: only the archive file!
Once the file is detected, the installation will start automatically: PrestaShop will upload the module from your computer to its server, unpack it, place the files in the correct location, and update the page, all this in a handful of seconds. PrestaShop will then display "Module installed!".

Modules are not installed by default: you still have to click the module's "Install" button, and then possibly configure its settings via the "Installed modules" tab.
Once the configuration is complete, be sure to test the module immediately to confirm that it works as planned.
Installing using an FTP client
You can also choose to install a module by yourself, using an FTP client.
To install a new PrestaShop module manually:
- Unzip (decompress) the module archive file (
.ziportar.gz). This should result in a new folder. - Using your FTP client, connect to PrestaShop web server, and place the unpacked module folder in PrestaShop's
/modulesfolder.
Pay attention NOT to upload that folder in another module's folder (which can happen when drag-and-dropping items). Upload both the folder and the files it contains, not just the files. - Go to your back office, in the "Selection" tab.
- Locate the new module in the modules list. You might have to scroll down; you can also use the list's search engine, which should give you a dynamically updated list of matching module names.
- In the row for the new module, click the "Install" button.
- Your module is now installed and should be activated too. If necessary, click on the module's "Configure" link. Also, pay attention to any warning message that might be displayed by PrestaShop.
Once the configuration is complete, be sure to test the module immediately to confirm that it works as planned.
Modules can come from many sources, and not all of them are reliable. This is why PrestaShop sometimes displays a warning window for "Untrusted" modules – that is, modules that have not been verified by PrestaShop through its Addons marketplace. This screen window lets you choose whether to proceed with the installation with no further notification or to stop the installation process.
Installing a native module or a module obtained through Addons will not trigger the display of this window.
Connecting to Addons Marketplace
PrestaShop Addons is the central marketplace where you can get new modules and themes for your store. Addons users are first-class citizens when it comes to managing modules! Indeed, once your installation of PrestaShop is tied to your Addons account, the modules you get on Addons will automatically be imported installed and updated! This is why it is highly recommended that you should link your store to your PrestaShop Addons account.
Don't have an Addons account?
Creating an account is free is easy. Click on the 'Connect to Addons marketplace" button, then click on the "Sign up now" link, which will take you here: https://addons.prestashop.com/en/login

From there you can create a new account and browse among all the modules and themes available on our Addons marketplace.
Already have an account?
If you already have an Addons account, click on the "Connect to Addons marketplace" button to open the login window.
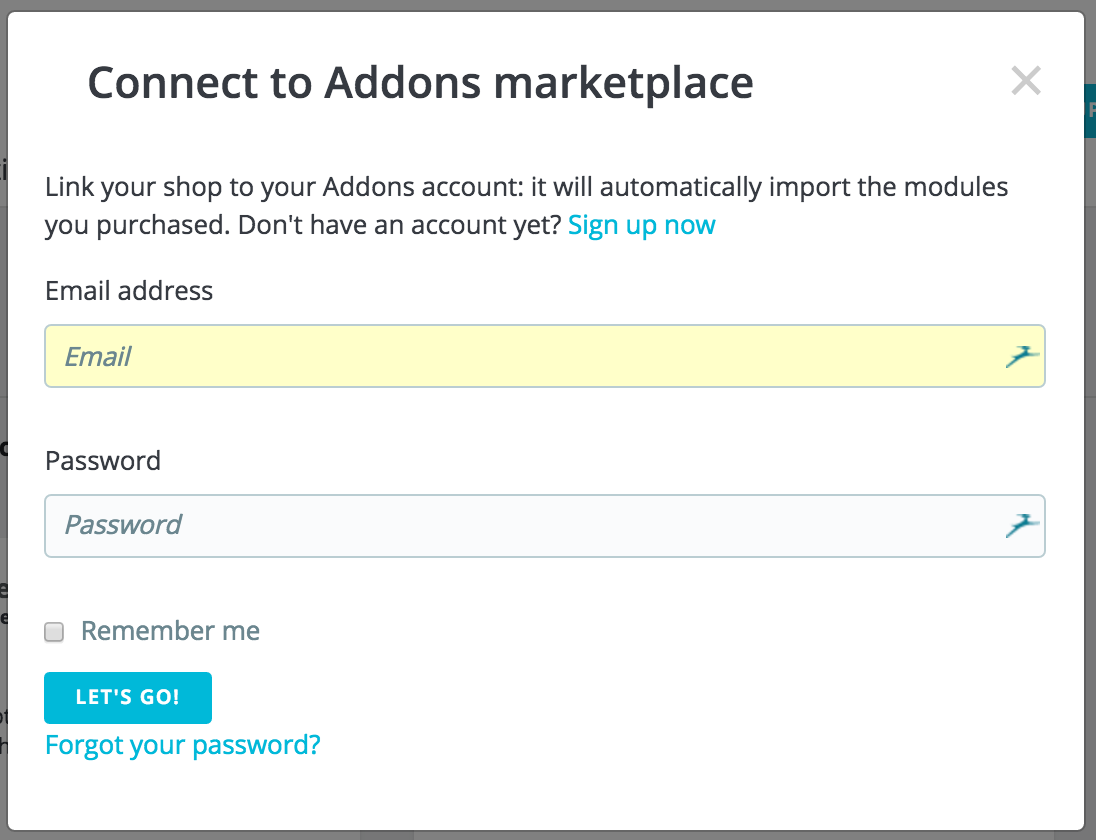
Enter your credentials, click on "Let's go": your installation of PrestaShop is now tied to your Addons account, and will start comparing your local modules with the ones that you got from Addons, making sure to keep each available and up to date!