
Templates Voreinstellungen
Auf der "Templates"-Seite können Sie effizient Ihre Templates verwalten.
Aktuelles Template
Der erste Abschnitt der Seite dient als Vorschau des Templates, das Sie gerade verwenden, mit seinen Details:
- Template-Name.
- Template-Version.
- Name des Autors, Website und E-Mail-Adresse.
- Miniaturansicht für das Template.
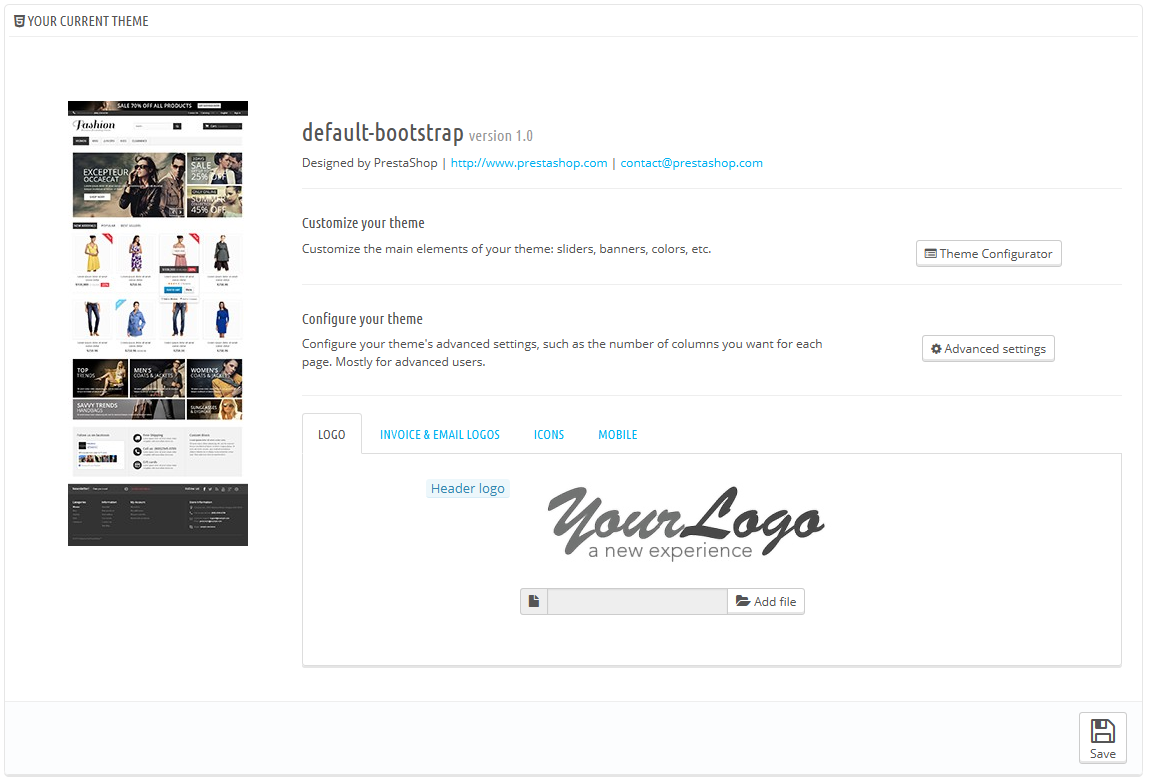
In diesem Abschnitt können Sie auch auf eine Handvoll von Tools zugreifen, die Ihnen helfen, das aktuelle Template schnell anzupassen: Logo der Kopfzeile, E-Mail logo, Rechnungslogo, Favicon, Shop-Symbol. In diesem Abschnitt finden sich folgende Funktionen:
- Template einrichten. Ein Link zum Template-Konfigurator(vorausgesetzt, dass das Template-Konfigurator-Modul tatsächlich installiert und aktiviert ist).
- Erweiterte Einstellungen. Ein Link zu den erweiterten Einstellungen des Templates.
- 4 Registerkarten mit Optionen für das Erscheinungsbild des Templates:
- Logo. Das Logo, das auf allen Seiten Ihres Shops angezeigt wird.
- Logos für Rechnung und E-Mails. Die Logos, die jeweils auf Rechnungen und deren E-Mail-Benachrichtigungen Ihres Shops angezeigt werden.
- Icons. Favicon Ihres Shops (wird in der Adressleiste des Browsers angezeigt) und Ihr Warenlager-Icon(für den Einsatz auf der Shop Karte als Indikator, wo ein Geschäft ist).
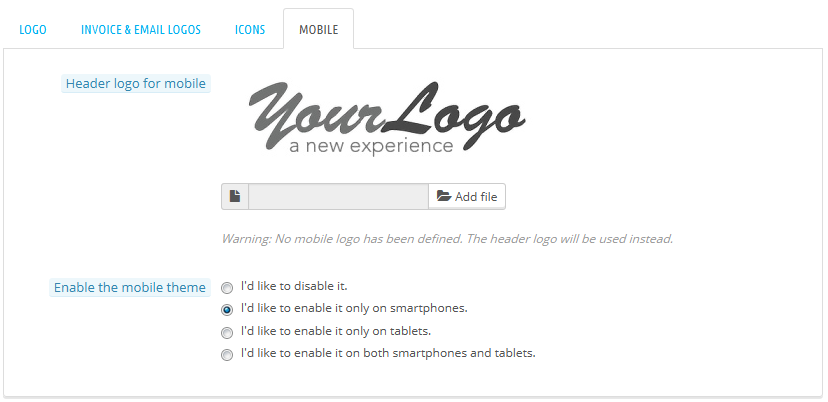
- Mobil. Das Logo, das auf allen Seiten Ihres Shops angezeigt wird, wenn er durch ein mobiles Gerät abgerufen wird. Sie können auch wählen, die mobile Version Ihres Templates für bestimmte Geräte zu aktivieren oder zu deaktivieren.
Das Standard-Template verwendet das "yourlogo" Logo. Es wird dringend empfohlen, alle Logos zu ändern und stattdessen Ihre eigenen zu verwenden!
Im Multishop-Modus können Sie diese Änderungen auf alle Ihre Shops oder nur auf eine Gruppe von Shops anwenden.
"Mobil-Template aktivieren" ermöglicht Ihnen, das Standardmobildesign zu bedienen. Mit diesem Template kann jeder PrestaShop-Händler seinen Shop mobil zugänglich machen: von der Startseite über den Zahlungsprozess bis zu den Artikelseiten und Conversion-Trichter.
Das Mobil-Template funktioniert nur für das PrestaShop Standard-Template, da es in seinem Ordner enthalten ist: / themes / default /mobile. Daher wird es nicht funktionieren, wenn Sie ein anderes Template nutzen, das nicht sein eigenes Mobil-Template besitzt.
Nichtsdestotrotz können Sie das Standardmobildesign mit einem anderen Template verwenden, zumindest temporär: kopieren Sie einfach den Ordner des mobilen Templates aus dem Ordner des Standard-Templates zum Ordner des neuen Templates. Wenn zum Beispiel der Ordner Ihres neuen Templates / themes / Magnolie ist, kopieren Sie / themes / default / mobile zum Ordner des neuen Templates: / themes / magnolia / mobile.
Dies ist besonders nützlich, wenn das neue Template nicht über ein responsives Design verfügt: auf diese Weise können Sie Ihren Shop immer noch auf mobilen Geräten relativ gut anzeigen lassen- wenn auch mit dem Standard PrestaShop Look.
Der Template-Konfigurator
Das Template-Konfigurator Modul hilft Ihnen, einige Aspekte Ihres Templates zu konfigurieren.
Ein Klick auf den Link von der "Templates"-Voreinstellungsseite öffnet seine Konfigurationsseite. Auf dieser Seite finden Sie direkte Links zu den häufigsten Front-Office-Modulen: Sie können hier einige Funktionen, wie die Anzeige der Social Buttons oder den Facebook-Block, aktivieren und deaktivieren (sofern ihre jeweiligen Module aktiviert sind), und direkten Zugriff auf deren Konfigurationsseiten erhalten. Sie können auch den Zugriff auf Live-Edit von dort aus aktivieren, was es ermöglicht, die Hauptfarbe und Schriftart Ihres Templates zu ändern.
In einem zweiten Abschnitt ermöglicht der Template-Konfigurator, auf einfache Weise Bilder mit Links an bestimmten Hooks der Website zu befestigen: home, top, left, right, footer. Jede verfügbare Sprache hat ihren eigenen Tab mit eigenen Hooks, die Sie von hier aus bearbeiten können: dies ist wichtig, da Bilder oft Text enthalten, so dass es notwendig ist, eine Version des Bildes pro verfügbarer Sprache zu haben.
Das Modul wird in mehr Einzelheiten im Kapitel "Native Module" dieses Handbuchs erläutert.
Wenn Sie das Standard-Template haben und es anpassen wollen, finden Sie hier eine Zusammenfassung der verschiedenen Bildgrößen, die Sie brauchen werden.
Erweiterte Einstellungen des Templates
Durch Klicken auf die Schaltfläche "Erweiterte Einstellungen" werden die wichtigsten Informationen über das Template angezeigt(siehe "Erstellen eines brandneuen Templates" weiter unten, um eine Erklärung der Felder zu finden).
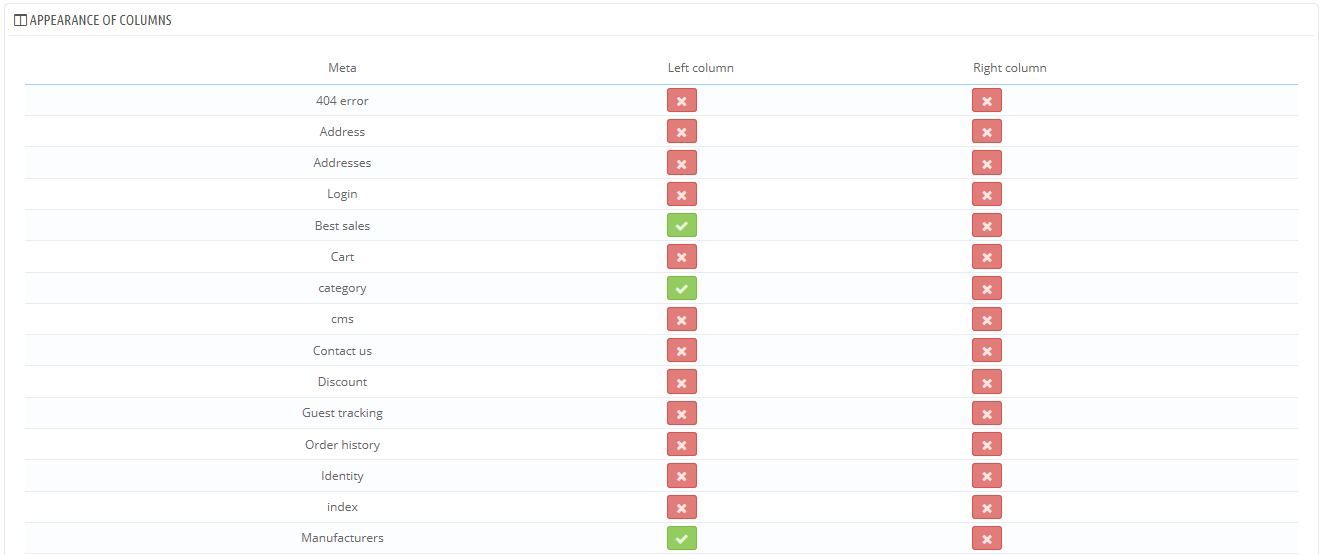
Unterhalb des Hauptteils zeigt der Abschnitt "Anzeige der Spalten" eine Vielzahl von Informationen über die Art, wie die linken und rechten Spalten angezeigt werden, abhängig von der Seite:
- Wenn das Kontrollkästchen aktiviert ist, wird die Spalte in der Seite (zum Beispiel die Kategorien-Seite) angezeigt.
- Wenn nicht, wird es nicht auf dieser Seite angezeigt werden.
Beachten Sie, dass selbst wenn Sie die Schaltflächen aktivieren, sind diese Einstellungen nur zu Informationszwecken, das Template ist nicht unbedingt in der Lage, die Änderungen anpassen zu können!
Wählen Sie ein Template für Ihren Shop
Dieser Abschnitt wird nur gezeigt, wenn Sie mindestens zwei Templates installiert haben. Er präsentiert Ihnen weitere Templates Ihrer PrestaShop Installation neben dem bereits aktivierten.
In diesem Abschnitt sind nur die Miniaturansichten der verfügbaren Templates mit deren Namen sichtbar.
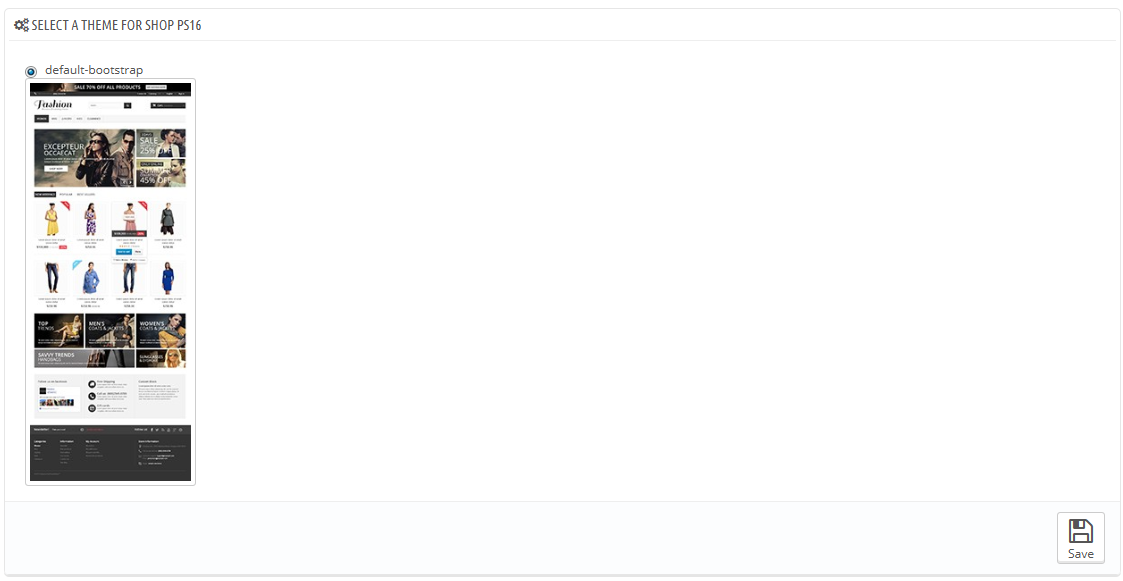
Bewegen Sie den Mauscursor über die Miniatur, und ein Menü mit zwei Optionen wird angezeigt:
- dieses Template verwenden. Dies wird Ihr aktuelles Template mit diesem Template ersetzen.
- dieses Template löschen. Dadurch werden Dateien dieses Templates von Ihrem Web-Server gelöscht.
Unten links befindet sich ein Button, der Sie zum Addons-Marktplatz weiterleitet, wo Sie weitere Templates finden können.
Im Multishop-Modus können Sie nicht ein Template auf alle Ihre Shops oder eine Gruppe von Shops anwenden; Sie müssen Sie einen einzigen Shop im Multishop-Menü wählen und dann ein Template für ihn auswählen.
Adding and exporting a theme
Two buttons at the top of the screen enable you to import a theme and install it (and its attached modules), or to export a theme and its modules from your shop in order to share it with the world.
Importing a theme: the "Add new theme" button
This screen presents you with 3 methods to install a new theme:
- from your computer,
- from a public website,
- from your own FTP server.
A final button leads you to the theme creation form, presented in the next section.
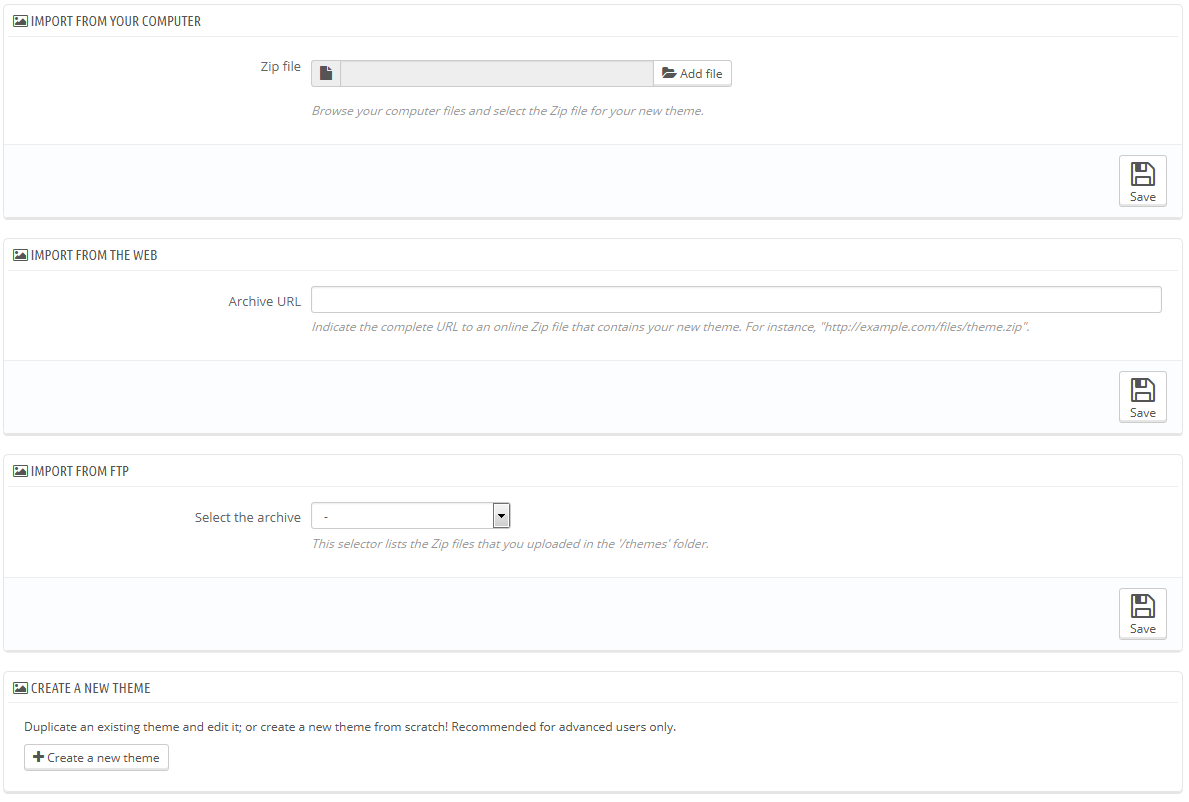
Whatever the method, the process remains the same: indicate the location of the theme's Zip archive, then click "Save". The only thing that changes is the source of the Zip file:
- Import from your computer. Use the file explorer to find the archive.
- Import from the web. Indicate the direct public URL to the archive.
- Import from FTP. Using your FTP client, upload the archive in the following folder:
/themes/.
Click "Save" to validate your choice. The theme is now installed, and PrestaShop asks you if you wish to install modules that were imported along with the theme, what you would rather do with the current modules configuration, and how you would like the images configuration to be taken into account.
Click "Save" one last time. A final confirmation page presents you with all the changes applied to your PrestaShop install. Click "Finish" to end the process.
Creating a brand new theme
The best way to create a new theme for PrestaShop is to copy the files from the default theme, and start modifying its TPL and CSS files to make them your own. The reason is that a PrestaShop theme requires many files to be present: by starting from an existing theme instead of from scratch, you make sure that your own theme will not be missing any part.
You can do this directly on the web server, but PrestaShop makes it easy to copy the files from an installed theme and register your new theme in its system (a step you would have to do in any case).
All of this is done by clicking on the "Create new theme" button from the "Add new theme" button at the top of screen. It displays a creation form.
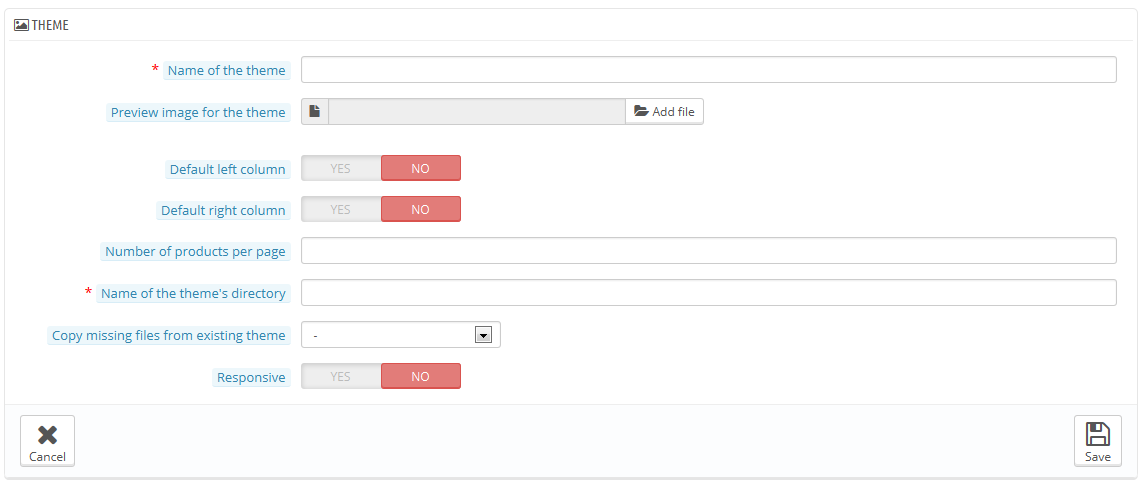
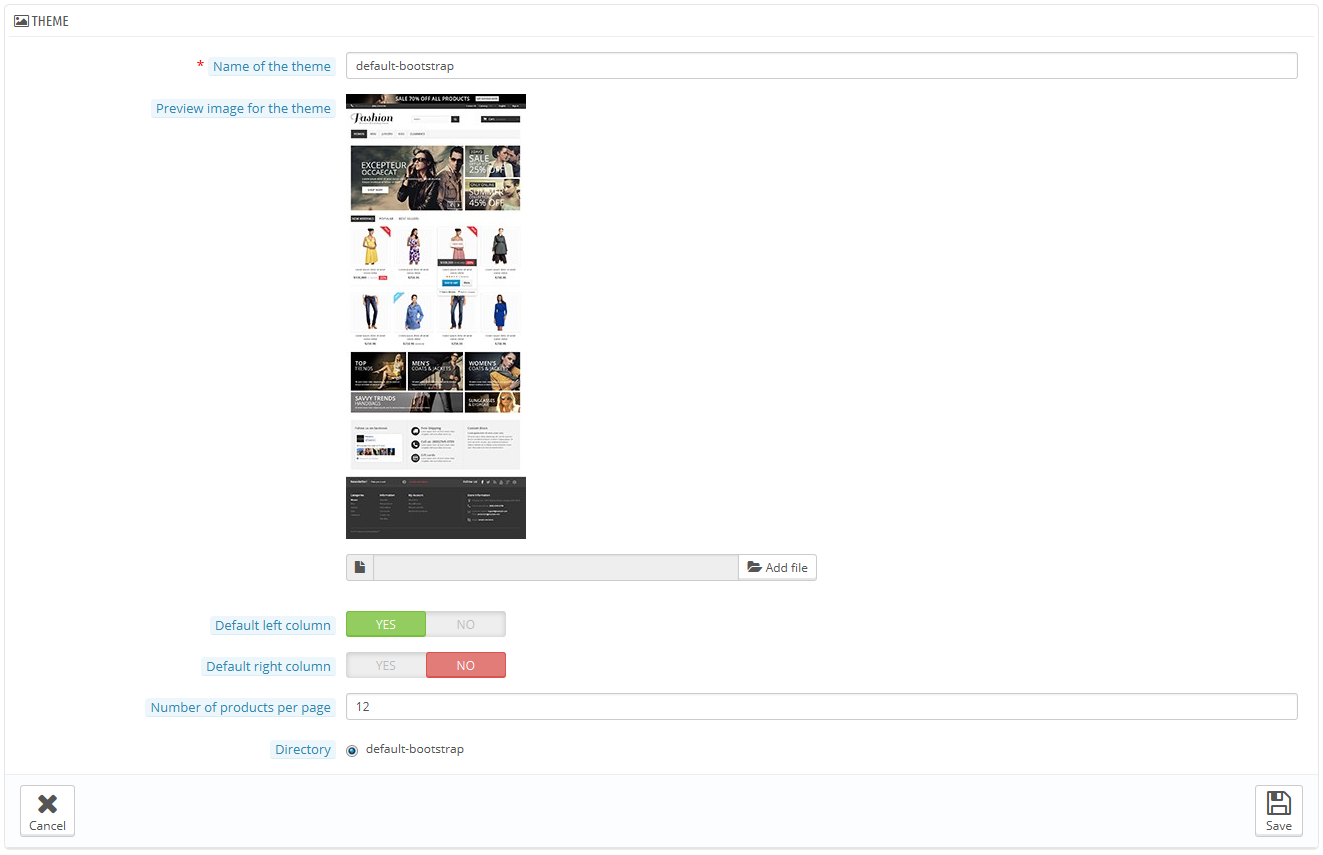
Fill-in its fields:
- Name of the theme. Make sure the name is not already used by another theme (check on the Addons website).
- Preview image for the theme. You should always add a preview image, as it is a clear reminder of what the theme looks like. If you do not have one yet, leave that for later, when the time will come to release the theme.
- Default left column and Default right column. Indicate if your theme has a column (or even two columns), and if so, on which side of the screen. This is purely informational, and can be changed at any time.
- Number of products per page. Indicate the default number of products that should be shown on a page. This option can be adjusted later on.
- Name of the theme's directory. Try to keep it close to your theme's name. If you have not already created a theme folder, PrestaShop will create one for you.
- Copy missing files from existing theme. This is the cleanest method to start a new theme from another theme's files. Choose "default-bootstrap", or any other theme that you would like to base your foundation on.
- Responsive. Indicate if your theme has a responsive design or not (if you do not know what a responsive design is, then you probably should choose "No"). This is purely informational, and can be changed at any time.
Click save, and PrestaShop will register this information for you: the theme is ready to be enabled, and its preview image appears in the theme selector.
It is now up to you to change your theme's files in order to make it unique! On your local installation (not a production one!), select your new theme, and start working!
Once you are done with your designing and code it, go back to this setting page and change it accordingly: definitive preview image, default column, number of products, and responsiveness.
Is your theme so good that other merchants could pay money for it? You can sell it on Addons, PrestaShop's official theme & module marketplace: http://addons.prestashop.com/.
Exporting a theme
This section is only available when there is at least one theme installed on your PrestaShop site. It gives you a method to export your module in the correct format (most notably with a working configuration file).
Exporting a theme is very useful when you want either to back the theme up for safety, and create an archive of the theme for a friend or in order to make it available on the Addons marketplace (http://addons.prestashop.com/). Not only does it generate a complete Zip archive of your theme, but it also adds many information in an XML files, which is very useful both when uploading to Addons, and when importing to another PrestaShop site.

Select a theme and click on "Save". A configuration form appears where you can set the exported themes parameters: author name, modules to export along, theme name, version compatibility, etc.
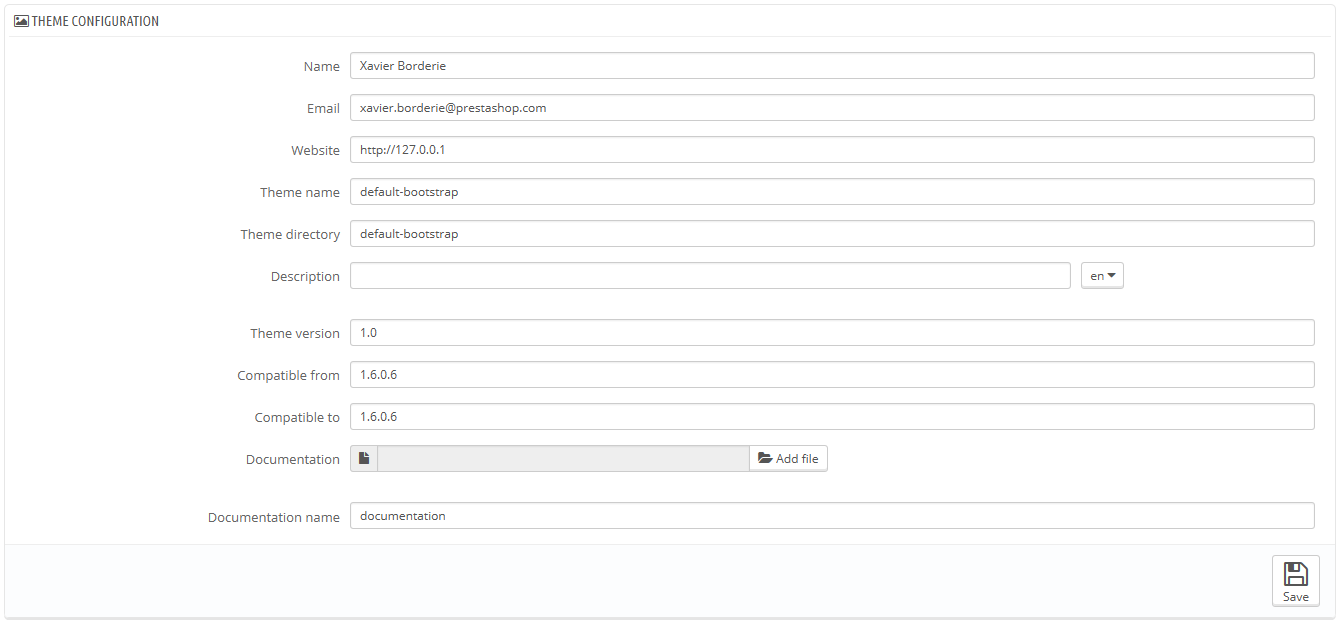
Once all the parameters are correctly set, click on "Save". You will quickly get a file to download from your browser. Save it on your hard-drive, then give the saved file a proper name instead of the random one it currently has. From there on, you can easily share this theme, and if it is your own creation, you can start selling it on PrestaShop's Addons marketplace at http://addons.prestashop.com/.
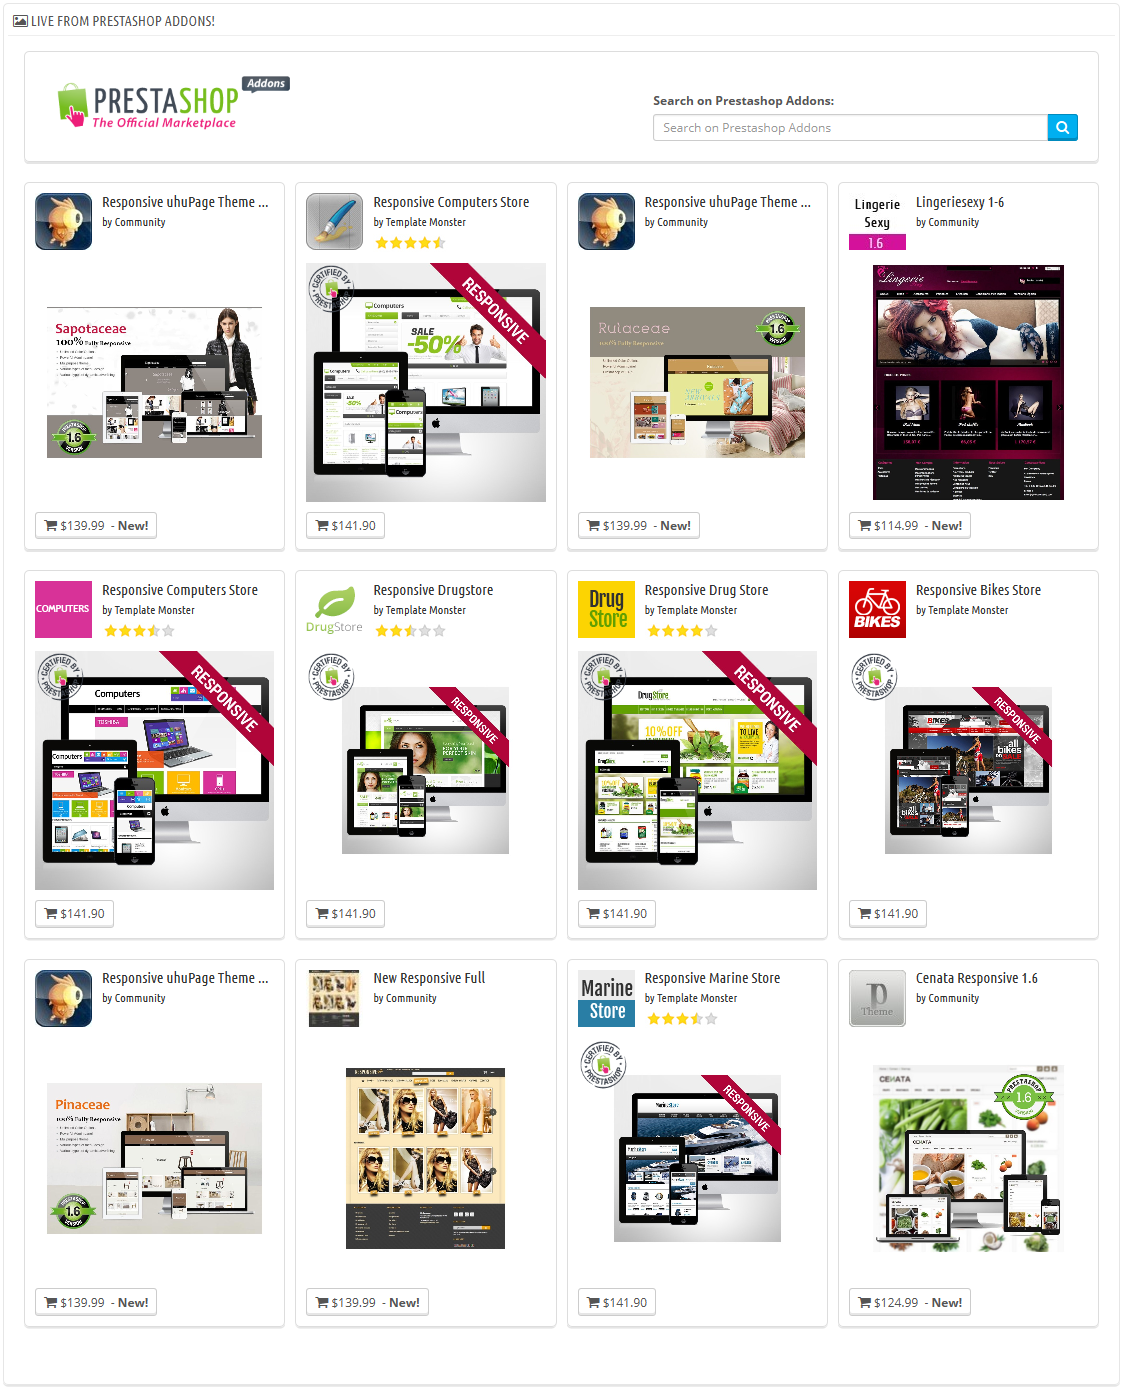
Live from PrestaShop Addons!
This final section presents you with 12 of the latest themes from PrestaShop's Addons marketplace. You can click on each image to reach the theme's individual Addons page and get a better view of it, and possibly buy it.
You can also use the search form to find the theme that best suits your store.
dieses Template löschen. Dadurch werden Dateien dieses Templates von Ihrem Web-Server gelöscht.