
Managing Employees
PrestaShop allows you to assign specific duties and rights to each employee helping to manage the store. For example, the administrator will have access to the entire store, without restriction, while an employee can only have access to the catalog or orders. To configure this feature, go to the “Employees” tab.
Here you can discover all the accounts that have access to your store. By default you will find the account that was created during the store’s installation, which is automatically set as Administrator. The Administrator has access to all of PrestaShop's features without restriction.
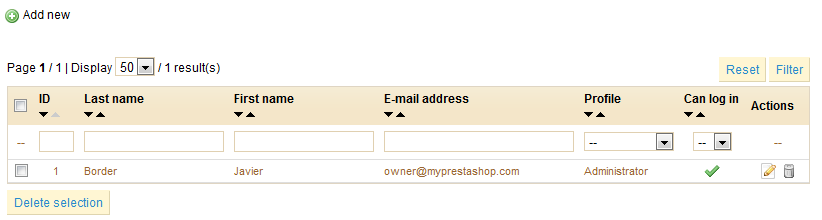
At the bottom is the "Employee Options ” This section allows you to set the time elapsed before PrestaShop asks you for a new password in order to use the back office of your store.

Create an Employee Profile
Profiles are ways for you to give more or less rights to your store's employees – because a translator should not have access to the same areas than a salesman has.
To create new profiles, click the "Profiles" sub-tab. You arrive at a page summarizing all the profiles in your store, as shown in the screenshot below.

By default, four profiles are registered: "Administrator", "Logistician", "Translator" and "Salesman".
Click the "Add New" link to access this form:
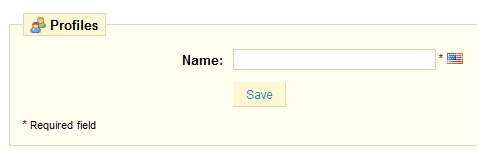
For this example we will create the profile "Preparer of Orders" by completing the "Name" field. Once entered click "Save." It will then appear in the list of profiles.
We will now assign permissions to this new profile. To do this click the sub tab "Permissions". A drop-down menu appears; by default, it displays rights for the Administrator profil... which cannot be changed, so you have to choose the profile you just created in the menu.
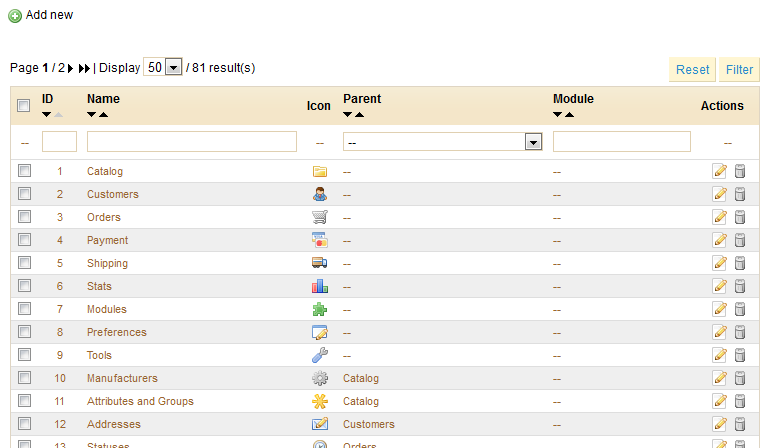
A list of 81 criteria appears.
For each of these criteria you have 5 options:
- View. Enable employee to only view information.
- Add. Enable employee the possibility to add new information.
- Edit. Enable employee the possibility to change information.
- Delete. Enable the employee to delete information.
- All. Enable all the above options for the current row.
At the top of each column, a checkbox makes it possible to have all the column's checkboxes checked at once. If you click on the All checkbox, all the checkboxes for all rows get checked. You can then uncheck selected rows rather spend time checking each needed rows one by one.
To avoid mistakes during the configuration of your profiles, PrestaShop automatically saves your settings every time you make a change. Once you have assigned the profile rights, you can return to the "Employees" tab.
Add a New Employee
On the “Employee” tab, click the "Add New" link.
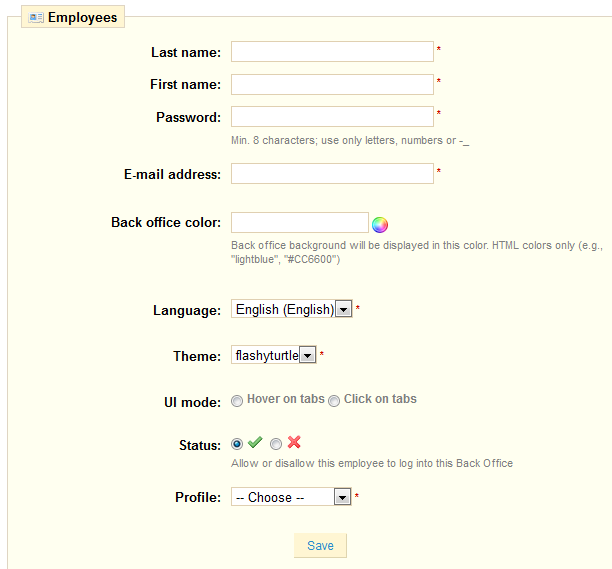
Fill in all fields (first and last name, password, e-mail address, etc.), and at the bottom of the form select the profile for your employee.
This will then apply the permissions configured.
Validate by clicking on "Save." Congratulations! You just created a new account that can be used by one of your employees.
When the employee logs in, only the tabs that have been configured as accessible to them will be displayed.
It is better to create an account for each of your employees. To do this, go to the tab "Employees".
Managing Tabs
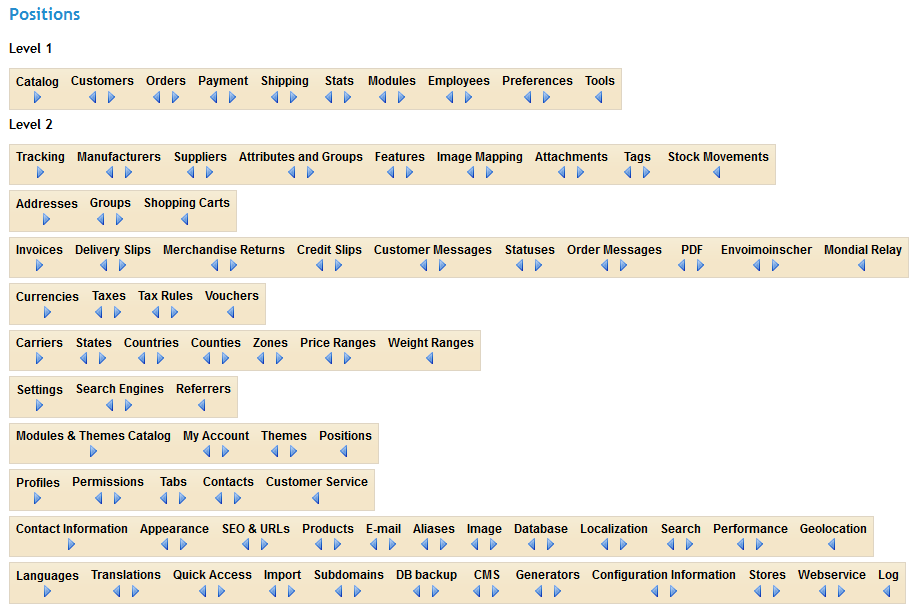
You can create new tabs for other functions in your store. On the first page, you will see a list of all the tabs in your Back Office.
At the bottom of the page, you will find a tool to help you customize the tabs' positions.
Creating a New Tab
Click on “Add New” to write a new tab.
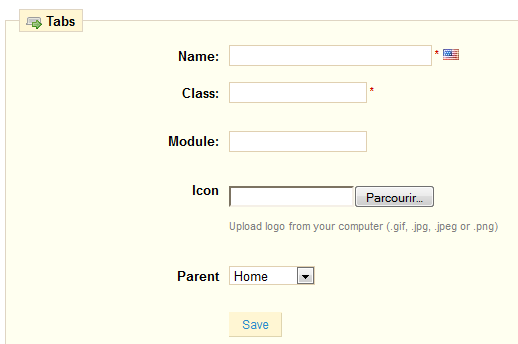
Define a name, as well as a database table. Choose which existing tab is connected to this tab before saving it.