
A Look Inside the Catalog
Throughout the product set up we are going to tackle how to use several tabs.

Tracking
The Tracking tab indicates the sections of your store to which you must pay the most attention to in order to manage your store.
![]()
Four sections are shown:
- List of empty categories: shows you the number and the name of catalog categories that don’t have any products. Delete the empty categories or fill them with products. This enables to avoid having customers find themselves in an empty category in your store.
- List of disabled products: shows you the number and name of products that have been disabled in the store and that aren’t visible to your customers. Think about enabling them or deleting them from your catalog.
- List of out of stock products (with/without) attributes: shows you which products are no longer in stock. Take the necessary measures to restock them.
The “Tracking” tab should be checked regularly in order to improve the catalog management.
Manufacturers
By entering information about the manufacturers, your site’s visitors can have rapid access to all of this manufacturer’s products. This makes navigating around your site easier for them. In terms of Internet visibility, filling out these fields will improve your position in search engines.
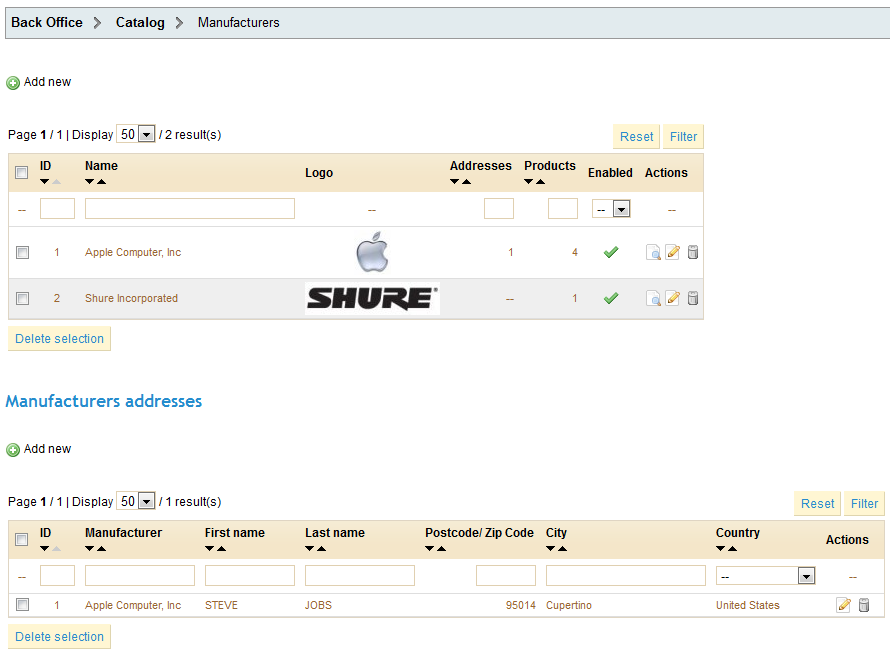
Click on “Add new”, and a form will appear:

Let’s now fill out all of the fields:
- The “Name” field: indicate the name of the manufacturer in order to simplify your visitor ’s searches.
- The “Short description” field: the description that will appear on the search engines when you make a request. Limited to 100 characters.
- The “Description” field: add a more complex description of your manufacturer and their activity and products.
You can detail their specialties and push the quality of their products. The manufacturer’s description will be shown in your store in the following manner:

- The SEO fields (Title, Meta description, and Meta Keywords): correspond to the same function as the categories.
You will find a description of the reference fields in the product category management, in the "Create a Category / Search Engine Optimization (SEO) Fields" section of this guide.
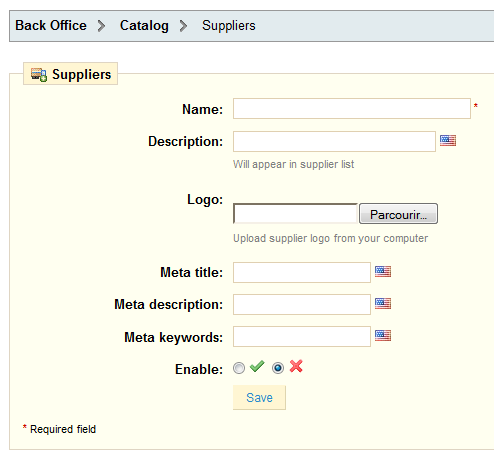
Suppliers
Configured in a similar, albeit shorter way as the “Manufacturer” form, configuring “Suppliers” is optional if you already have manufacturers. It all depends on your needs, since your product supplier might not be the same as the product manufacturer.
Attributes & Groups
That tab was explained step by step in the "Managing Your Catalog" chapter of this user-guide, in the "Configuring Product Attributes" section. Please refer to that part of the documentation.
Features
That tab was explained step by step in the "Managing Your Catalog" chapter of this user-guide, in the "Configuring Product Features" section.
Image Mapping
Image Mapping assigns multiple clickable zones to an image so that different product pages can be opened by clicking on one single image. This feature makes your site very attractive by easing your customers’ navigation Let ’s look at how to configure this feature.
Create an image map
Click on the “Image Mapping” tab and you will arrive at the following page.
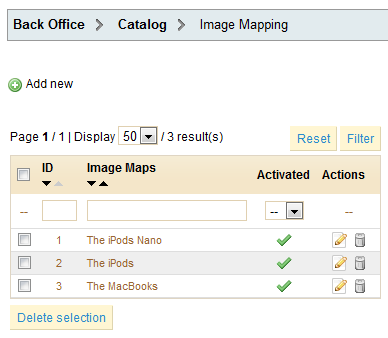
The screenshot above shows a list of pre-configured image maps. To create a new one click on the “Add New” button. You will arrive at the following screen:

- Enter a name for the image map in the "Name" field.
- Next, select the image that you want to represent the image map. Click on “Upload Image” to save it. The page will then reload, with the photo that you uploaded.
Setting up an Image Map
Now we are going to learn how to set up an image map.
- Click on a corner of your image and drag your mouse over the image to highlight/cut out the part of the image you want to be clickable to the user.
Your selection will be clear and illuminated while the rest of the image will darken. Take good care to align the frame of your image with the zone onto which your customer can click.
Once this is done:
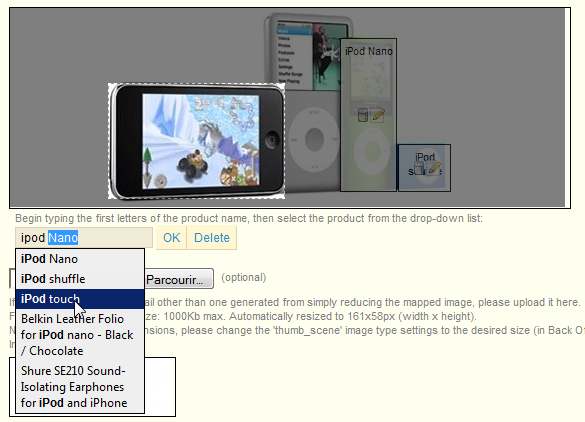
- Type the first few letters of the product associated with this image into the field just underneath the image.
In our example, we would type “Ipod” and several choices would appear. We would then choose “Ipod Nano”. - Confirm your choice by clicking “OK”. Your image map has just been created.
- Repeat this process for all of the products that you wish to make accessible through your image.
If you have made a mistake on your clickable area, you can resize by grabbing its sides or corners.
If you wish to delete a clickable area, just select the area, and click the "Delete" button within the image.
- Now you must assign your Image Map to a category. This is done by checking the boxes on the “Categories” table.
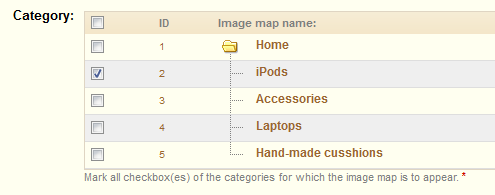
Once all of the modifications have been done, click on “Save Image Map(s)” in order to save all of your
settings.
Done! Your image map is now available on your store, in the selected categories. See the image below.
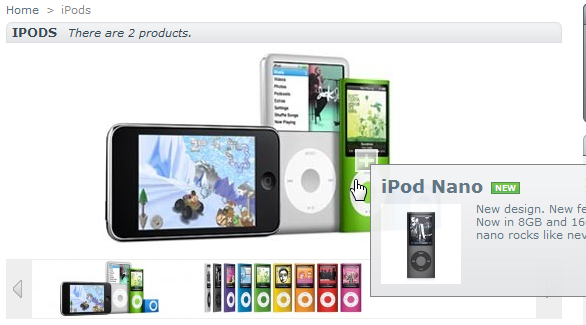
The clickable zones are visible because of the "+" icon. Hovering over the image with your mouse, you can see a little window that presents the image’s name, default image, short description, and price.