...
- Theme name and version.
- Theme author's name.
- Thumbnail for the theme.
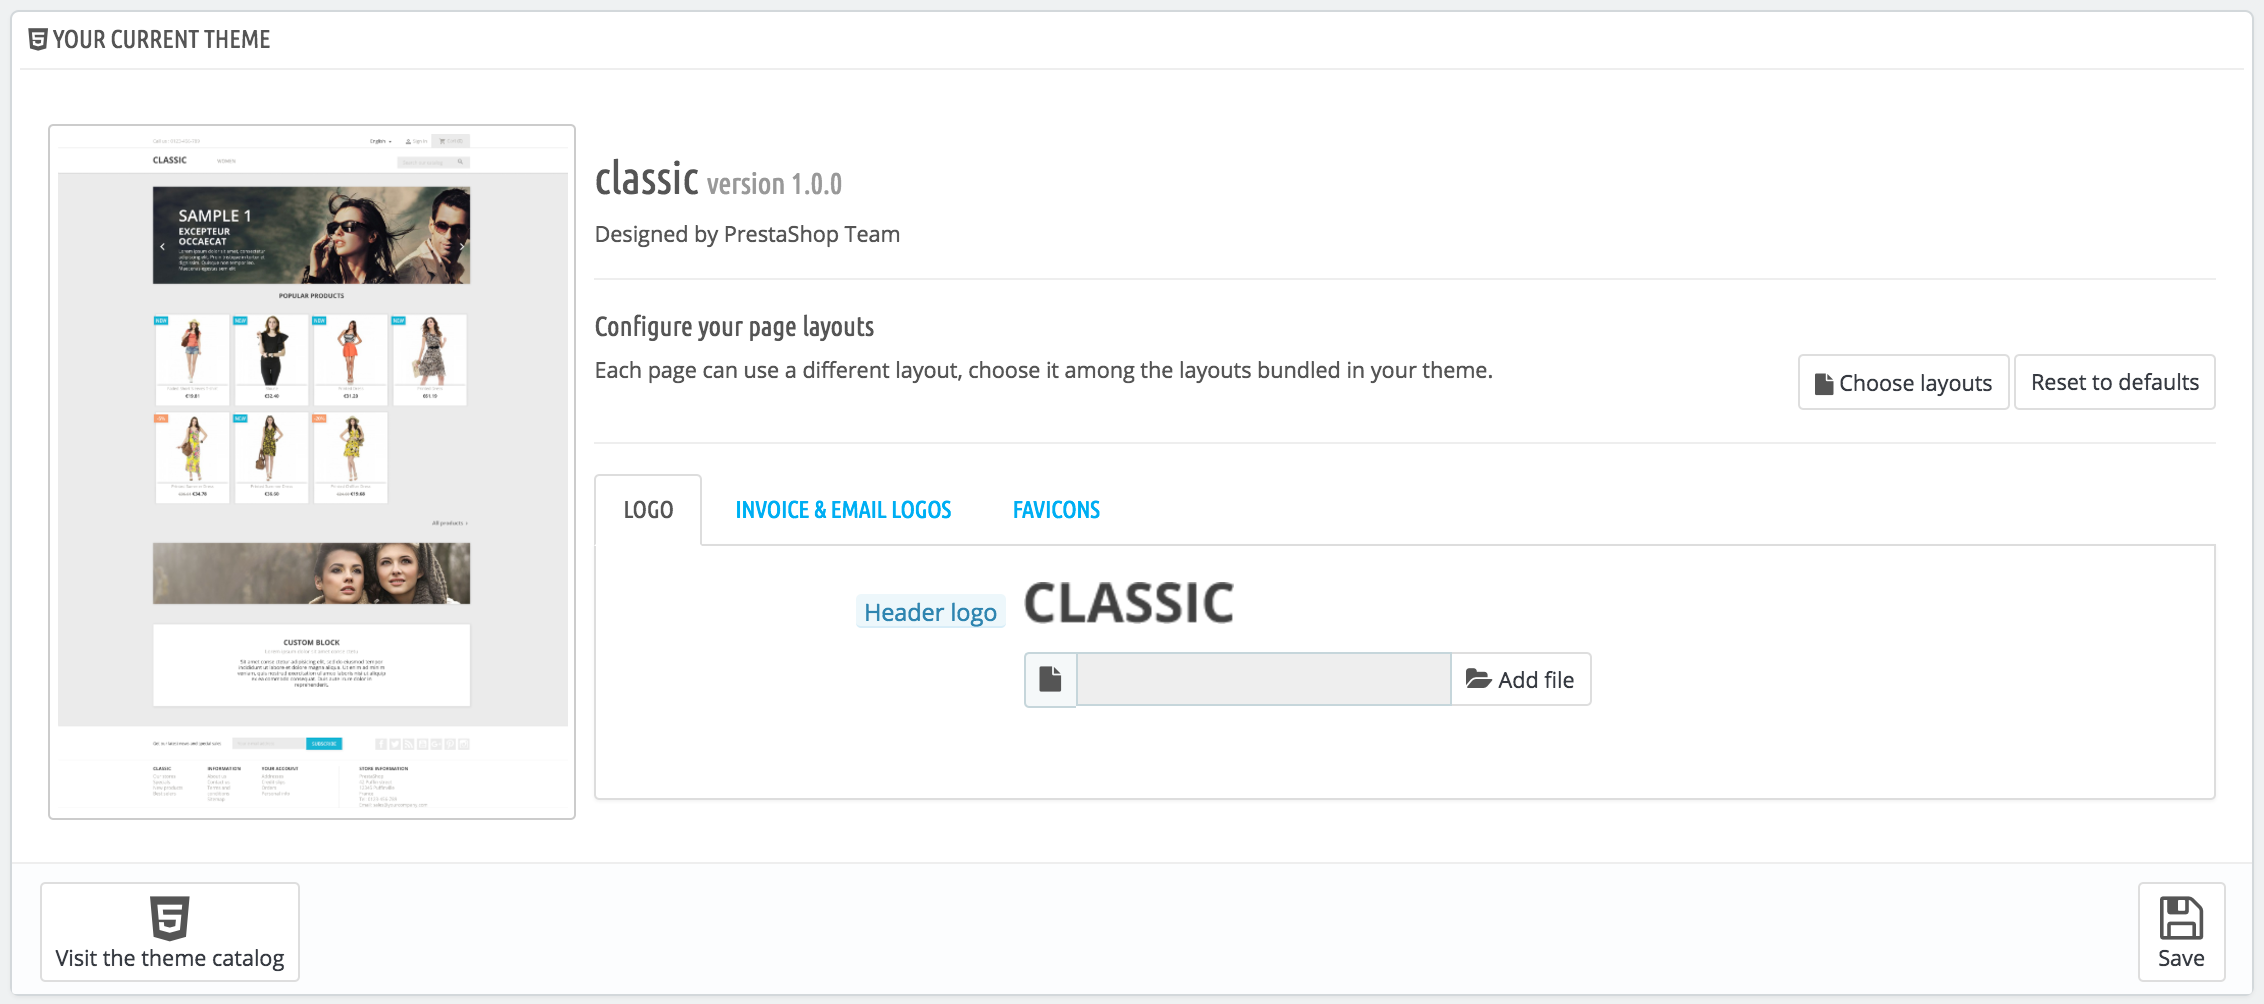
This section also gives you access to a handful of tools, which helps you to quickly customize the current theme: header logo, mail logo, invoice logo, favicon, store icon and even the navigation pipe can be easily modified from there.
...
This section simply shows the thumbnails of the available themes, with their names.
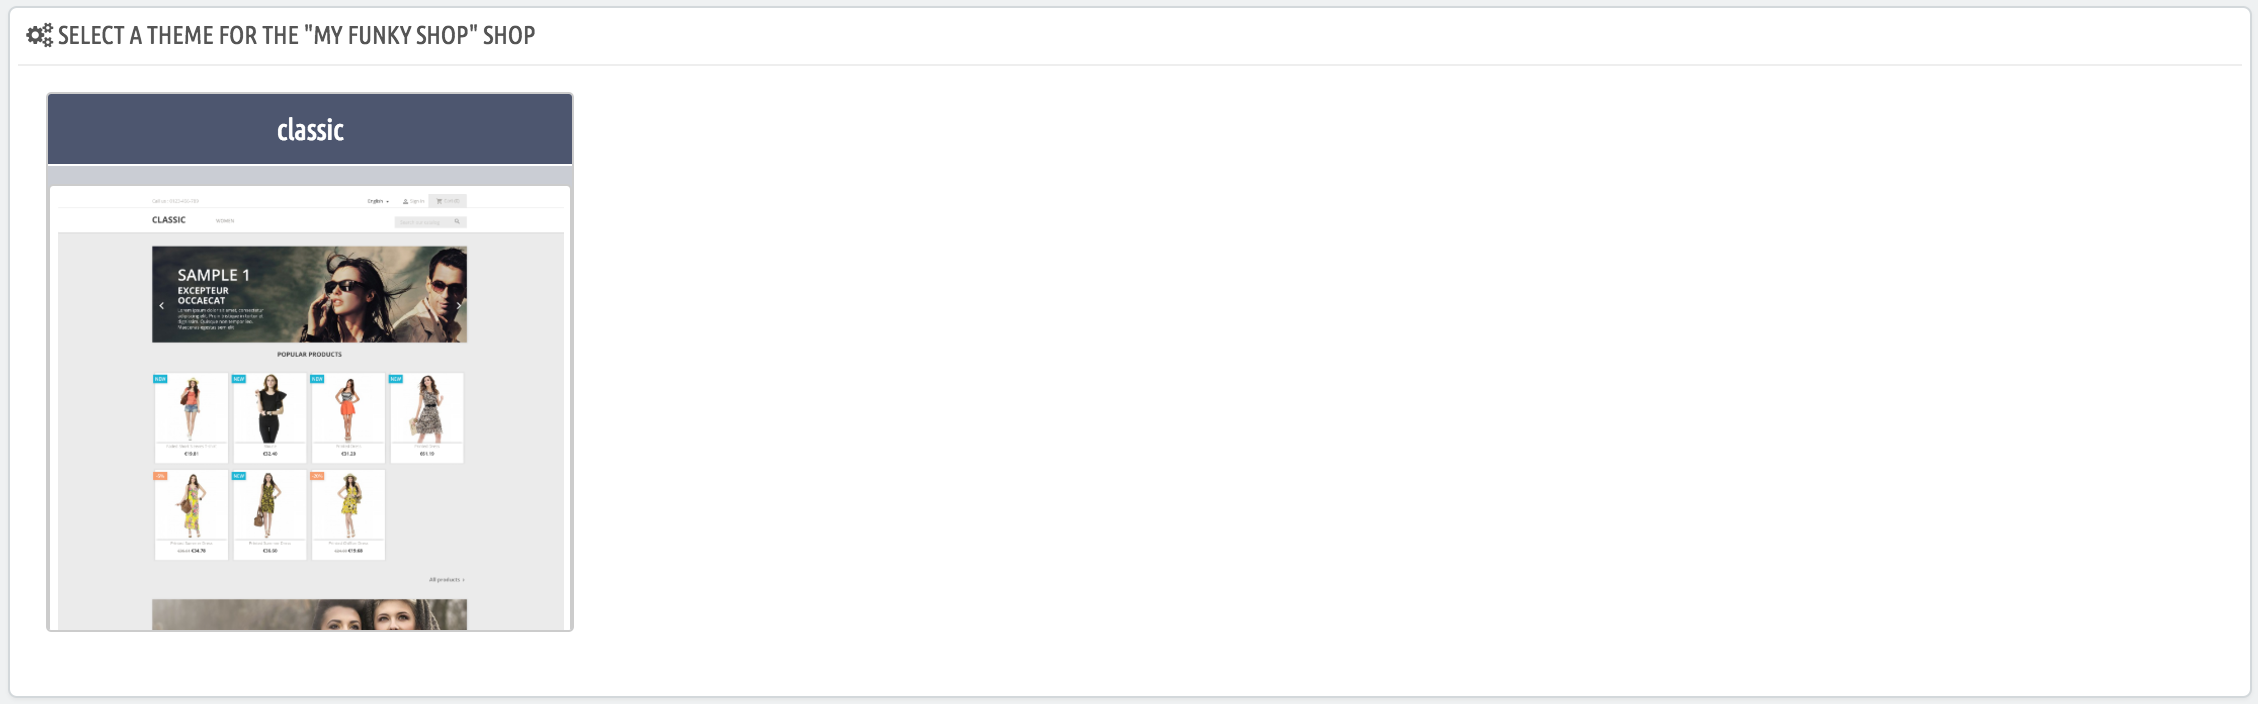
Move your mouse cursor over the thumbnail to display a menu with two options:
...
A final button leads you to the theme creation form, presented in the next section.

Whatever the method, the process remains the same: indicate the location of the theme's Zip archive, then click "Save". The only thing that changes is the source of the Zip file:
- Import from your computer. Use the file explorer to find the archive.
- Import from the web. Indicate the direct public URL to the archive.
- Import from FTP. Using your FTP client, upload the archive in the following folder:
/themes/.
Click "Save" to validate your choice: the theme is now installed.
...
From there on, you can easily share this theme, and if it is your own creation, you can start selling it on PrestaShop's Addons marketplace at http://addons.prestashop.com/.
Live from PrestaShop Addons!
...
| Info |
|---|
Are you creating themes so good that other merchants could pay money for it? You can sell it on Addons, PrestaShop's official theme & module marketplace: http://addons.prestashop.com/. |