...
This screen presents you with 3 methods to install a new theme:
- from your computer,
- from a public website,
...
- from your own FTP server.
A final button leads you to the theme creation form, presented in the next section.
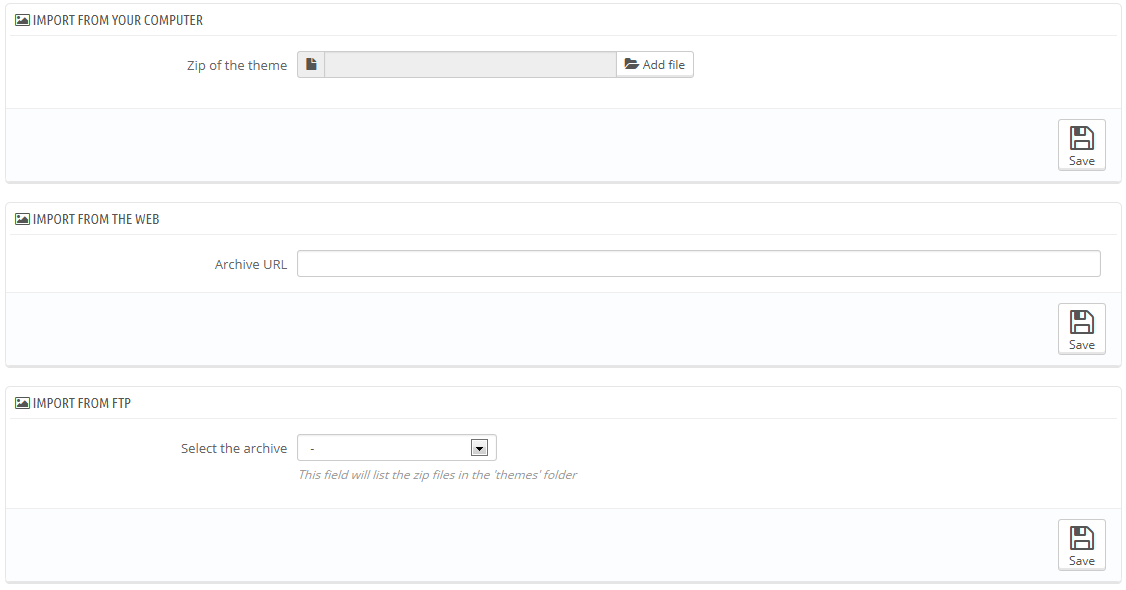
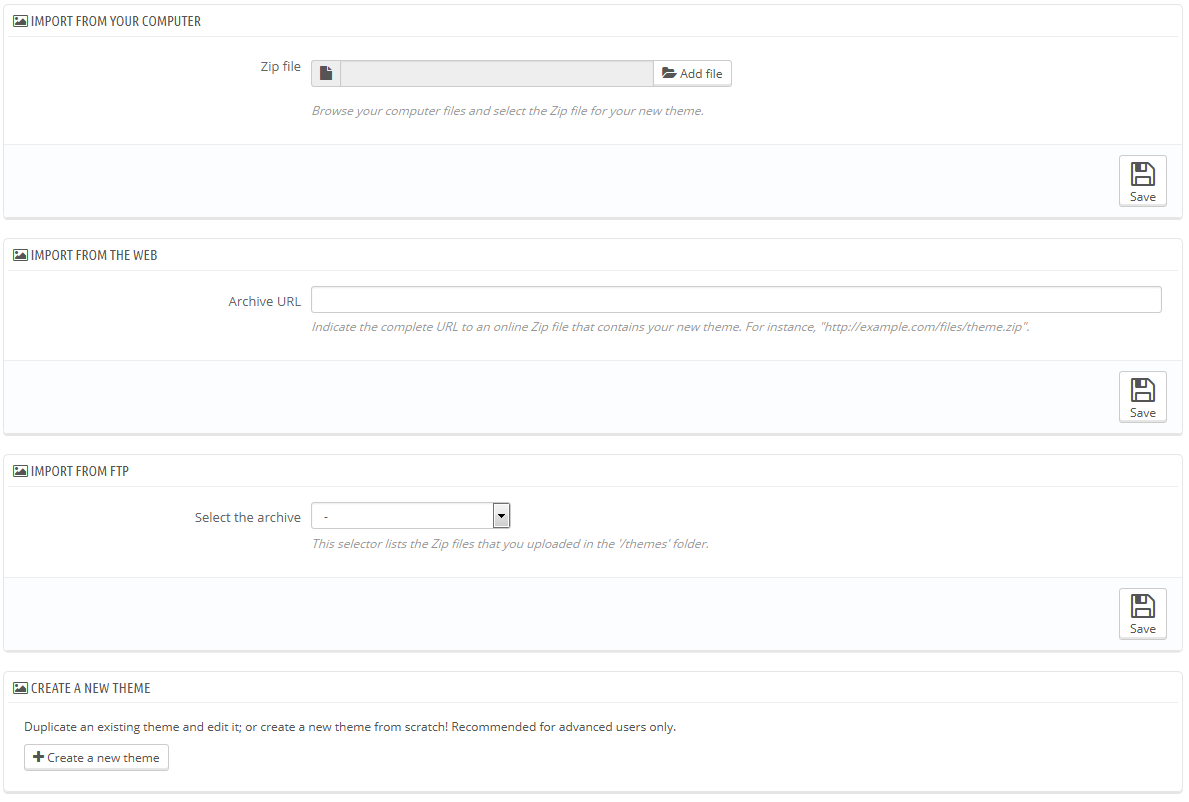
Whatever the method, the process remains the same: indicate the location of the theme's Zip archive, then click "Save". The only thing that changes is the source of the Zip file:
...
Exporting a theme is very useful when you want either to back the theme up for safety, and create an archive of the theme for a friend or in order to make it available on the Addons marketplace (http://addons.prestashop.com/). Not only does it generate a complete Zip archive of your theme, but it also adds many information in an XML files, which is very useful both when uploading to Addons, and when important to another PrestaShop site.


Select a theme and click on "ExportSave". A configuration form appears where you can set the exported themes parameters: author name, modules to export along, theme name, version compatibility, etc.
...
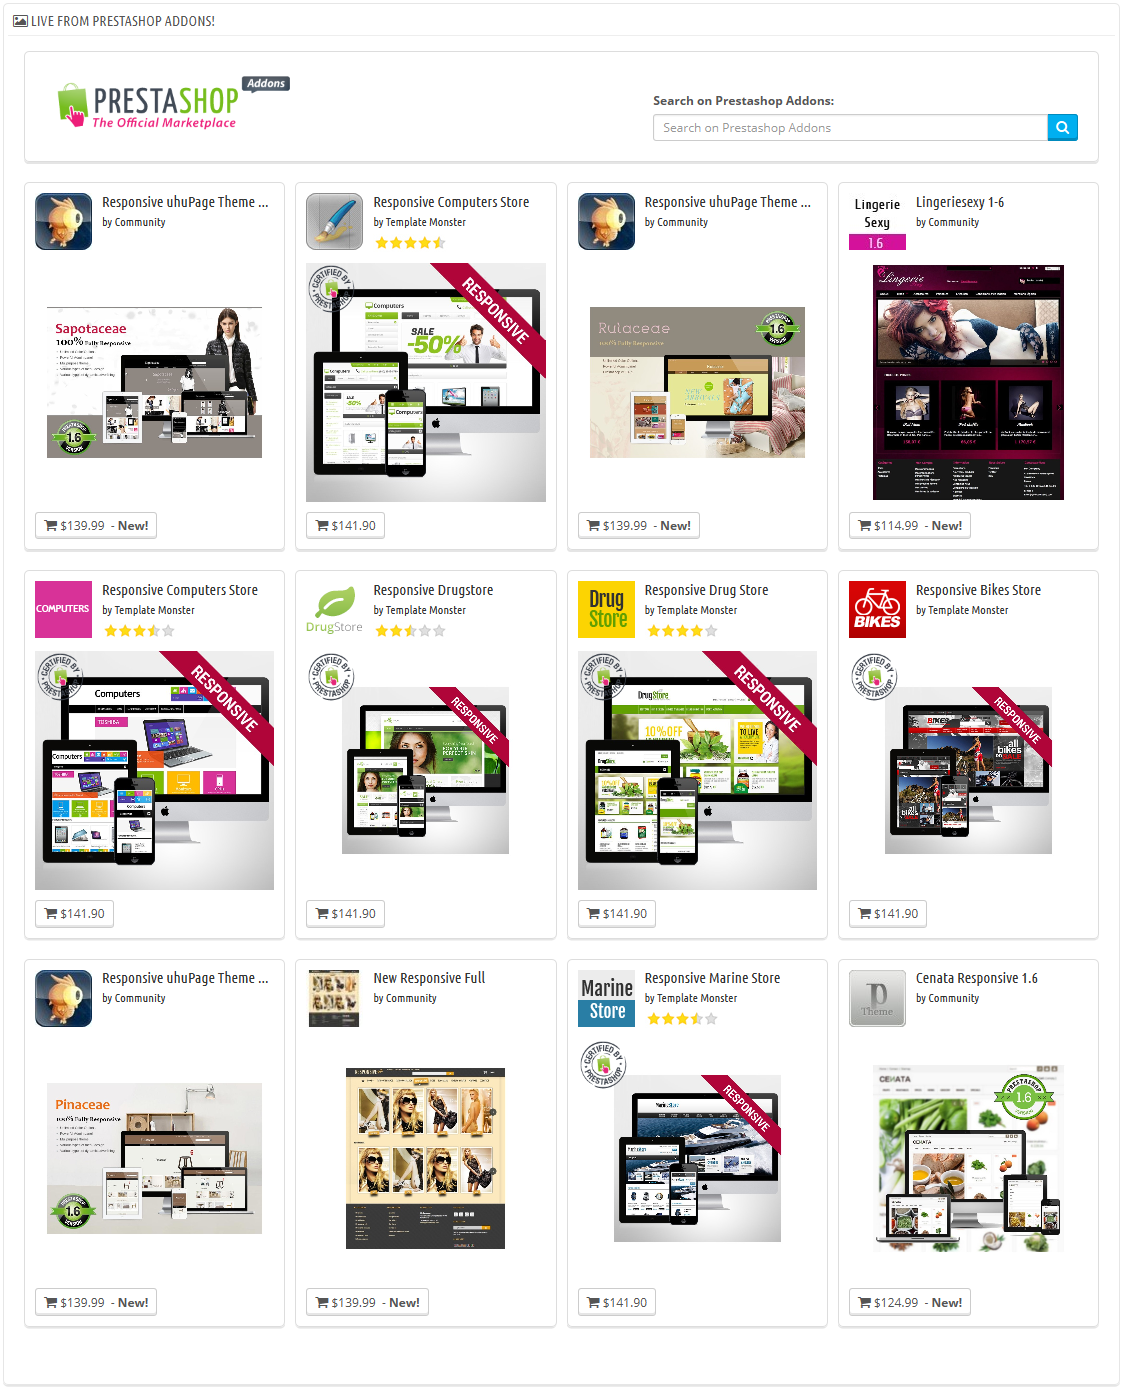
This final section presents you with 12 of the latest themes from PrestaShop's Addons marketplace. You can click on each image to reach the theme's individual Addons page and get a better view of it, and possibly buy it.
You can also use the search form to find the theme that best suits your store.