...
The first page under the "Customers" menu gives you a list of all the registered users on your shop.
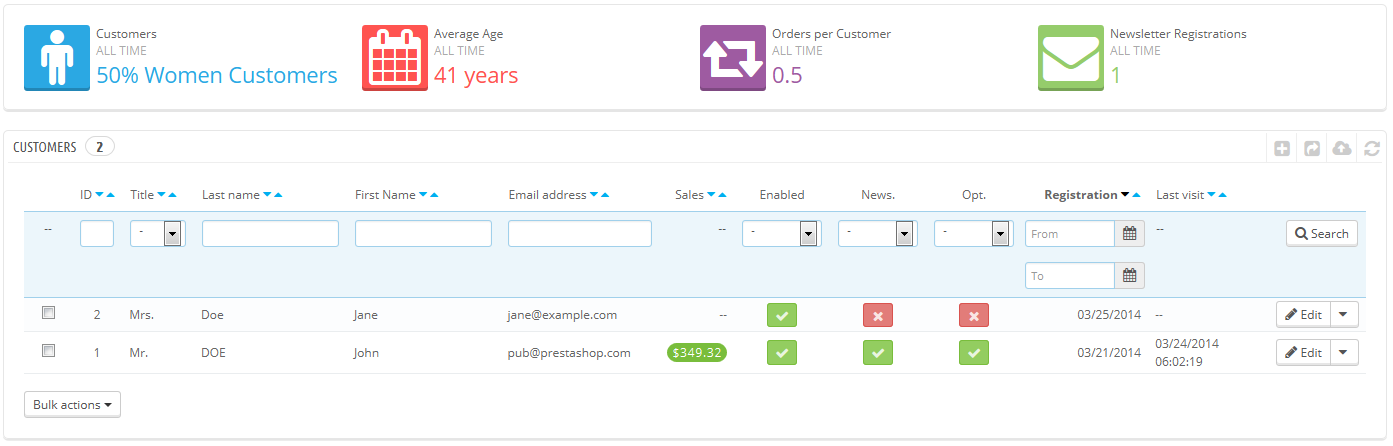
This gives you a bird's eye view of your customers, with some details thrown in which you can use to sort and search accounts:
- Title. Customers can declare their social title, which are matched with a genre and can help you better customize your customers' experience. There are three default social titles (Mr., Ms., and Miss), but you can create more in the "Titles" page under the "Customers" menu.
- Age. Knowing the age of you customers can also help you better target your demographics, and choose to sell products that appeal more to them.
- Enabled. Indicates whether the customer is active or not. You can disable an account by clicking on the green "Yes".
- News.. Indicates whether the customer is subscribed to your shop's newsletter or not. You can unsubscribe from it by clicking on the green "Yes".
- Opt.. Indicates whether the account has accepted to receive e-mails from your partners or not. You can unsubscribe it clicking on the green "Yes". Do not subscribe a user to these e-mails without their consent, as this is considered spam.
- Registration date and last visit can always be useful when sorting user accounts.
- Actions. You can edit the user's account, simply view it in full (with its messages, orders, addresses, vouchers, etc.), or trash it forever.
| Info |
|---|
When installed for the first time with sample data, PrestaShop has a default user, named John DOE. You can use this fake user to test some of your shop's features, and generally browse your shop and see it the way a regular user would. To log in to your shop using this public account, use these credentials:
Before you open your shop to the public, make sure to delete this default user, or at least change its credentials! If not, malicious visitors could use it to make fake purchases and more. |
Below the customers table is the "Set required fields for this section" button. It opens a form where you can indicate if a database field is necessary or not by checking the appropriate boxes: this way, you can make it so fields such as "newsletter" or "optin" are mandatory when a visitor is creating a customer account on your shop.
...
To create a customer account manually, select "Add New". A form appears.
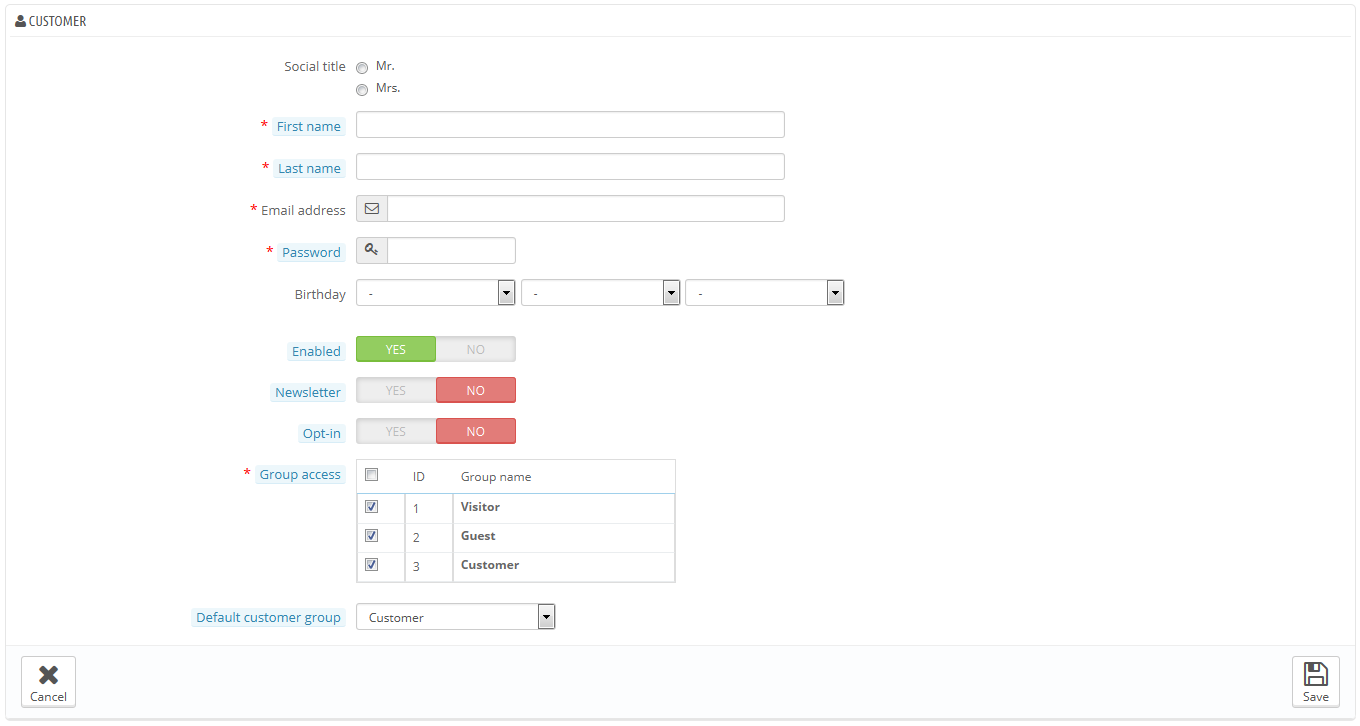
Fill out the customer's information:
...
| Info |
|---|
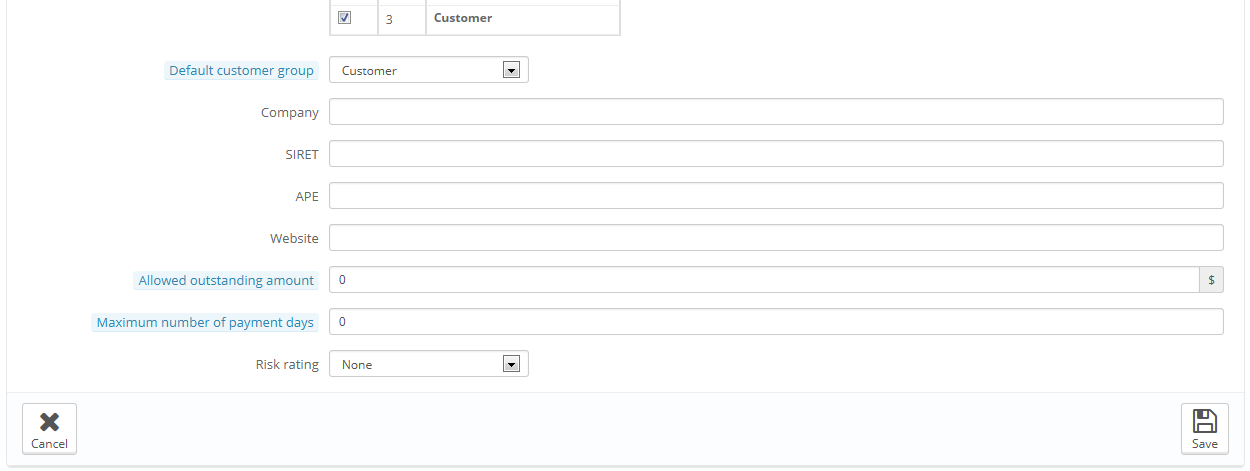
If your customers are mostly companies, you should enable the B2B mode in order to get additional options: go to the "Customers" page of the "Preferences" menu, and choose "Yes" for the "Enable B2B mode" option.
The B2B mode adds a few company-specific fields:
|
...
In the case where you would like to have more information on a given customer, you can click on the "view" button, located at the end of the row in the customer's list. A new page appears.
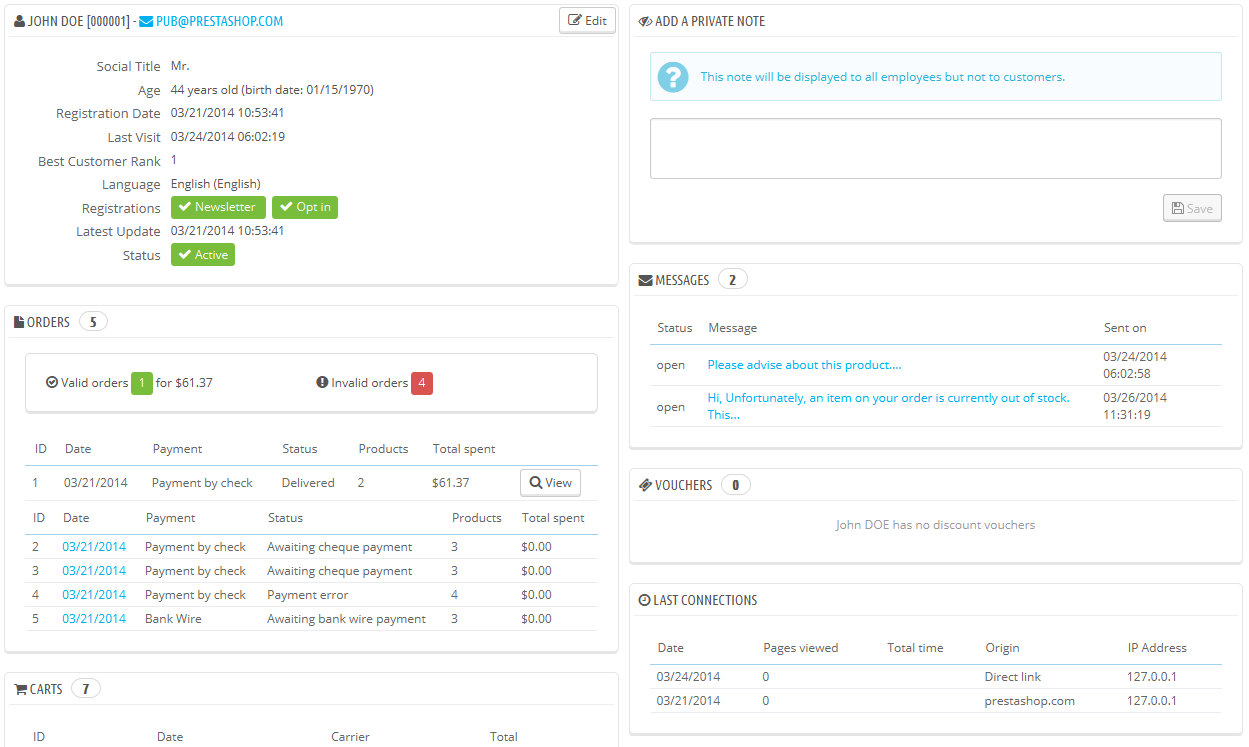
The various sections provide you with some key data on the user:
...
Searching for a customer on your PrestaShop shop can be done two different ways.
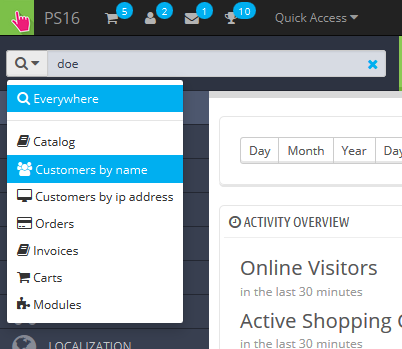
The first method is to enter consists of entering the information you have into the PrestaShop search bar, which is found in the top center of your back-officeback office. By selecting "everywhere", "by name" or "by ip address", you can perform a search based on:
- ID. The numbers that is assigned to the customer in the database.
- First or last name. Note that you cannot search for both: choose either "john" or "doe", as "john doe" won't work.
- E-mail address.
- IP address. You can search using the IP of the latest connection to your shop.
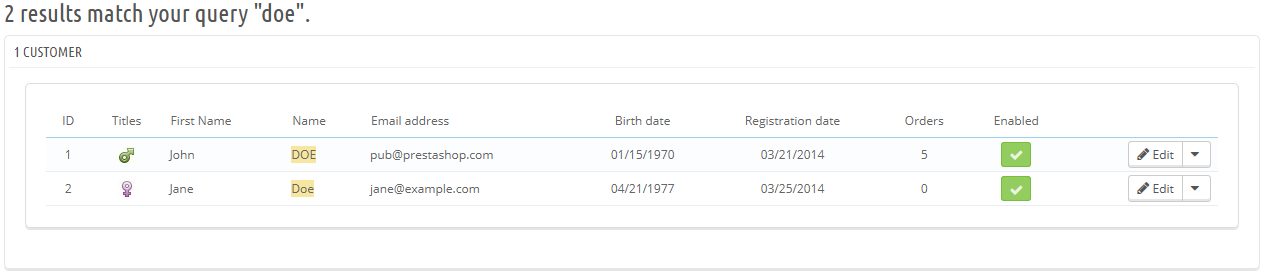
The results, if any, are then presented: the list presents you with the users' ID, social title, e-mail, birthday, registration date, amount of orders and whether or not the user's account is active. From there on, you can view the whole user's page, or edit its details.
The second method consists of going to the "Customers" page, and listing all of your customers.
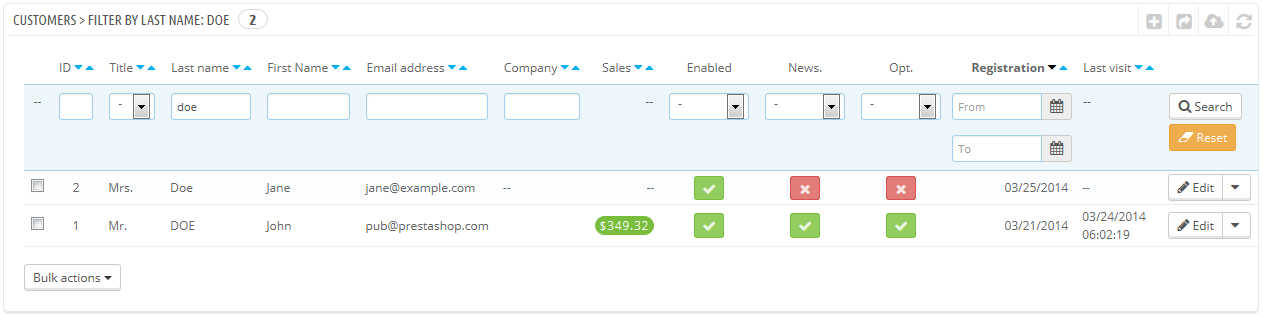
On this page, you can complete the fields at the top of the list, in order to filter it according to the following criteria: ID, social title, first name, last name, e-mail address, age, account status (enabled or disabled), subscription to the newsletter, subscription to partnering ads, registration date, and last connection date. Enter your criteria and click the "Filter" button in the top right-hand corner of the table. You can then sort the list for some of the columns.
...