...
Manufacturer creation is explained in the next chapter, "A Look Inside the Catalog".
Configuring the Product Image
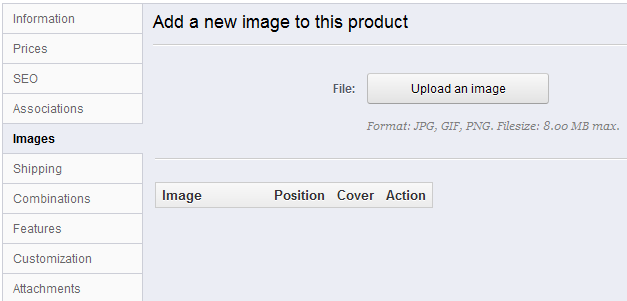
The "Images" tab on the left is for including photos on your product page. You should upload all the images for this product, including all the existing combinations of this product (color, size, shape, etc.).
To add one or more images to your product:
- Click the "Upload an image" button and then select at least one image file from your computer to upload. You can select as many images as necessary by keeping the Ctrl-key pressed while selecting files. Validate your selection, and the upload starts automatically.
The default maximal size for an image file is set by PrestaShop according to your server's PHP settings. This size can be lowered in the "Images" preference page, "Product images" section. - The uploaded images appear in a table below the button. If you have more than one image, you can choose which image is to be used as the default/cover image by clicking on the red "no entry" button and turn it into a green checkmark. That cover image will also appear automatically on the product page of your shop.
Once you have uploaded all your product images, you can modify the image order by drag-and-dropping each table row when the mouse cursor changes to a "movable" cursor.
Evaluating Shipping Cost: Size, Weight, Carrier
...
You can also configure the general settings applied to all of your products. The default option is to deny orders, but this can be modified under the "Products" preference ("Allow ordering of out-of-stock products" option), which is fully explained in the "Understanding the Preferences" chapter of this guide.
Configuring
...
Product
...
The "Images" tab on the left is for including photos on your product page. You should upload all the images for this product, including all the existing combinations of this product (color, size, shape, etc.).
To add one or more images to your product:
- Click the "Upload an image" button and then select a photo from your computer to upload. The upload starts automatically.
The default maximal size for an image file is set by PrestaShop according to your server's PHP settings. This size can be lowered in the "Images" preference page, "Product images" section. - The uploaded images appear in a table below the button. If you have more than one image, you can choose which image is to be used as the default/cover image by clicking on the red "no entry" button and turn it into a green checkmark. That cover image will also appear automatically on the product page of your shop.
Once you have uploaded several images, you can modify the image order by drag-and-dropping each table row when the mouse cursor changes to a "movable" cursor.
Configuring Product Features
The tab named "Features" is where you specify your products' features (i.e. weight, material, country of origin, etc.).
...