Table of contentcontents
| Table of Contents | ||
|---|---|---|
|
...
Adding Products and Product Categories
...
The "Catalog" section can be accessed by clicking on the tab with the same name. This is where you manage all of your products throughout your PrestaShop site.

The first page under the "Catalog" tab lists both the homepage's sub-categories, and the products that are featured on the homepage.
...
To create a category, click on the "Add a new sub-category" button and fill out the form.
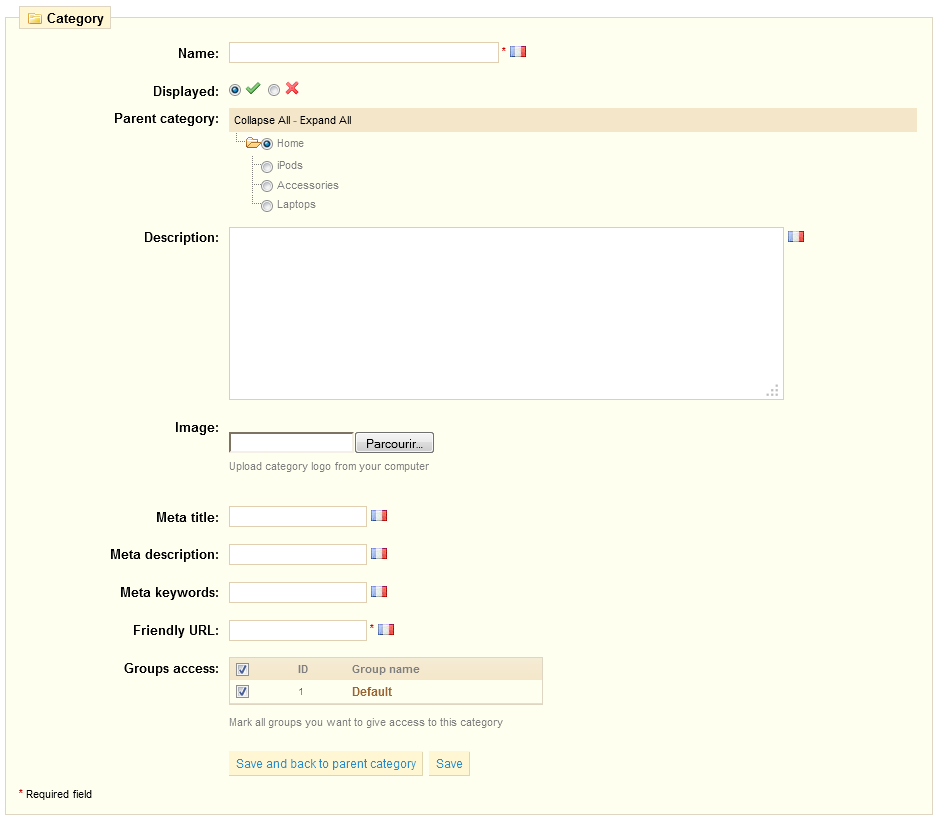
First of all, give your category a name, and then determine if it is "displayed" (i.e. whether or not it will be accessible to your customers). For example, you may want to postpone displaying a new category to your customers because you have not quite completed it.
...
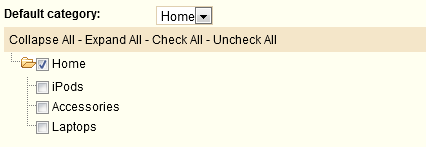
The default category will be used when an article is filed under several categories.
This serves mainly to clarify which category to use in case your customer arrives at your site from a search engine. The name of the category will appear in the product's URL. For instance, "telephone" can feature sub-categories of "brands" (Apple, Samsung, Nokia, etc.) and as well as "characteristics" (smart-phone, flip-phone, etc.).
...
Configuring the Product Image
The second tab, "2. Images", is for including photos on your product page.
...
To access this feature you must click on the "Attributes and Groups" tab under "Catalog".
Click on an attribute's row to have its values displayed with the table.
Managing attributes and varieties
To add a group of attributes, or in other words, to add a group of variation possibilities (colors, capacity, material, etc.), click on "Add attributes group", fill out the form that appears, and save.
...
You have the possibility to use a system that changes the total price of a sale depending on the quantity of products your customer buys. For this option, click on tab number 3 of the product filethe "Prices" tab, and the "Prices" price table will appear.
Click "Add a New specific price", and a form appears. Fill it out and click on "Add quantity discount".
...
- The first row of selectors enables you to be very specific about the various groups to which this price applies, including currencies, countries and even your custom customer groups (which we'll discuss in a later chapter).
By default, PrestaShop will only display the installed currencies, countries and groups. If you need more of each, you must respectively go to Payment > Currencies, Shipping > Countries, and Customers > Groups. - You can define a range of dates between which the price is active using the second row. Clicking each selector will open a calendar, simplifying the process.
Wiki Markup - The "Product price" enables you to set an arbitrary price, independent of calculations and previous prices. Keep this field at "0" to use the default price.
- Apply a discount of. The discount that will be applied once the quantity is selected. Use the selector to set the type of discount (either a specific amount in the default currency, or a percentage of the default price).
...
Adding different variations to your product takes a few steps. Before proceeding, you must already have created the necessary groups of attributes and the attributes themselves. Once this is done, click on 4th tab , named "Combinations", and a creation form will appear.
...
If you would like to make this the default combination (attribute + product), check the box labeled "make the default combination for this product".
Finally, click on "Add this Combination" in order to save it. It will appear in the attributes list.
...
Configuring Product Features
The fifth next tab, named "Features" is where you specify your products' features (i.e. weight, material, country of origin, etc.). When you create features and values (i.e. wool knit and micro-fiber materials), you assign them to the products when it is appropriate. This means that you do not have to fill out the features fields for each of your products but instead simply fill in the necessary values and apply them later. However, be aware that contrary to the combinations, these values do not change, and are valid for the general product.
...
Let's look at how to configure this function. In the tab 6, "Customization" tab, you can indicate what type of context (file or text) can be personalized.
...
In our example, we are going to modify the two values by writing "1" in each of the fields. Once this is done, click "Update Settings." It will then look like this:
- In Files File Fields, indicate what type of file must be sent (i.e. "Image to engrave"). Click the box labeled "Required" if this element is necessary to validate the purchase.
- In Text Field, indicate what type of content must be filled out by your customer (i.e. "Text to engrave"). Click the box labeled "Required" if this element is necessary to validate the purchase.
...