...
That is the purpose of this chapter: to take you through all the menus that weren't explored in the previous chapter ("Adding Products and Product Categories"), explaining each form and detailing every field, so that you can get up to speed quickly with your shop, know what data you need in order to prove useful to the customers and in the end, sell more.
Throughout the a product set up, we are going to tackle how to use several key menus for your productspages from the "Catalog" menu.
Products
The "Products" page and its dozen of tabs per product are explained in details in the previous chapter, "Adding Products and Product Categories".
...
The "Monitoring" page is the sections of your shopto shop to which you must pay the most attention in order to best manage your catalog.
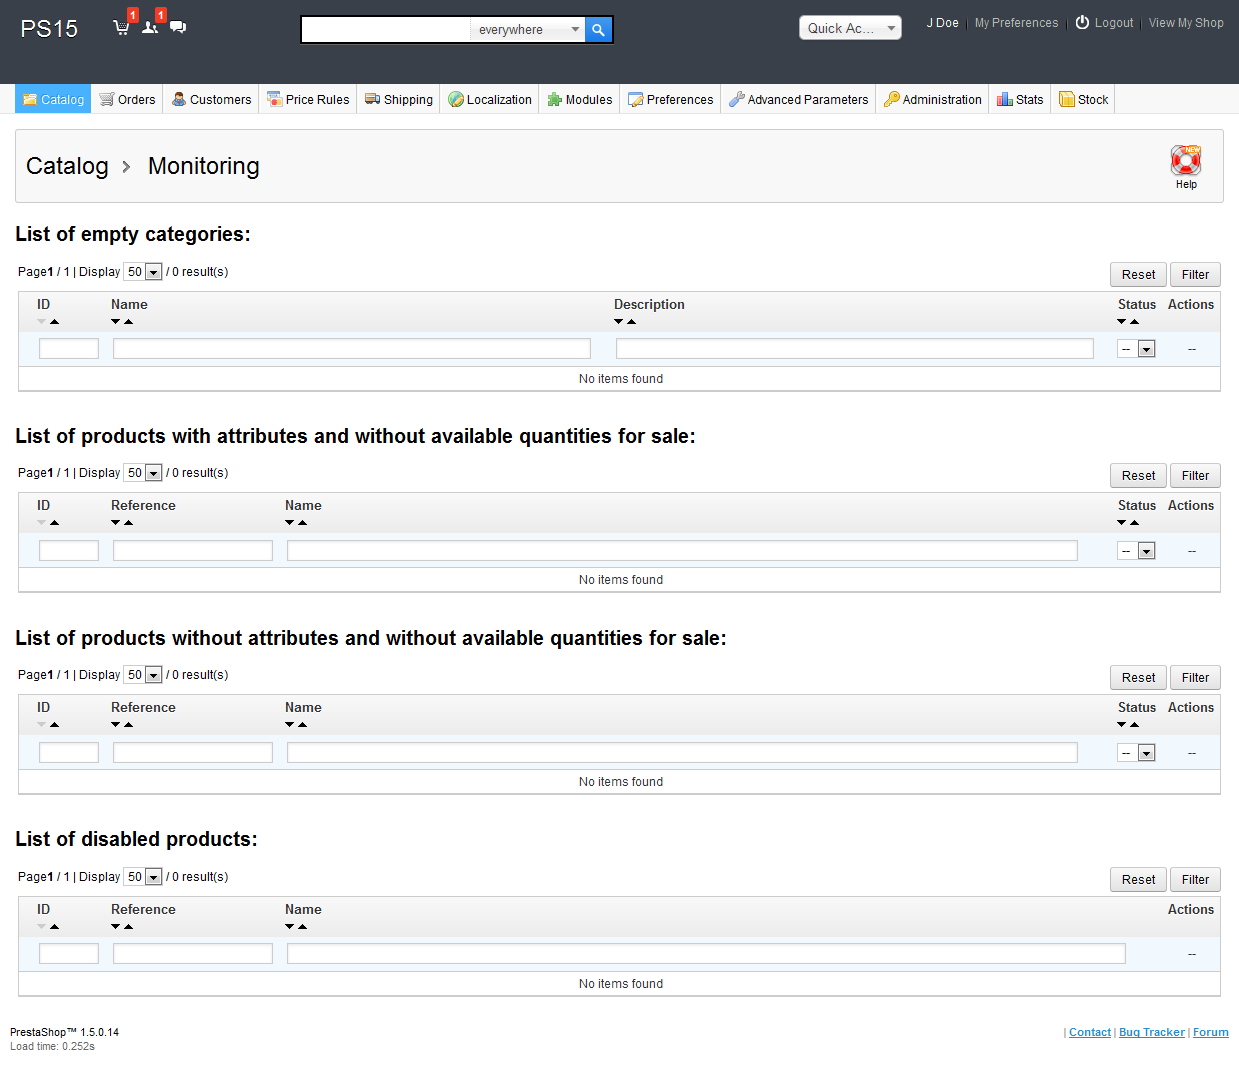
Four sections are shown:
- List of empty categories. Gives you the categories that do not have any products. You should either delete these empty categories, or fill them with at least one product. This prevents customers from finding themselves in an empty category in your shop.
- List of products with attributes and without available quantities for sale. Gives you which products are no longer in stock. Take the necessary measures to restock them.for sale. If you do not see any good reason for them not being for sale, then put them back online
- List of products without attributes and without available quantities for sale. Likewise, gives you which products are no longer in stockfor sale. Take the necessary measures to restock themFind the reason why, or put them back up.
- List of disabled products. Gives you the products that have been disabled in the store and that aren't visible to your customers. Consider either enabling them (maybe after restocking them) or deleting them from your catalog.
...
Attributes are configured on a per-product basis, from the "ProductProducts" page under the "Catalog" menu, but they must first be registered on your shop using the tool on the "Attributes and Values" page under the "Catalog" menu.
...
- Name. The exact description of the attribute. This needs to be short but precise, so as to not confuse it with another attribute.
- Public name. The attribute name, as displayed to the customers on the product page. Since some attributes might have the same name for varying content, this field enables you to still present it correctly within the product's context, while being able to easily tell a product an attribute from another with a similar name but different meaning.
- Attribute type. Enables you to choose whether the product's page should display this attribute's values as a drop-down list, a radio button list, or a color picker.
...
- Attribute type. From the dropdown list, select one of the available attributes.
- Value. Give a value to the attribute: "Red", "16 Gb", "1.21 gigowatts"...
The next attributes fields are only shown if the attribute is a color type.
- Color. If the value attribute is a color, you can enter its value in HTML color code (i.e. "#79ff52" or "lightblue"), or use the color picker to precisely show the correct hue.
- Texture. If your product does not use a solid color but rather a textured one (i.e. tiger stripes), you can upload a small image file that will be displayed on the product's page. Note that this will replace the HTML color from the field above. Click on the "Save" button is order to start the upload.
- Current texture. Once you have uploaded a texture file, it is displayed in this section as a reminder.
...
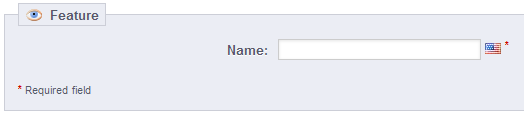
Click on "Add new feature". A very simple form appears. This is where you name the feature itself: for example, the types of headphones provided with a music player.
Give a name to this news new feature, and save your new feature to return to the attributes list, then click on "Add new feature value". Another page appears.
Fill out the form:
- Feature. From the dropdown list, select one of the available features.
- Value. Give a value to the attribute: "5 lbs", "27 cm", "...
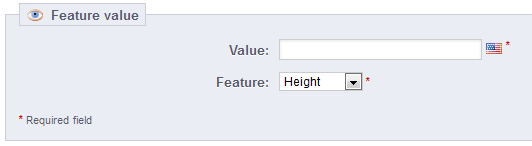
You can add more values for the same feature type by saving your changes with the "Save and add another value" button.
...
Unless you make your products yourself, you should always have register your products' manufacturers registered in PrestaShop.
| Tip |
|---|
In PrestaShop, a manufacturer is the brand behind a product. |
By entering information about the manufacturers, your site's visitors can have rapid access to all of this a given manufacturer's products. This makes navigating around your site easier for them. In terms of visibility, filling out these fields will improve your position in search engines.
Click on the "Add new" button, and a creation form appears.

Now fill Fill out all of the fields:
- Name. Indicate the name of the manufacturer in order to simplify your visitor's searches.
- Short description. The description that will appear on the search engines when you a user make a request. Limited to a 100 characters.
- Description. Add a more complex description of your manufacturer and their activity and products.
You can detail their specialties and promote the quality of their products. The manufacturer's description will be shown in your store among the others. - Logo. Having a manufacturer logo is essential: it leads the customers' eyes to trust your shop almost as much as they trust that manufacturer/brand.
- The SEO fields (Title, Meta description, and Meta Keywords): provide the same functionality as they do in the categories.
- Meta title. The title that will appear on the search engines when a request is made by a customer
- Meta description. A presentation of your site in just a few lines, intended to capture a customer's interest. This will appear in search results
- Meta Keywords. Keywords that you must define in order to have your site referenced by search engines. You can enter several of them, separated by commas, as well as expressions, which must be indicated in quotation marks.
- Enable. You can disable a manufacturer, even temporarily. This will only remove it from the manufacturers list on your shop's front-end.
...
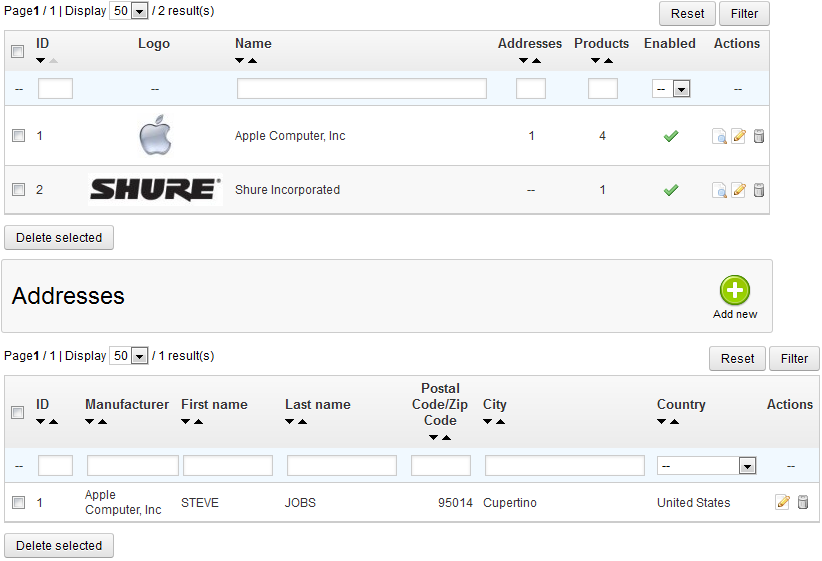
- click on a manufacturer's name or logo, and get a list of all the product products associated with it. If there are none, then you should work associate products to that manufacturer, working on a per-product basis, from the "Products" page under the "Catalog" menu, using each product's "Associations" tab on the left.
The same result is achieved by clicking the view "View" icon on the right of the current page. - disable the manufacturer, by clicking on the green check icon. Once disabled, a red cross icon appears in its place: click to re-enable the manufacturer.
- edit/delete the manufacturer by clicking on the respective buttons on the right of the row.
...
Having suppliers registered is optional if you already have manufacturer who directly supply you with their products. It all depends on your needs, but if your product supplier is not the same as the product manufacturer, then you should make sure to have both registered in your system, and associated with each product.
...
- Name. Indicate the name of the supplier in order to simplify your visitor's searches.
- Short description. The description that will appear on the search engines when you a user make a request. Limited to a 100 characters.
- Description. Add a more complex description of your supplier and their activity and products.
You can detail their specialties and promote the quality of their products. The supplier's description will be shown within your shop. - Logo. Having a supplier logo is essential: it leads the customers' eyes to trust your shop almost as much as they trust that supplier/brand.
- The address fields (Phone, Address, Postcode, City, State, Country).
- The SEO fields (Title, Meta description, and Meta Keywords). Provides the same functionality as they do in the categories.
- Meta title. The title that will appear on the search engines when a request is made by a customer
- Meta description. A presentation of your site in just a few lines, intended to capture a customer's interest. This will appear in search results
- Meta Keywords. Keywords that you must define in order to have your site referenced by search engines. You can enter several of them, separated by commas, as well as expressions, which must be indicated in quotation marks.
- Enable. You can disable a supplier, even temporarily. This will only remove it from the suppliers list on your shop's front-end.
...
Before creating an image map, you must have an image that feature which features variations of a product, or different products altogether.
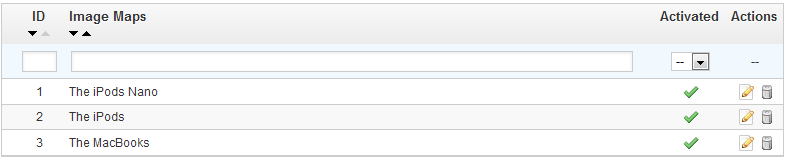
Clicking on the "Image Mapping" page menu option takes you to a new page, which lists the currently-registered image maps, if any.
Creating an Image Map
To create a new map, click on the "Add New" button. You are taken to the creation screen.
...
Your selection will be clear and illuminated while the rest of the image will darken. Pay attention to carefully align the frame of your selection with the zone onto which your customer will be able to click.

Once this is done:
- In the field just underneath the image, type the first few letters of the product associated with your selected zone.
In our example, we would type "iPod" and several choices would appear. We would then choose "iPod Touch". - Confirm your choice by clicking "OK". Your image map is now created.
...
- Name. Give your tag a name. It should be short and to the point, so as as to actually help you customers find the associated products instead of hindering them.
- Language. Indicate in what language the tag should appear on your shop. PrestaShop is clever enough not to display keywords in Spanish to customers who chose to see the French version of the site, for instance.
- Products. Select the products from the right column to which you would like to apply the tag. Hold on the Ctrl key on your keyboard in order to select several products at once.
Once you save the page, the named tag will be applied to all the products listed in the list on the leftright.
To add the same tag for another language, just repeat the operation, only this time, change the language.
...
From now on, when your customers make a search query on your site, the results they will receive will also depend on the tags that you have associated with the products.
...
Each product can have attachments, which can be individually set in their own "Attachments" pagetab on the left, as explained in the previous chapter of this guide, "Adding Products and Product Categories". That page gives you access to all the attached files of the shop: if you need to apply the associated one file with many products, you will thus only have to upload it once.
...