...
Take the time to survey the Dashboard – that is, the first page you see when logging into your back-office. Not only does it present you with a summary of everything you need to know about your shop at any given time, along with quick links to the main action page, but as a first-timer in PrestaShop, it also gives you tips about what you should have a look at.
The top bar

At the top of the back-office is a black bar containing a handful of links:
- (name of your shop): from any page, takes you back to your Dashboard.
- Cart icon: opens a tooltip presenting the new orders since you clicked that icon. A red tooltip indicates the number of new orders. From there on, you can either display one of the new orders, or go to the list of orders.
- People icon: opens a tooltip presenting the last registered customers. A red tooltip indicates the number of new customers. From there on, you can either display one of the new customers, or go to the list of customers.
- Speech bubbles icon: opens a tooltip presenting the last customer service message. A red tooltip indicates the number of new messages. From there on, you can either display one of the new messages, or go to the list of messages.
- Search field with "Everywhere" dropdown list: allows you to search within the content of your shop – even within your administration page, if you can't remember where an option is set.
- Quick Access: this is the quick links menu, presenting the most useful links, as set in the "Quick Access" page under the "Administration" menu.
- (your name): a simple reminder of which account you are currently logged-in with.
- "My Preferences" link: takes you to your account's preferences page, where you can set some personal options (for instance, the back-office language or your password).
- "Logout" link: logs you out of the current user account.
- "View My Shop": opens a new browser tab with your shop's front-end.
The menus

All along your daily activities administrating your shop, you will have to browser through the many pages and options of the back-office. Each menu applies to a given set of tasks:
...
This column starts with a handful of quick links, which lead to some of the most useful pages at this stage of your exploration of PrestaShop. These buttons should help you get going with your daily task quicker, as they are some of the most accessed features of PrestaShop. Two partner banners close the section.
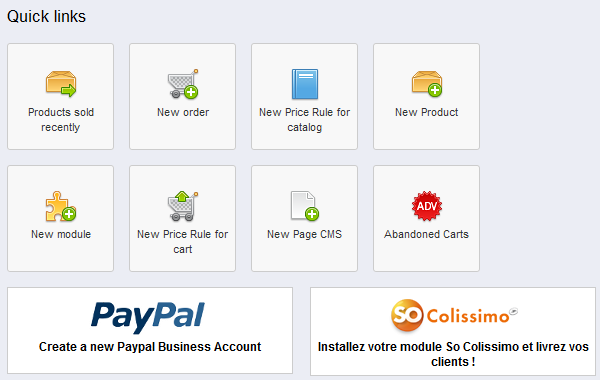
It ends with 4 boxes, two giving you information, the other two being links to external content.
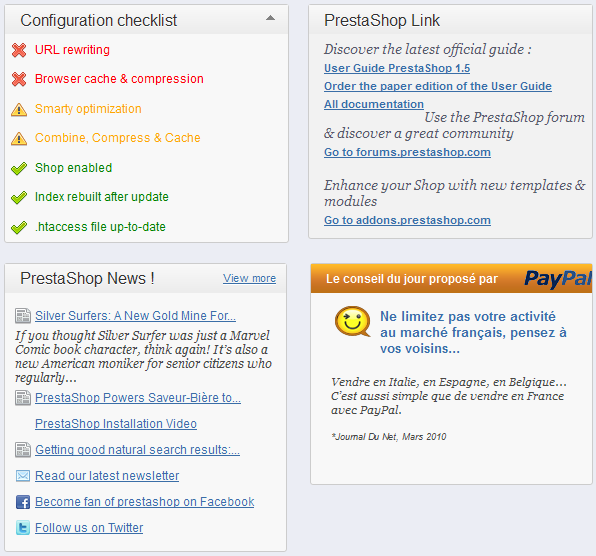
The most interesting box at this stage is the "Configuration checklist" box, which displays seven key settings that should be taken care of for a healthy shop, written in color which indicates their status: green for "OK", yellow/orange for "advices", red for "must be done". We will explore this box in details in the "Preparing your shop" section below.
The "PrestaShop Links" box gives you useful links to this very user guide (online edition), its paper edition and the documentation site itself, along with links to the community forums and the Addons website, where you will be able to buy and sell modules and themes.
The "PrestaShop News" box gives you the latest news about PrestaShop, from the official blog.
Finally, a box is dedicated to a message from our partners.
...
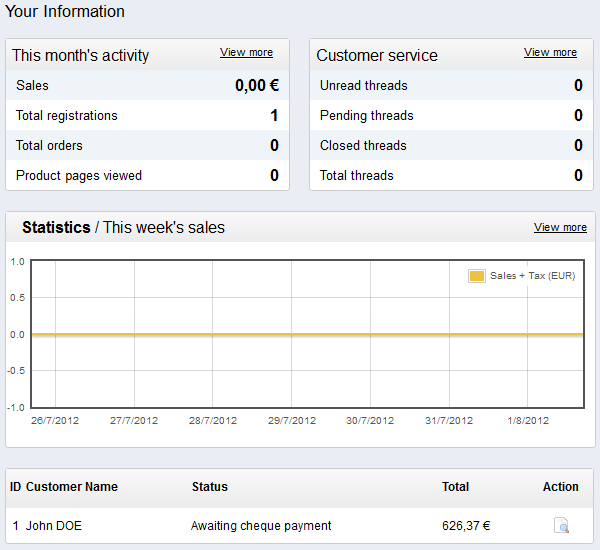
The right column is where the term "dashboard" takes its importance: this side of the Dashboard presents the user with the most important numbers pertaining to his shop's daily activities, along with a graph of sales and a list of the latest orders. Every time you log into your shop's administration area, you will be first and foremost looking at the evolution these numbers take. This is where you see your shop live and breathe.
Preparing your shop
You are now getting a pretty good idea of how complete PrestaShop can be, and the number of possibilities can feel overwhelming. This first guide will therefore lead you through some basic actions to set up your shop before the big launch. A lot can be done before you launch your shop, but these steps are the essential configuration steps of any shop.
...
Deactivating your shop means making sure that no one can access it while you are busy making changes, creating products, settings prices and taxes, installing payment modules and a new theme, setting carriers... This is called putting your shop in maintenance mode.
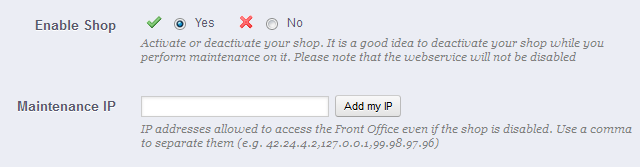
In your back-office, go the "Preferences / Maintenance" page. This page features two simple options:
...
| Tip |
|---|
If you are already decided on your theme and products, you can simply put your shop in Catalog mode. This means that customers can browse your shop, but no price will be displayed, and they won't be able to add anything to their cart until you disable the Catalog mode. You can activate the Catalog mode by going to the "Preferences / Products" page, where it is the first option.
|

Delete the content of the shop
The default installation features a handful of products – mainly Apple products, along with a couple third-party accessories. Their only use is to help you explore the setup of a functional store. After you've learned the intricacies of the ties between products, categories, orders and customers, you should delete all these items in order to start your shop with a clean slate.
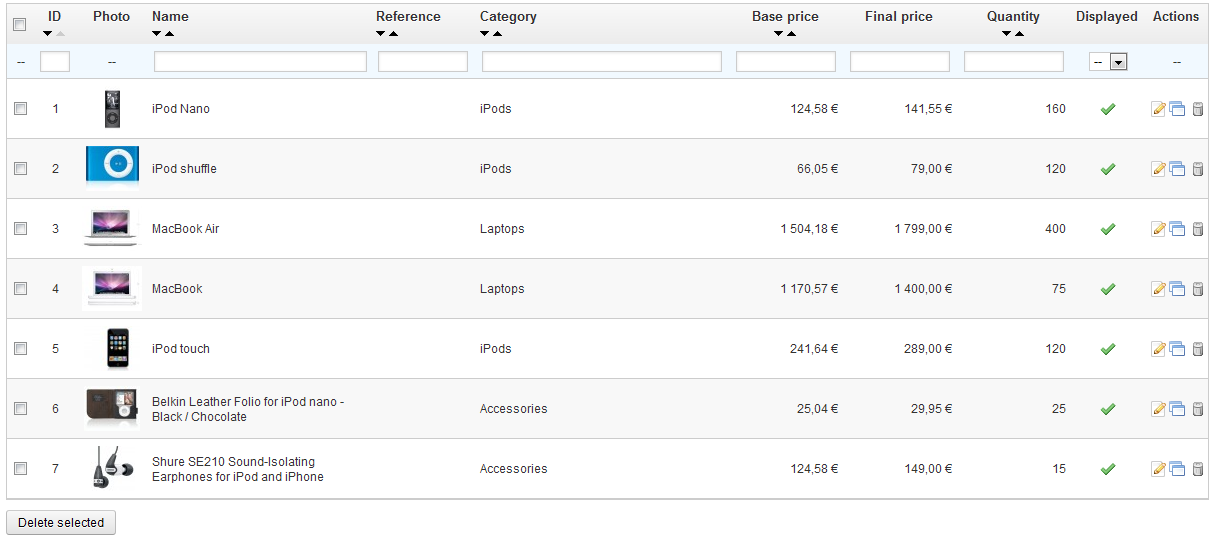
You must therefore delete all the default data, which means:
...
PrestaShop is able to work with many languages, both on the front-office and the back-office. Each text-field is accompanied with a flag icon, which indicates the current language, and which you can click in order to choose another language in which to write that field's content.

By default, PrestaShop is only installed with one language: English. You can easily enable more languages: open the "Localization" menu, choose the "Languages" item, and the page opens, with a table of all 5 available languages: English, German, Spanish, French, and Italian. The currently enabled language(s) have green check mark, while the others have a red "X". Click on any of the red "X" in order to enable its language.
...
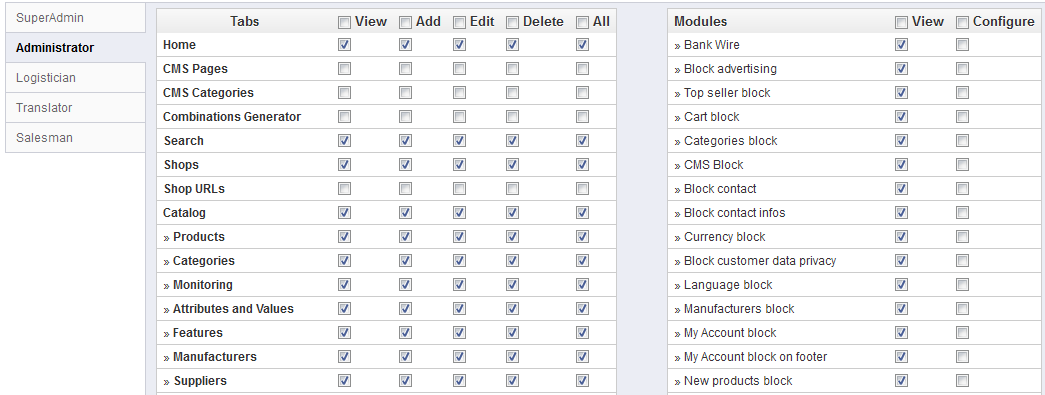
To assign permissions to an employee profile, go to the "Employees" menu, select "Permissions", and select the profile you just created. A long list of permissions appears. By default, a new profile cannot do much. It is up to you to set exactly the parts of your shop which that employee profile should have access to. It can be a tedious task, but it is an important.
To create an employee account, go to the "Employees" menu, select "Employees", and click the "Add new" button. Fill in the details, and do not forget to select the employee profile at the bottom. Once done, click the "Save" button.
...