...
Categories are managed in the "Categories" page of the "Catalog" menu.
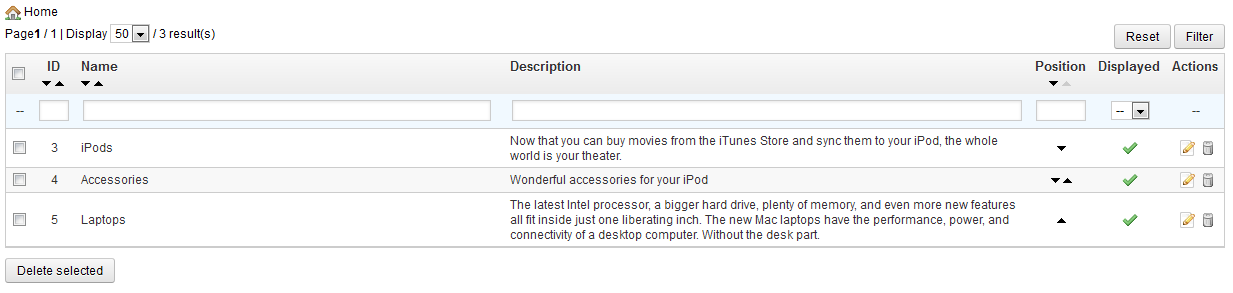
To create a category, click on the "Add new" button and fill out the form.
...
You can manage the products in your shop using the "Products" page, in the "Catalog" menu. You can see the existing products and few details.
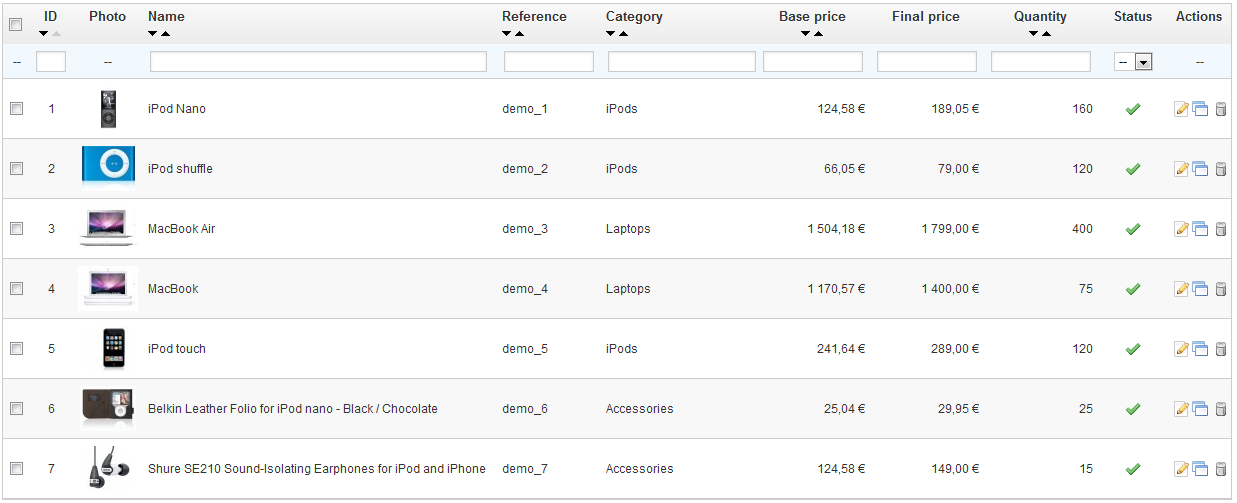
You can add new products by clicking on "Add new". A form appears, with several tabs in the left column.
...
- Save. This saves any change you have made to any of the data for the current product, and takes you back to the product list.
- Save and stay. This saves any change you have made to any of the data for the current product, and keeps you on the current tab. This is particularly useful when you want to switch tabs without losing your changes to the current tab, or seeing your changes get applied immediately.
- Back to list. It simply takes you back to the list of product, without saving any change you have made in any of the tab from this page.

As soon as you save your product, using either the "Save" or the "Save and stay" button, more buttons appear:
- Delete this product. Removes all the data for the current, including its images, combinations, features, etc.
- Duplicate. Creates an exact copy of the current product. This is very useful when you'd rather use the current product's data as a template for another new product, and not have to create every data of the new product by hand. For instance, two products might be very different, but could share the same associations, carriers or supplier settings.
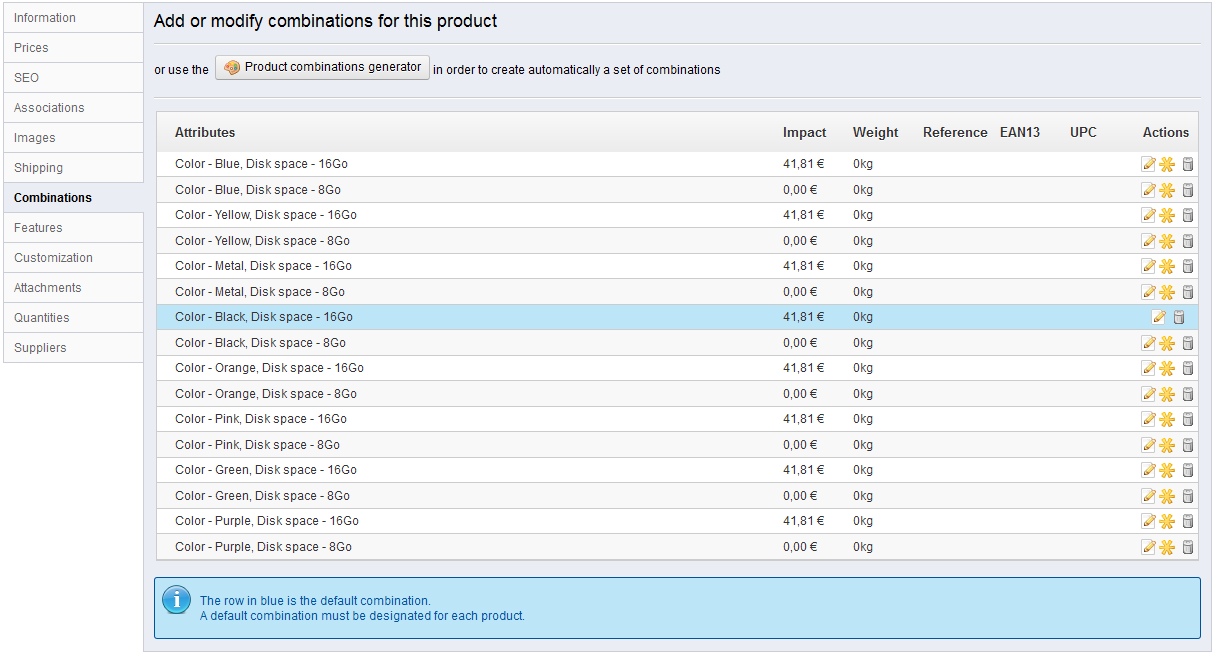
Note: if you need to create different versions of the same product, because of its variety of colors, capacity, size, etc., then you should create product combination for the current product rather than duplicating it X times. See the "Combinations" tab on the left, which is explained in the "Adding Product Combinations" section of this chapter. - Preview. Displays the front-page page of your product. This is very handy, as it works even if the product is disabled ("Informations" tab).
- Product sales. Redirects you to the "Product detail" page of the statistics dashboard ("Stats" tab), which gives you a graphic of both the visits to this product's page, and also its sales.

Filling out the Product Global Information
The first tab contains the essential information about the product.
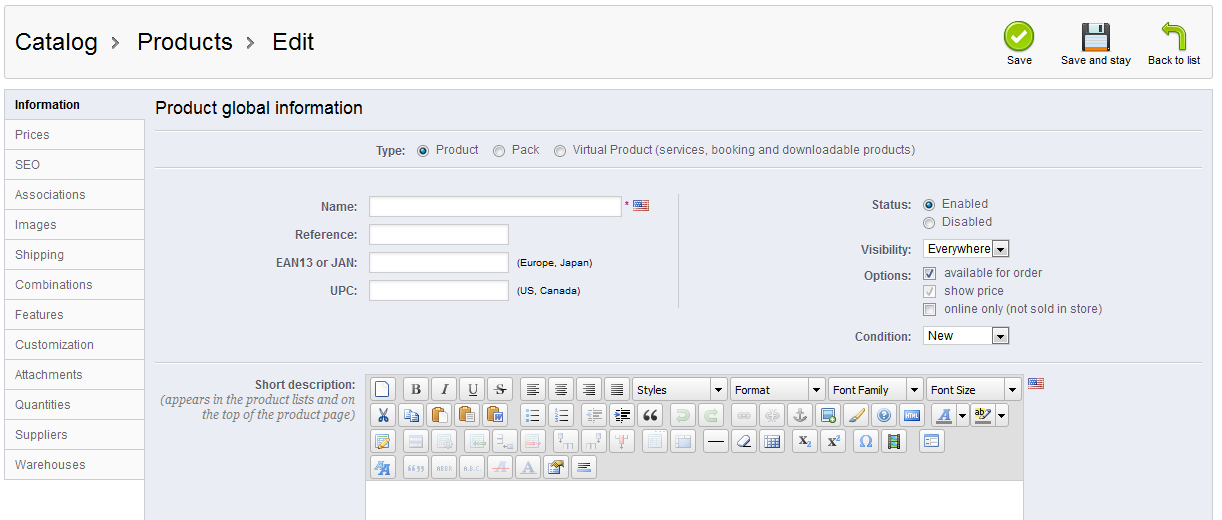
The first line is an essential one: indicate whether the product is a pack (a combination of at least two existing products), a virtual product (downloadable file, service...), or simply a classic, mail-sent product. For now, we will only explore the first option of these three, and deal with packs and virtual products in their own sections of this chapter.
...
The pricing section can be quite intimidating, with fields influencing each other and taxes to take into account. This is all done in the "Prices" tab on the left.
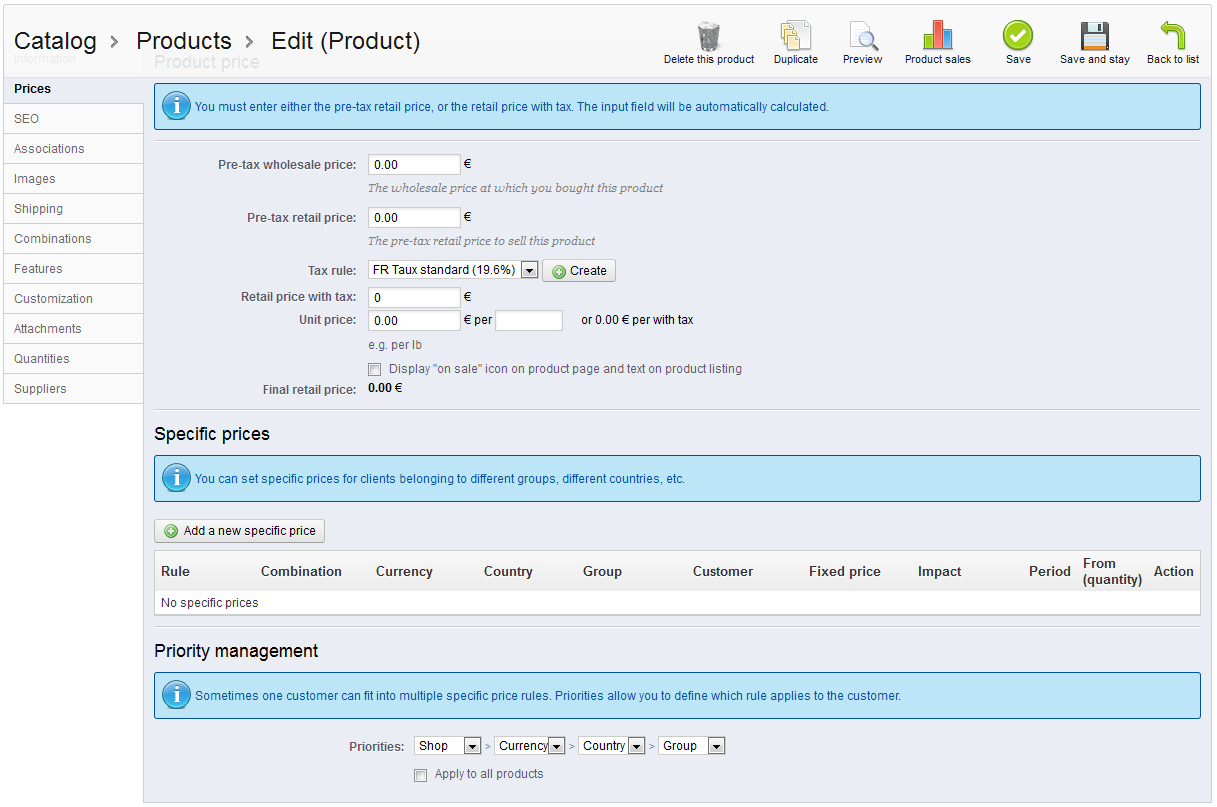
Set the price that will appear in your store by following the instructions below:
...
You can changes the total price of a sale depending on the quantity of products your customer buys, the user group, the country, etc. This is done using the "Specific prices" option of the "Prices" tab.
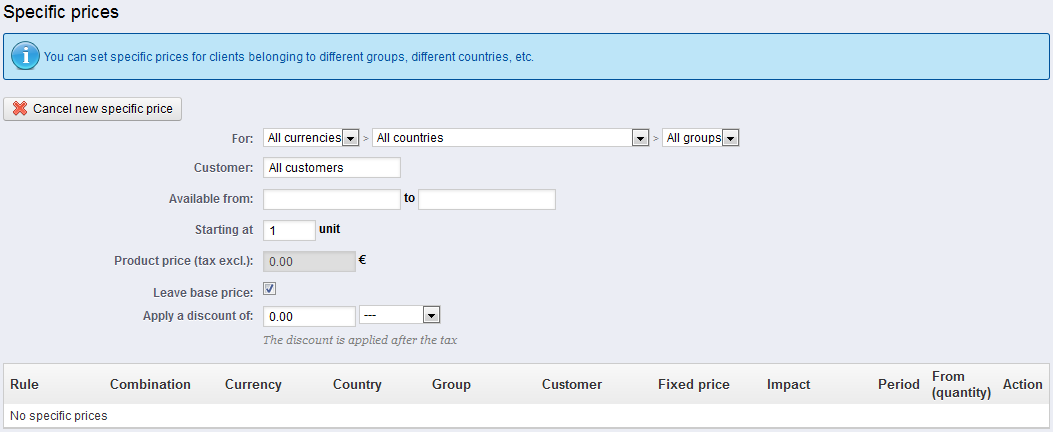
Click "Add a New specific price", and a form appears.
...
- Product categories.
- Other products (accessories).
- Manufacturer.
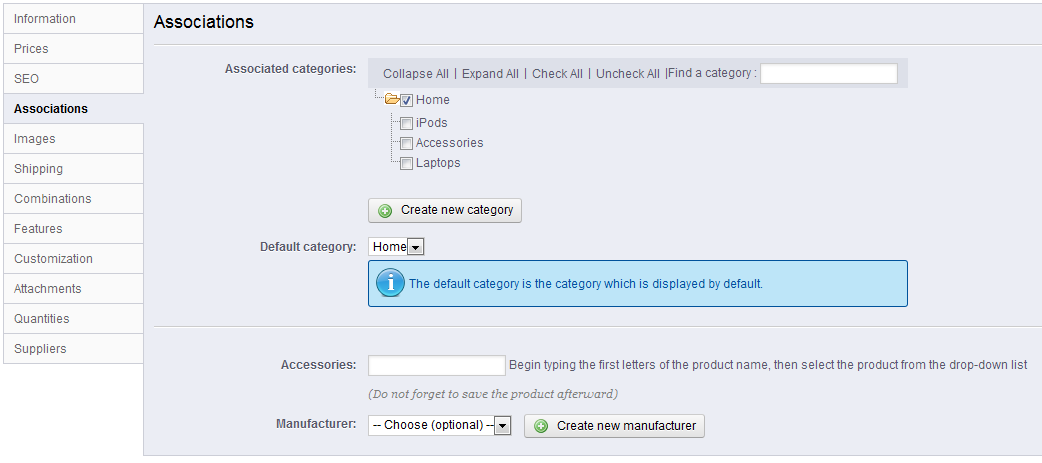
Product categories
...
| Info | ||
|---|---|---|
| ||
Combination quantities are managed from the "Quantities" tab on the left, which is a new feature of PrestaShop 1.5.
When creating a virtual product, you can now upload a different file for each combination. In PrestaShop 1.4, you had to pack all combinations into a single Zip file, and have the customers download all combinations. |
...
The tab named "Features" is where you specify your products' features (i.e. weight, material, country of origin, etc.).
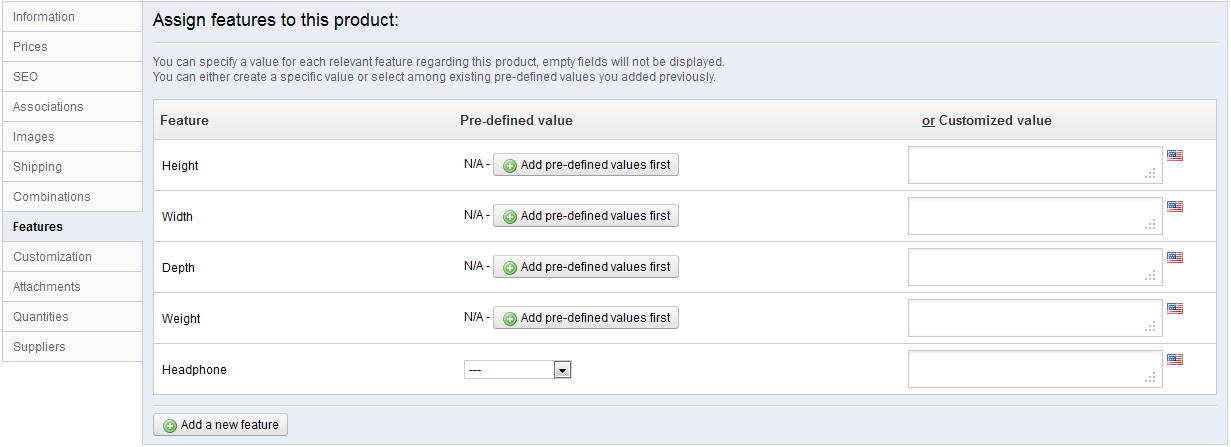
When you create features and values (i.e. wool knit and micro-fiber materials), you assign them to the products when it is appropriate. This means that you do not have to fill out the features fields for each of your products but instead simply fill in the necessary values and apply them later.
...
This is a new tab in PrestaShop 1.5. You previously had to manage quantities either in the "Informations" tab, or within the "Combinations" tab if you have any product varieties. This is all now managed in a single page.
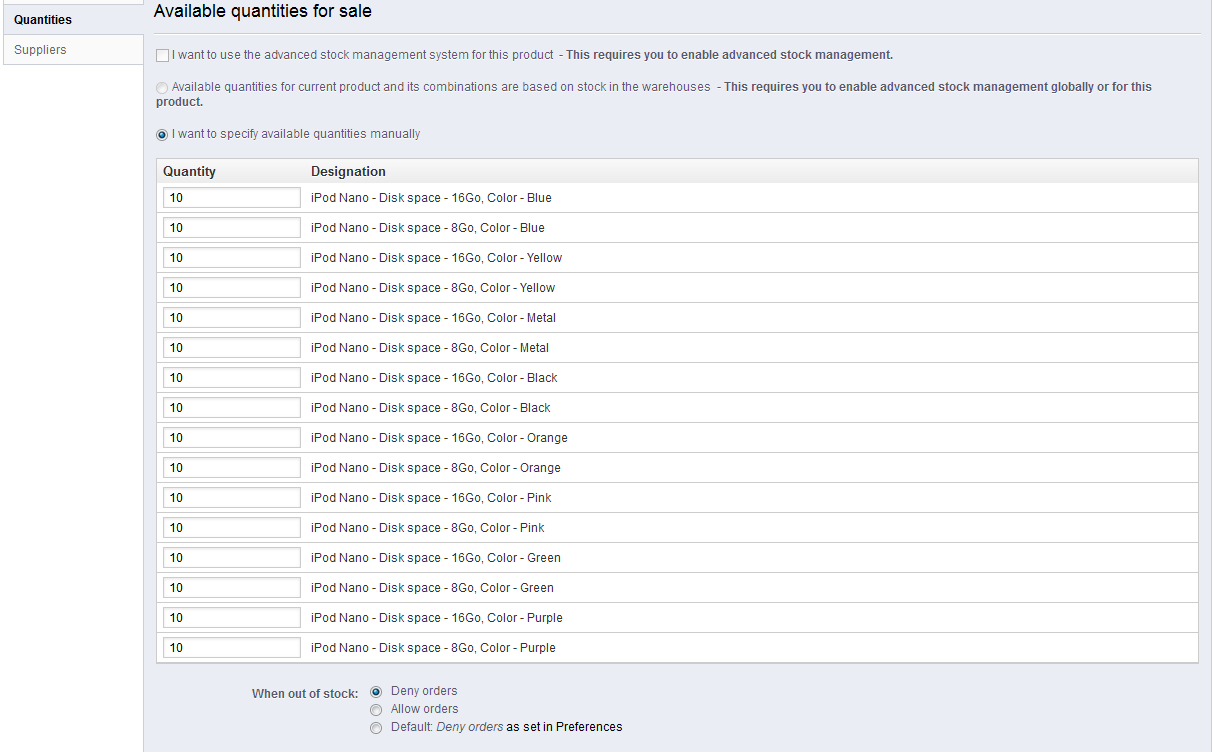
The way it works is quite easy: the page presents you with a table of all the combinations for the current product (if there are no combinations, the table simply has a single row). It is up to you to set the initial stock for all the combinations. PrestaShop will use this to determine when a product is soon out-of-stock or unavailable anymore.
...