Grupos de Clientes
PrestaShop le permite dar a sus clientes ciertos privilegios, asignándolos a grupos. Puede crear tantos grupos de clientes como sea necesario, y asignar un usuario a tantos grupos como desee.
Todo esto se realiza desde la pestaña "Grupos", bajo el menú "Ajustes sobre Clientes".
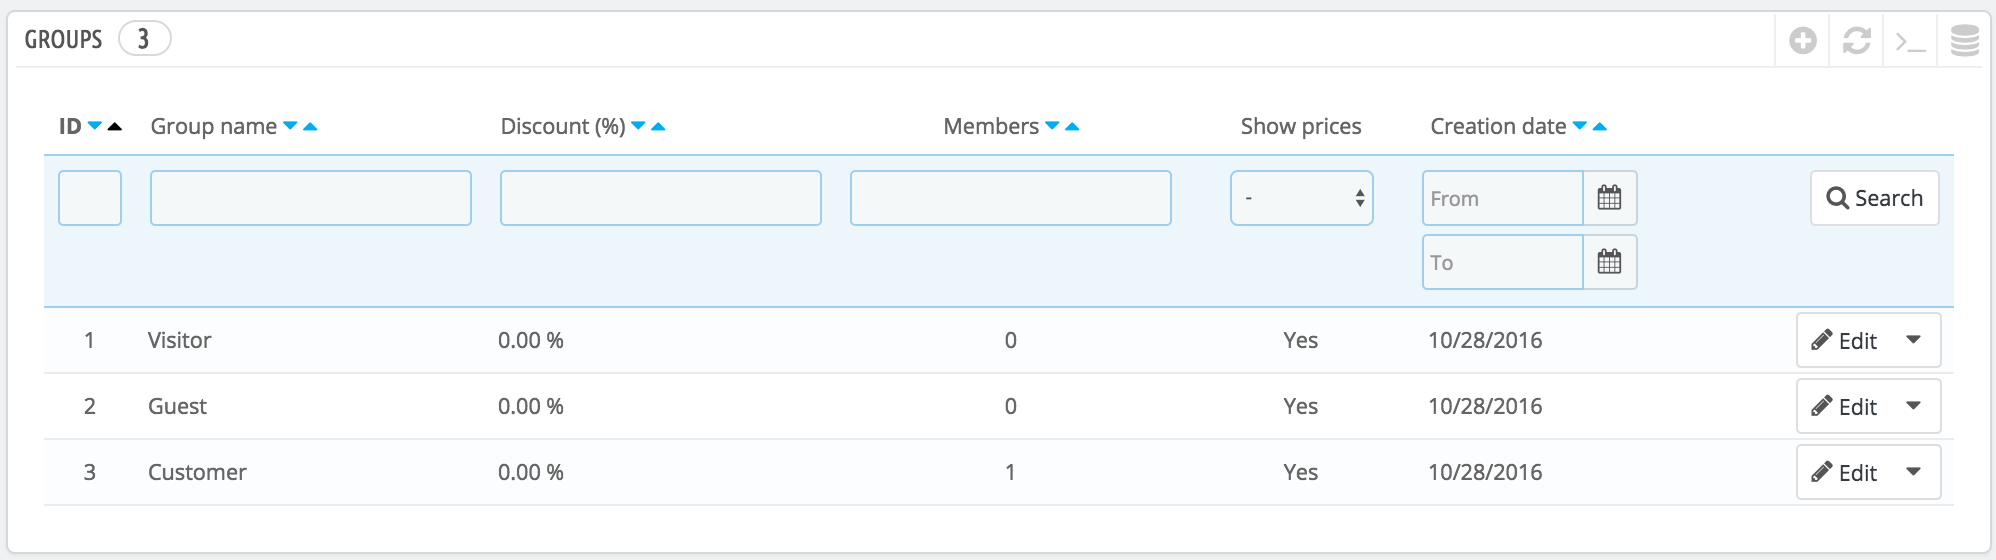
De manera predeterminada, tres grupos especiales están disponibles:
- Visitante. Todas las personas que no tienen una cuenta de cliente o no se han autenticado.
- Invitado. Todas las personas que realizaron un pedido express con una cuenta de invitado – esta opción debe estar activada.
- Cliente. Todas las personas que han creado una cuenta en su tienda, y se han autenticado.
Estos tres grupos no se pueden eliminar.
Para crear más grupos, haga clic en el botón "Añadir nuevo grupo", tras realizar esta acción aparecerá el formulario de creación.
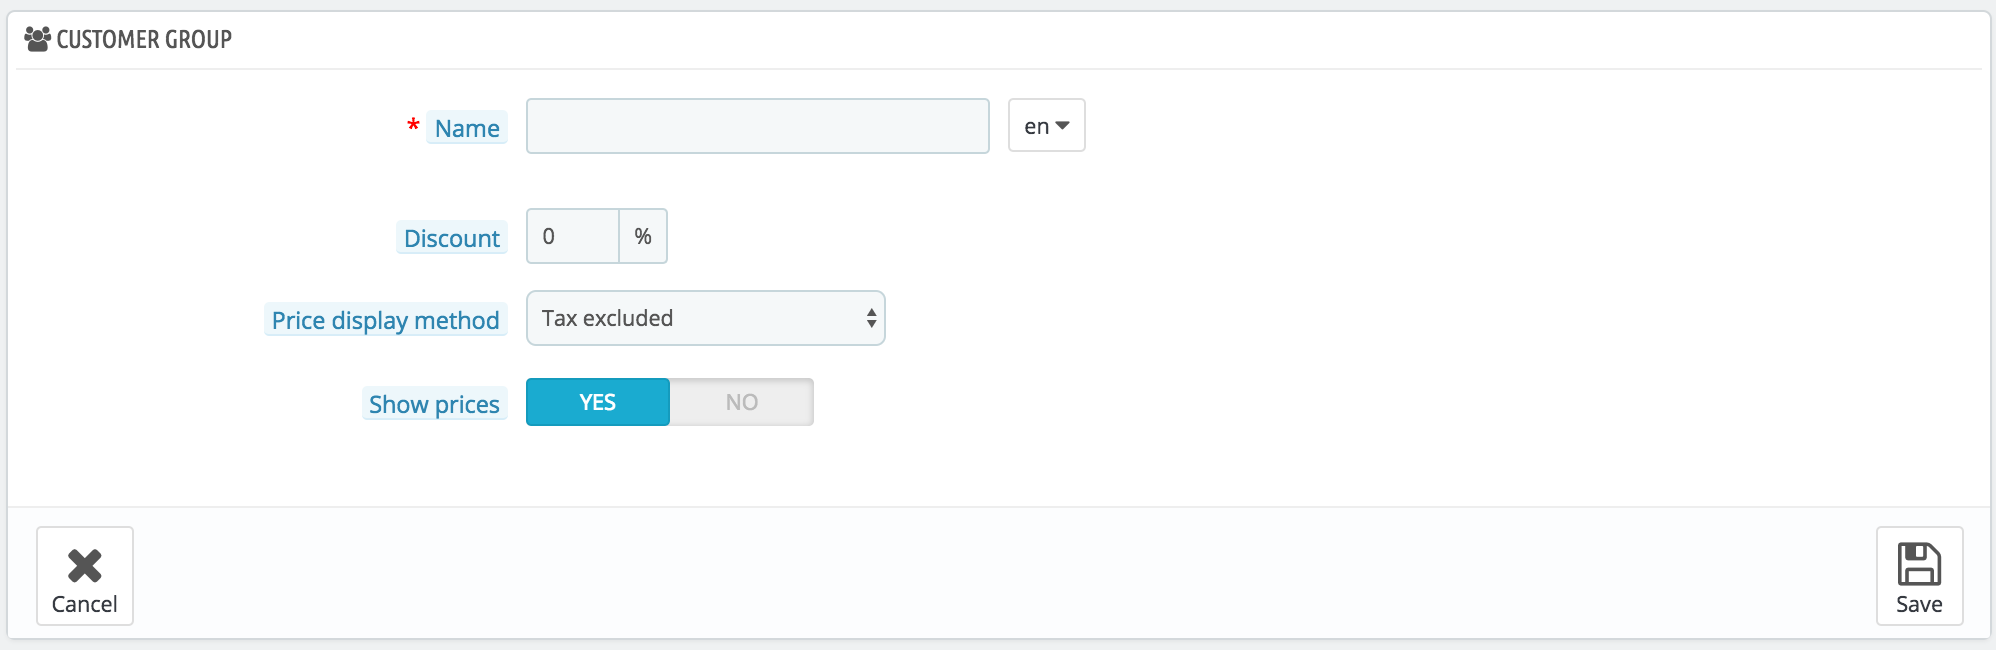
- Nombre. Establezca un nombre corto y descriptivo.
- Descuento (%). El descuento que se establece a los miembros de este grupo se aplica a todos los productos de su tienda.
You may prefer not to set any discount value, and create cart rules instead. - Price display method. PrestaShop is frequently used in the Business to Business (B2B) sector. You can create a group of customers who can buy products without paying taxes. The drop-down list gives you a choice between "tax included" and "tax excluded".
- Show prices. By default, all users of your shop can view the prices. You may prefer some to not have access to your product prices. For instance, you could make it so users can only view prices if they have an account. In that case, you should edit the "Visitors" group so that "Show prices" is set to "No".
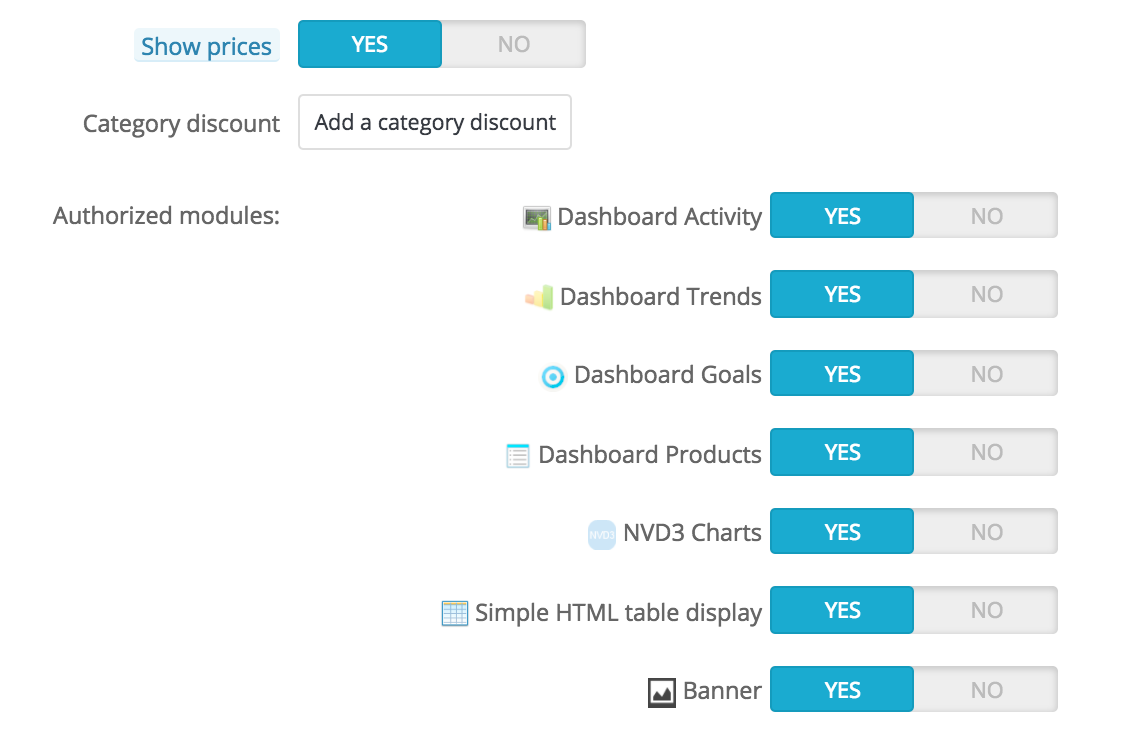
Once these settings are in place, you can save the group as-is, or add per-category and/or per-module settings. In that second case, after the group has been saved, open it again: the form will load with two more options:
- Category discount. Click on the "Add a category discount" to bring up a new window, which contains a list of all your categories. You can pick one, and apply a specific discount which will apply for that group of customers only, and to that category only.
Note that:- Only products which have this category as their default category will be affected by the discount. Products which have this category as a secondary category will not be affected.
- This category discount will replace any other discount that members of this group would otherwise enjoy on this category.
- You can add as many category discounts for this customer group as you need – thereby enabling to entirely give this group a whole set of different discounts if you feel the need.
- Authorized modules. This section enables you to block members of this group to access and use some of your shop's modules. For instance, you might prefer some customers not to be able to see your top-sellers or your specials.
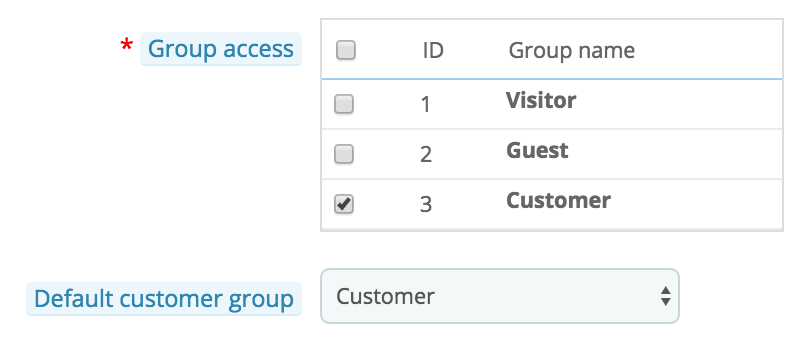
You can add a customer to a group of your choice by editing the customer's details: from the list of customers (in the "Customers" page under the "Customers" menu), click on the Edit button on the customer's row. Then, in the "Group access" table, select the group(s) to which you want your customer to belong. If you assign the customer to more than one group, remember to set their main group with the "Default customer group" option.