...
The first field to fill is the product name, which will appear in the search engine results and in your product sheet's URL by default. Next to the field you will find a language selector, which enables you to choose the language into which you wish to edit or create the nameproduct.

| Info |
|---|
You must give the product a name in at least the default language before you can save it. You won't be able to save until it has a name. Make sure to translate each field in every language that your shop supports. In order to do that, click on the language selector next to the product type field, and choose the language in which you wish to edit the product name. |
Type of product
This second option is an essential one: indicate whether the product is a pack (a combination of at least two existing products), a virtual product (downloadable file, service, etc.), or simply a classic, mail-sent product. For now, we will only explore the standard product with no combinations, and deal with products with combinations, packs and virtual products in their own sections of this chapter.
...
- Sales. Redirects you to the "Product detail" page of the statistics dashboard ("Stats" menu), which gives you a graphic of both the visits to this product's page, and also its sales.
- Product list. New in PrestaShop 1.7. Displays a list of all your products to allow you to quickly navigate from a product to another.
- Help. Opens the contextual help in a column, with the page from the User Guide corresponding to the product page.
At the bottom of each pagethe page, there are several several actions are possible:
- Delete (trash icon). Removes all the data for the current product and deletes it, including its images, combinations, features, etc.
- Preview. Displays the front office page of your product. This is very handy, as it works even if the product is disabled.
- Online / Offline. This is where you enable or disable your product. By default it is disabled, so your customers won't be able to see it in your shop.
Duplicate. Save the current product, then creates an exact copy of the current product and takes you to the new product page. This is very useful when you'd rather use the current product's data as a template for another new product, and not have to create every data of the new product by hand. For instance, two products might be very different, but could share the same associations, carriers or supplier settings.
Note title Don't over-duplicate! If you need to create different versions of the same product, because of its variety of colors, capacity, size, etc., then you should create product combination for the current product rather than duplicate it X times. See the "Combinations" option in the "Basic settings" tab, which is explained in the "Creating a product with combinations" section of this chapter.
- Go to Catalog. This saves any change you have made to any of the data for the current product, and takes you back to the product list.
- Add new product. This saves any change you have made to any of the data for the current product, and opens a new page to create a new product.
- Save. This saves any change you have made to any of the data for the current product, and keeps you on the current tab. This is particularly useful when you want to switch tabs without losing your changes to the current tab, or in order to see your changes get applied immediately.
...
| Tip | ||
|---|---|---|
| ||
Some keyboard shortcuts have been introduced in PrestaShop 1.7 to help you save time when you create several products in a row. The behavior is the same as described above, and it works for the following options:
|
Creating a product
The product page, which has been redesigned in PrestaShop 1.7, makes it easier to create a product thanks to enhanced tabs.
Basic settings
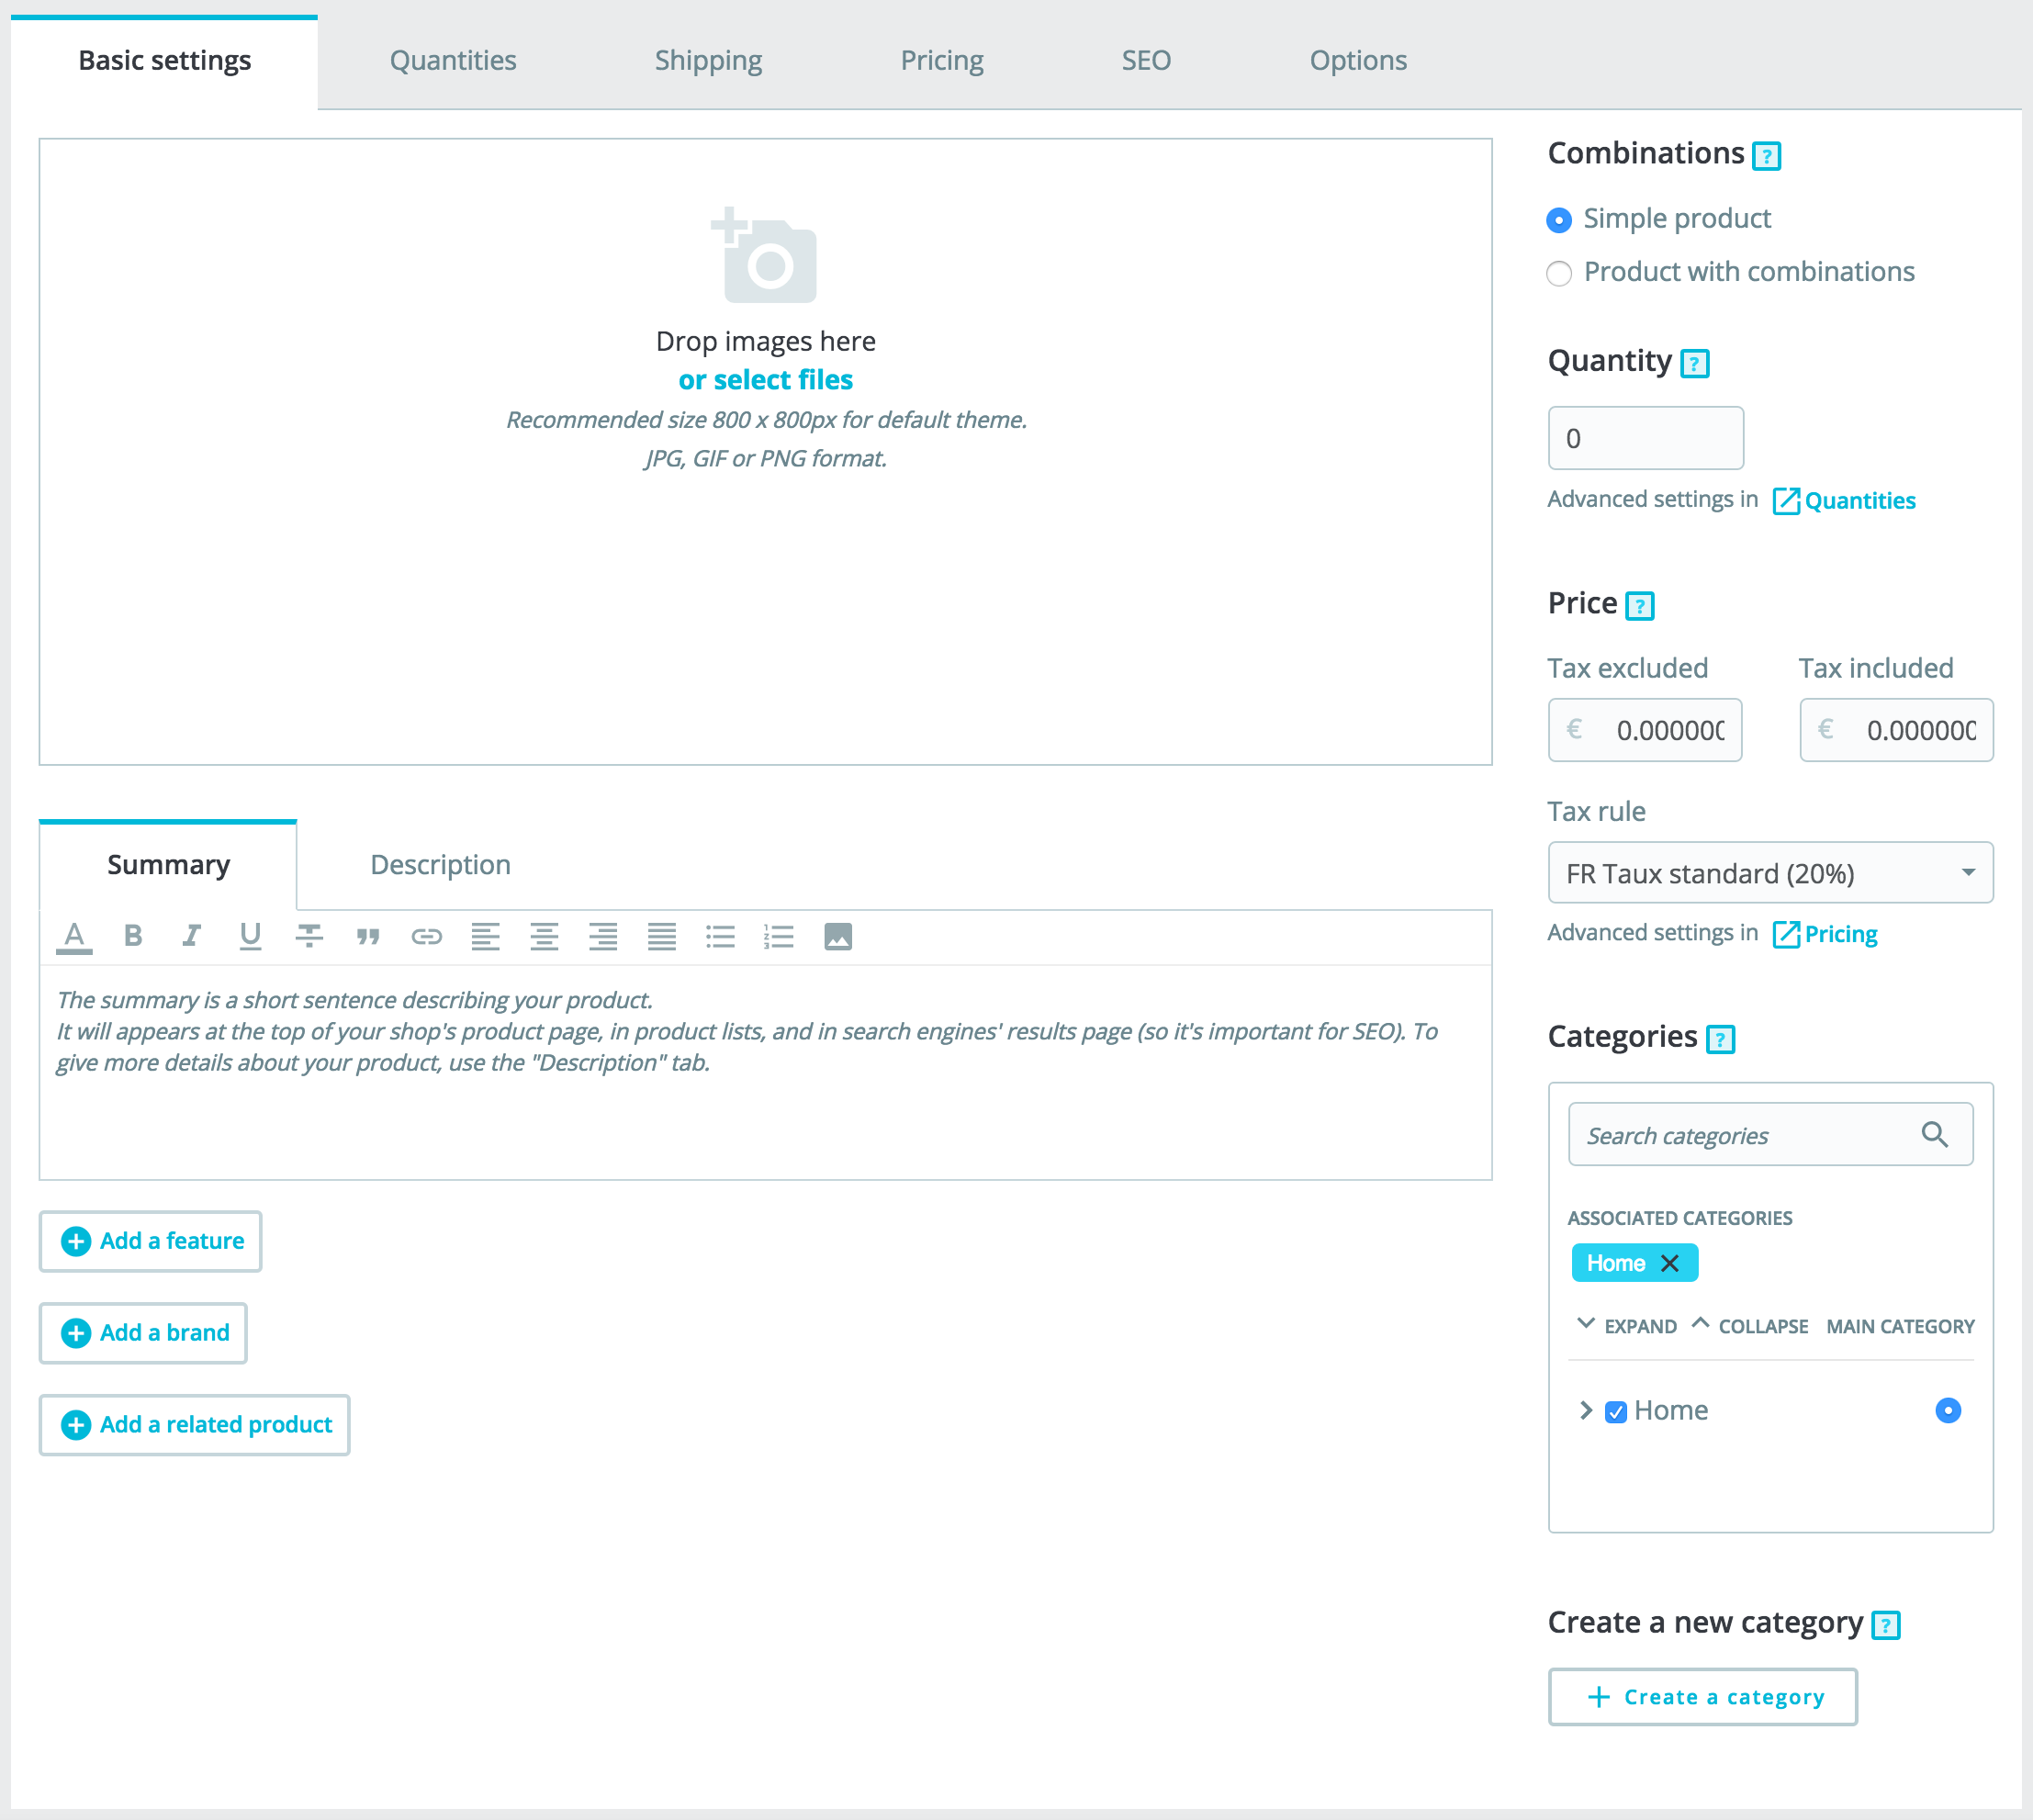
The "Basic Settings" tab provides the main options required to create a basic product: in a few clicks you'll be able to create a new product. From there you can also browse the other tabs to add further details to your product.
...
Each image can have a caption: use it to briefly describe the image (and the product). If you have several languages, don't forget to translate it!
Sorting images
Once you have uploaded all your product images, you can modify their order by drag-and-dropping each image. You can also add more images by clicking on the "+" icon, or dropping it.
Sorting images
You can reorganize the order of your images by clicking on each image and moving it to the position where you want to display it:

Summary and Description
Describing your product well is essential, both for the customer (the more information, the better) and search engines (it will help your shop appear in more search requests).
...
You can associate a product with as many other products as you deem necessary. Click on the trash icon to delete the product association.
An association goes one way only: the associated product will not feature an association to the current product in its setting page.
| Tip |
|---|
Accessories addition/removal is not automatically saved! Do not forget to click on the "Save" button. |
Combinations
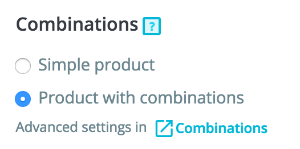
You will often sell the same product under different versions: they share the same overall name, but they might differ by their color, their capacity, their screen size, and other attributes. Most of the time, these attributes come together: you could have the red version of the product available with either 1 Gb capacity or 2 Gb, or with 12'' screen or a 15'' screen. This is why PrestaShop calls these versions "combinations": your stock of products can be made of several variations of a single product, which in effect are simply its attributes combined in specific ways.
...
- Price – Tax excluded. This is where you should set your price. It is independent of calculations, tax and other prices.
Keep this field at "0" to use the default price. - Price – Tax included. Displays the price of the product with taxes included. You can edit the value, and it will automatically update the "Tax excluded" field according to the tax rule that you chose.
- Tax rule. The tax applicable to the product. Choose between the different rates that you have registered. When changing the tax rule, the tax included price will change accordingly.
...
The "Categories" section enables you to select in which category the product should appear. You can select more than one, but keep in mind that it is better for the customer if the category only contains equivalent and comparable products. Therefore, you should prevent from selecting root categories, and prefer child categories.
For instance, the "telephone" category can feature sub-categories of "brands" (Apple, Samsung, NokiaHTC, etc.) and as well as "characteristics" (smart-phone, flip-phonedual sim, Android, etc.). It is up to you to indicate the category most useful to your customers.
...
Using the search bar. Type in the first letters of product the category and the bar will display all the matching categories and the path to access it. Choose your category and click on it. It will be shown in the "Associated categories" section.
...
In the list of associated categories, if you mouse over a specific categoriecategory, you will see the path leading to the category. It can be helpful if you have several categories with the same name (like "Shoes" which can be under "Children" and "Women" categories).
...
The "main category" selector is useful when an article is filed under several categories. It serves mainly to clarify which category to use in case your customer arrives at your site from a search engine, since the name of the category will appear in the product's URL.
| Tip | ||
|---|---|---|
| ||
Checking the "Home" box enables you to highlight the product on your shop's homepage, provided your theme supports it. To remove a product from the Featured list, simply uncheck the "Home" box. |
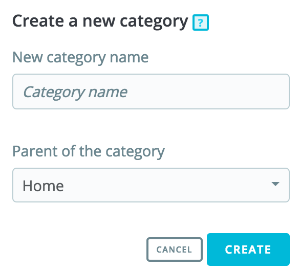 Creating a new category
If you feel you need to add a category, save the current state of your product before clicking the "Create new category" button.
...
At this point, you are done with the essential information for a basic product page. You can save it and . To have it immediately available for sale on your shop!
But , click on "Offline": its status will change to "Online" and it will be visible on your shop.
However, you should keep reading, as there are many more details you can add to your product to make it more attractive to customers.!
Quantities
Product quantities are managed in a single tab. PrestaShop will use this to determine when a product is soon out-of-stock or unavailable anymore.
...
You can also configure the general settings applied to all of your products: the default option is to deny orders, but this can be modified under the "Products Settings" in the "Shop Parameters section" ("Allow ordering of out-of-stock products" option), which is fully explained in the "Understanding the Preferences" chapter of this guide.
Shipping
The "Shipping" tab enables you to give some precious details about your product's package. It isn't available in the case of a virtual product.
...
You can fill out the "Price - tax includedexcluded" field and choose the tax rate to apply, and the field will automatically calculate the pre-tax retail price with taxes. The opposite operation is also available.
...
- Leave initial price. Check this box to reset the "Product price" field and prevent yourself from editing it.
- Apply a discount of. The discount that will be applied once the client has chosen a quantity of product. Use the selector to set the type of discount (either a specific amount in the default currency, or a percentage of the default price). On the product sheet, the initial price will appear as crossed out next to the discounted price.
...
If you want to build more complex discounts, go read about the "Discounts" menu in the "Managing Discounts" chapter of this guide.
...
| Label | Type |
|---|---|
| First line (24 chars) | Text |
| Second line (24 chars) | Text |
| Last line, signature (16 chars) | Text |
Once all the label fields have been filled, do not forget to save your changes.
On the customer's side
Once a product has customizable properties set, its front-end product page has a new blockb, below the description: "Product customization".
...
If you haven't attached any file yet, you can upload a new file directly on this page:
- Click on "Attach a file"
- Click on "Browse" to select a file on your computer to upload.
As soon as you choose the file, PrestaShop uploads it, then displays it in the list - Fill out the title of your attachment (it doesn't have to be the same as the original file name).
- Give it a description. This will help you distinguish between your uploaded files with certainty and will give additional information to your customers.
- Click on "Add".
- The attachment appears in the "Attached files" list, already selected to indicate it will be attached to the product.
- Save your product.
...
Indicating the product's supplier is not really important to your customers (very much less so than its brand in any case), but it may turn out to be an essential part of your own internal management, not the least when managing your stock: you simply need to know who you bought the product from. The supplier of the current product is to be set from the "Suppliers" section of the "Options" tab.
| Info |
|---|
You cannot use this feature if you do not already have at least one supplier registered in your shop. Suppliers are created from the "Brands & Suppliers" page, under the "Catalog" menu. The complete supplier registration process is explained in details in a dedicated chapter of this guide. Associating the current product with one or more suppliers is really easy: simply check the box corresponding to the supplier, and save your changes. |
Supplier reference(s)
The supplier's section also features a table that enables you to set the precise reference and unit price/currency for each product combination, per supplier. If the product has more than one supplier, the table will display each supplier one after the other.
...