...
- Delete (trash icon). Removes all the data for the current product and deletes it, including its images, combinations, features, etc.
- Preview. Displays the front office page of your product. This is very handy, as it works even if the product is disabled.
- Online / Offline. This is where you enable or disable your product. By default it is disabled, so your customers won't be able to see it in your shop.
Duplicate. Save the current product, then creates an exact copy of the current product and takes you to the new product page. This is very useful when you'd rather use the current product's data as a template for another new product, and not have to create every data of the new product by hand. For instance, two products might be very different, but could share the same associations, carriers or supplier settings.
Note title Don't over-duplicate! If you need to create different versions of the same product, because of its variety of colors, capacity, size, etc., then you should create product combination for the current product rather than duplicating it X times. See the "Combinations" option in the "Basic settings" tab, which is explained in the "Creating a product with combinations" section of this chapter.
- Go to Catalog. This saves any change you have made to any of the data for the current product, and takes you back to the product list.
- Add new product. This saves any change you have made to any of the data for the current product, and opens a new page to create a new product.
- Save. This saves any change you have made to any of the data for the current product, and keeps you on the current tab. This is particularly useful when you want to switch tabs without losing your changes to the current tab, or in order to see your changes get applied immediately.

Creating a product
Basic settings
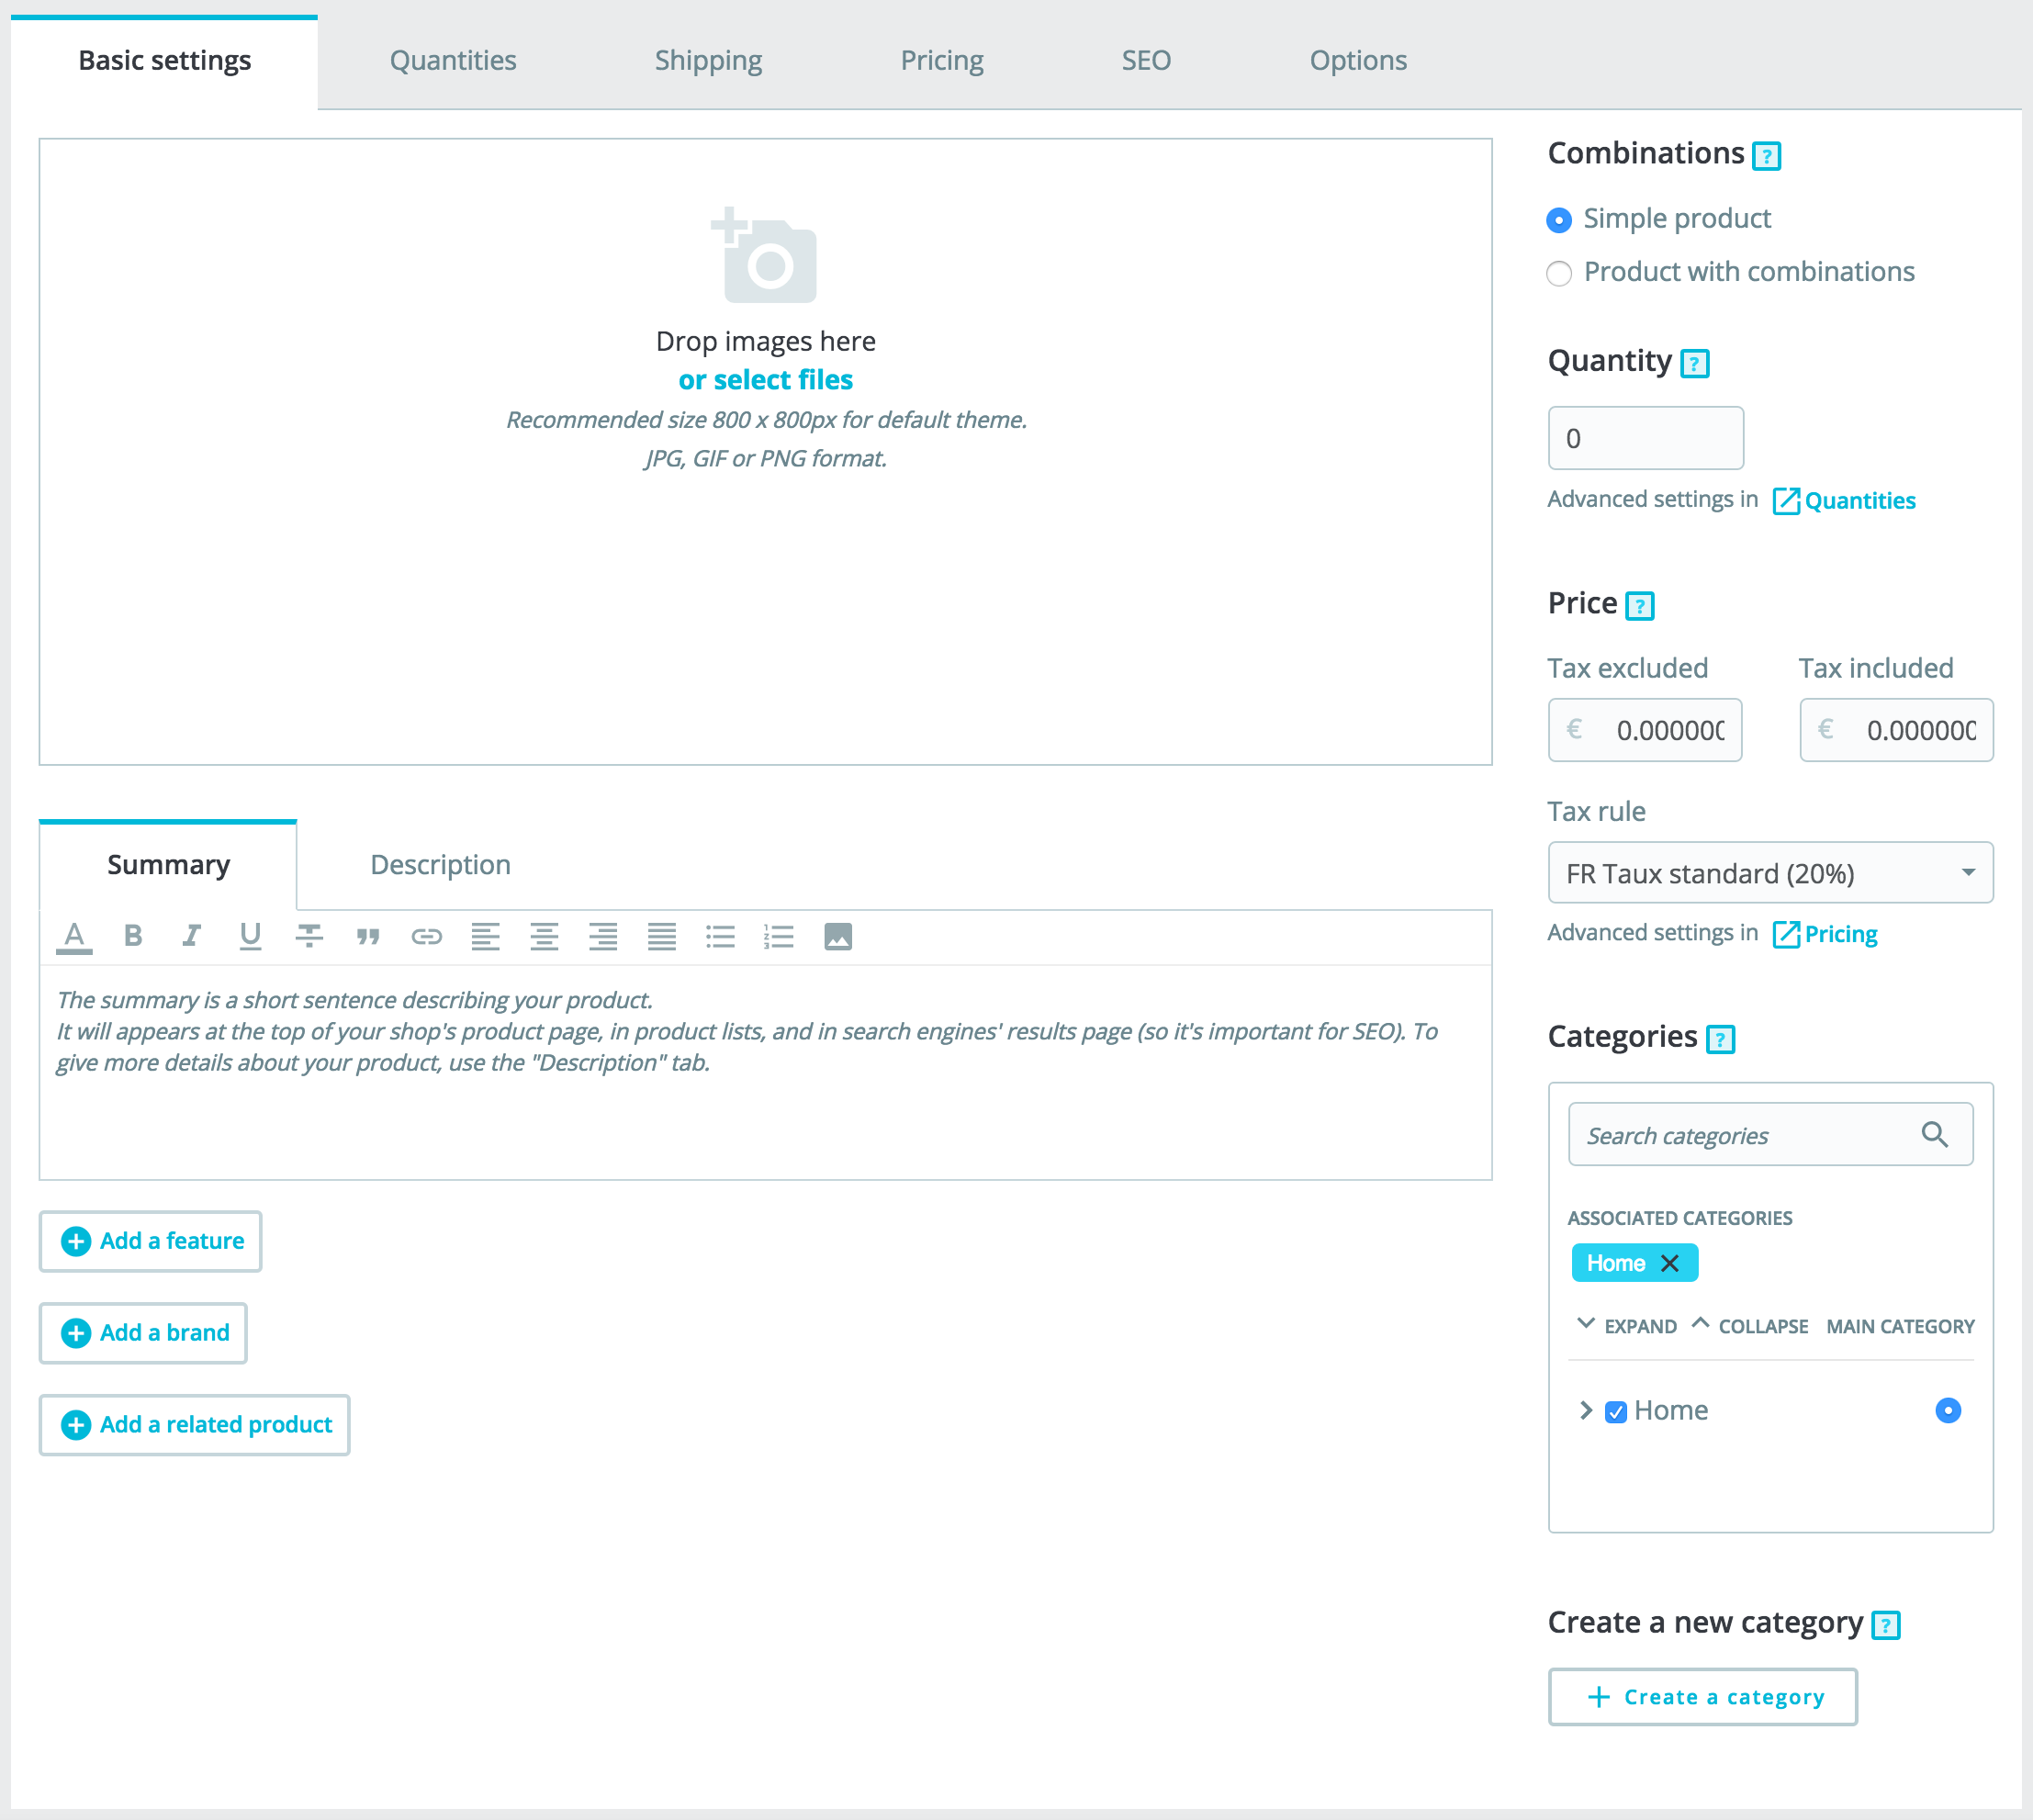
The "Basic Settings" tab provides the main options required to create a basic product: in a few clicks you'll be able to create a new product. Fom there you can also browse the other tabs to add further details to your product.
Images
The image section is on the top-left part of the "Basic settings" tab. You should upload all the images for this product, including all of its combinations (color, size, shape, etc.).
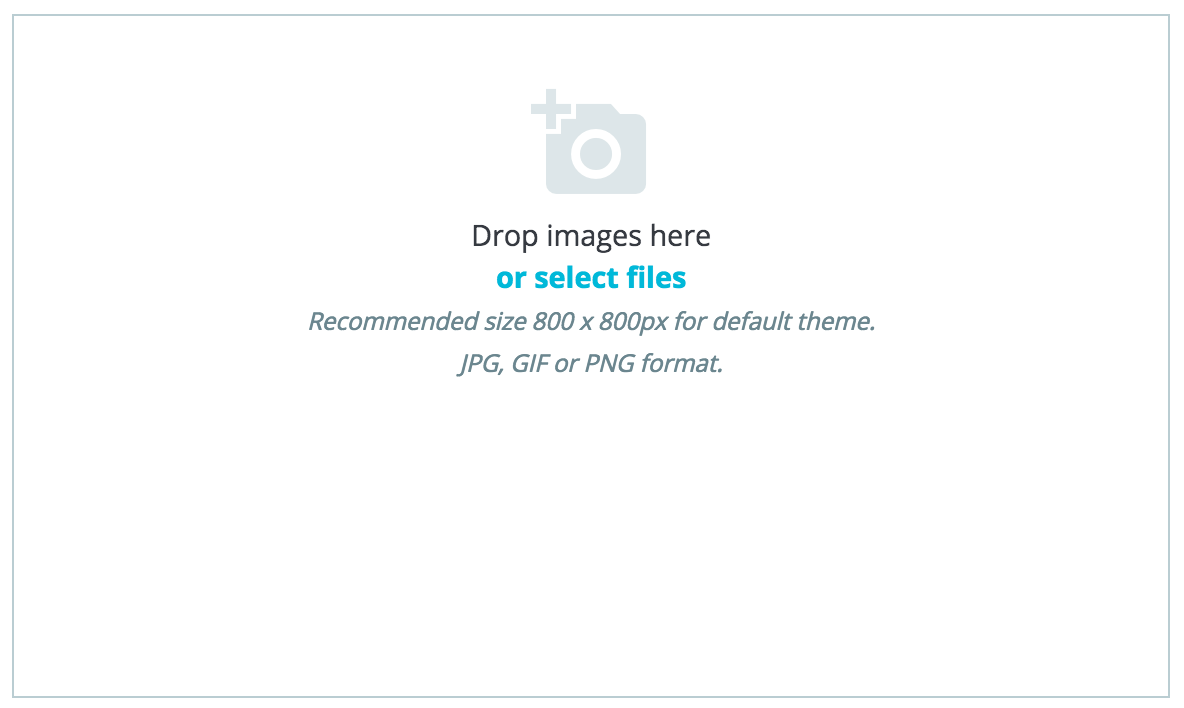
To add one or more images to your product:
Drag and drop your images directly from your folder, or click on "select files" (or anywhere in the image section in fact) to search and open the folder containing your images. You can select as many images as necessary by keeping the Ctrl-key pressed while selecting files, or you can make your selection one by one. The default maximal size for an image file is set by PrestaShop according to your server's PHP settings. This size can be lowered in the "Images" preference page, "Product images" section.
Cover image
The uploaded images appear as thumbnails. The first one will be your default/cover image for the product. That cover image will also appear automatically on the product page of your shop.
You can change which image is your cover image by clicking on the image's thumbnail: the settings for this given image will appear. There you can check or uncheck "Cover image" to define whether the image should be the cover or not.

Zoom and Caption
When you click on "Zoom" the image will appear in its real format, in case you want to have a closer look at it.
...
Once you have uploaded all your product images, you can modify their order by drag-and-dropping each image. You can also add more images by clicking on the "+" icon, or dropping it.
Summary and Description
Describing your product well is essential, both for the customer (the more information, the better) and search engines (it will help your shop appear in more search requests).
...
- The "Summary" field enables you to write a short description that will appear in search engines and in the description for your product.
This field is limited to 400 characters by default: if you exceed that limit, PrestaShop will warn you with a message in red below the field. You can change that limit in the "Products" preference page, where you will find the "Max size of product summary" option. - The "Description" field enables you to write a full description of your product, which will appear directly on the product page. The text editor offers a wide range of options for creating visually attractive descriptions (font, size, text color, etc.).
While this second field has no limits, there is such thing as too much content: strive to provide the essential information in a compelling way, and your product should be good to go.
Feature
Below the product descriptions, you can several options. The "Add a feature" option if for specifying your products' features (i.e. weight, material, country of origin, etc.).
...
Be aware that contrary to the combinations, these values do not change, and are valid for the general product (meaning: all your combinations will share these same features).
Adding a feature
Before adding a feature to a product, you must create it for general use in your shop. You should go to the "Attributes & Features" page of the "Catalog" menu for this.
Feature and feature value creation are explained in details in the dedicated section of the guide.
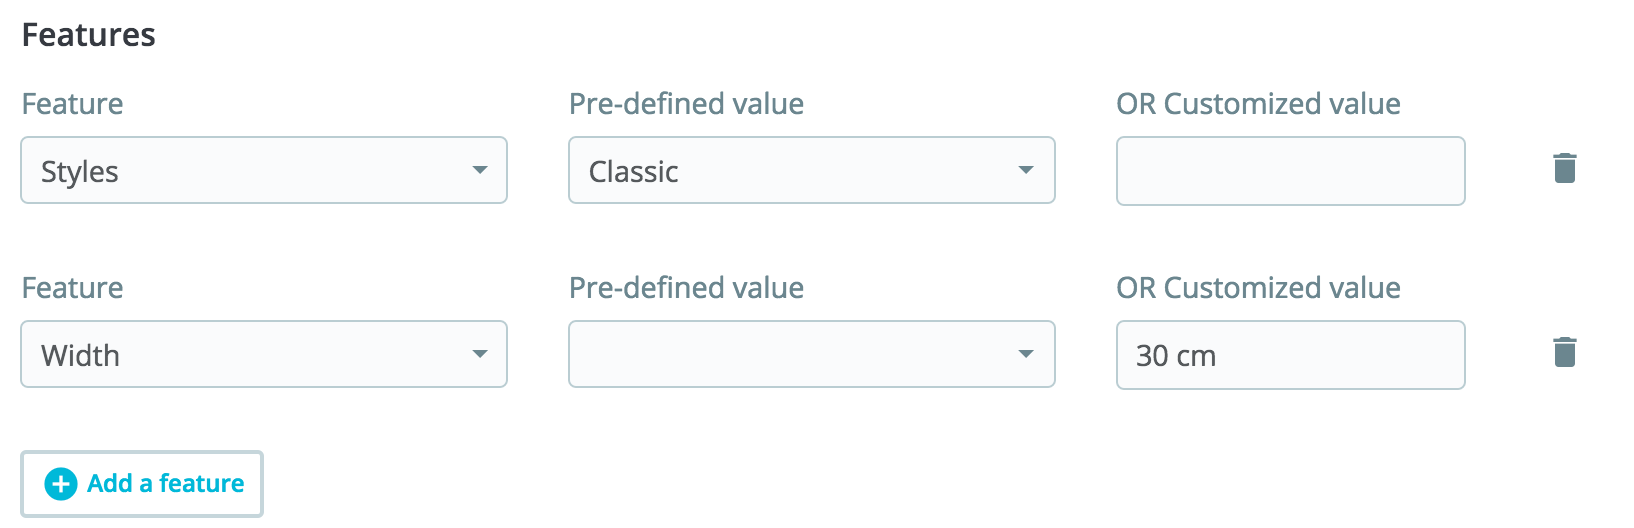
Assigning a value to a feature
We will assume here that you have already set all your features and feature values.
...
Remember: If a feature does not have any value assigned to it, it will not be taken into account for this product, and will not be visible on your shop.
Brand
The same way you can add a feature, you can add a brand. Click on "Add a brand" and choose a brand in the dropdown menu.
...
A product can only be associated with one brand.

Related product
The "Add a related product" field gives you the option of choosing relevant products to associate with this product, to suggest them to your customers when they visit the product's page (if the theme supports it). Click on "Add a related product", type in the first letters of product and select it. The product is then added at the bottom of the field.
...
| Tip |
|---|
Accessories addition/removal is not automatically saved! Do not forget to click on the "Save" button. |
Combinations
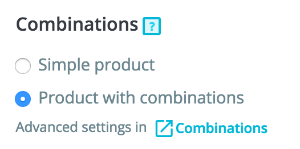
You will often sell the same product under different versions: they share the same overall name, but they might differ by their color, their capacity, their screen size, and other attributes. Most of the time, these attributes come together: you could have the red version of the product available with either 1 Gb capacity or 2 Gb, or with 12'' screen or a 15'' screen. This is why PrestaShop calls these versions "combinations": your stock of products can be made of several variations of a single product, which in effect are simply its attributes combined in specific ways.
...
| Tip |
|---|
You cannot create combinations if you do not already have product attributes properly set in PrestaShop. Attributes creation is done in the "Attributes & Features" page from the "Catalog" menu, and is explained in details in this dedicated chapter of the documentation. |
Quantity
Indicate how many products are available for sale.
...
More quantity options are available in the "Quantity tab".
Price
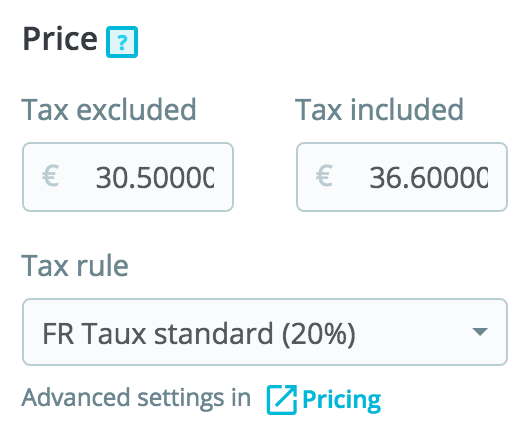
Define how much you want to sell this product.
...
Tax rules can be managed in the "International" menu, "Taxes" page.
Categories
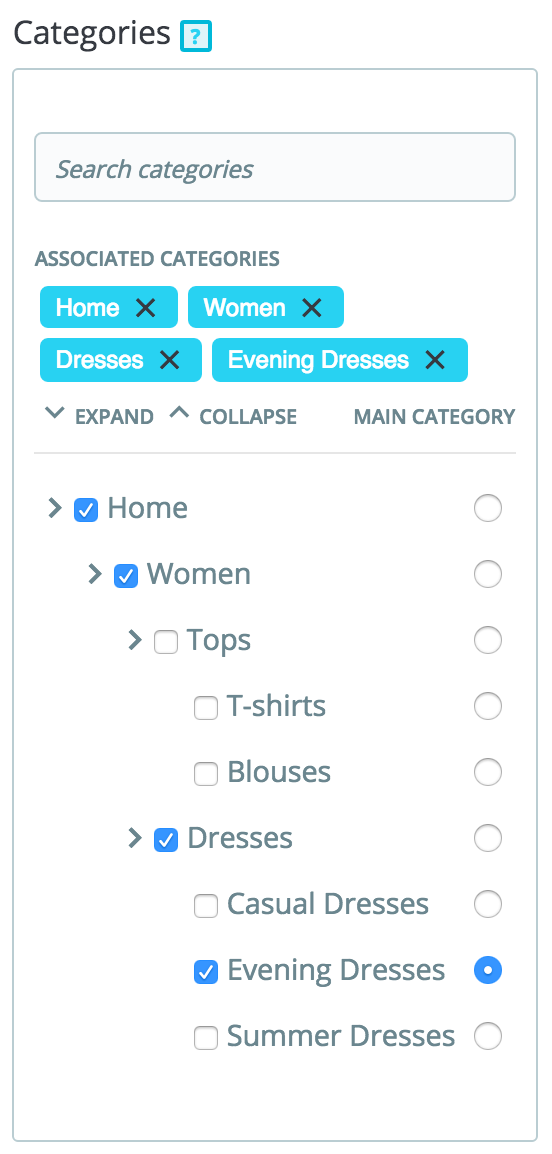
The "Categories" section enables you to select in which category the product should appear. You can select more than one, but keep in mind that it is better for the customer if the category only contains equivalent and comparable products. Therefore, you should prevent from selecting root categories, and prefer child categories.
For instance, the "telephone" category can feature sub-categories of "brands" (Apple, Samsung, Nokia, etc.) and as well as "characteristics" (smart-phone, flip-phone, etc.). It is up to you to indicate the category most useful to your customers.
Associating existing categories
To associate a category to your product, you can either use the search bar, or expand the category list and select the one you want to associate.
...
Using the category list. By clicking on "Expand", you will see the category tree and from there you can select the categories you want to associate.
Main category
The "main category" selector is useful when an article is filed under several categories. It serves mainly to clarify which category to use in case your customer arrives at your site from a search engine, since the name of the category will appear in the product's URL.
...
| Tip | ||
|---|---|---|
| ||
Checking the "Home" box enables you to highlight the product on your shop's homepage, provided your theme supports it. To remove a product from the Featured list, simply uncheck the "Home" box. |
...
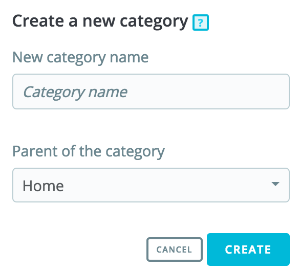
Creating a new category
If you feel you need to add a category, save the current state of your product before clicking the "Create new category" button. Category creation is explained in another section of this guide.
...
At this point, you are done with the essential information for a basic product page. You can save it and have it immediately available for sale on your shop!
But keep reading, as there are many more details you can add to your product to make it more attractive to customers.
Quantities
Product quantities are managed in a single tab. PrestaShop will use this to determine when a product is soon out-of-stock or unavailable anymore.
...
| Info |
|---|
| Packs and virtual product have different stock settings, you will find all you need at the end of this chapter. |
Availability preferences
Out of stock behavior
The "Behavior when out of stock" option enables you to set PrestaShop behavior when the product is out of stock:
- Deny orders (the product is not available for sale anymore).
- Allow order (in essence, you are doing pre-sales).
- Use default behavior (Deny orders). This third and default option simple uses the global default setting ("Preferences" menu, "Products" page, "Product Stock" section, "Allow ordering of out-of-stock products" option).
Labels
- Label when in-stock. Enables you to display a message to your visitors when your product is in stock, for example "Item available". It reassures them that your shop can immediately send them the product.
- Label when out of stock and back-order active. Enables you to display a message to your visitors when your product is out of stock but they can still order it (as set using the "When out of stock" selector), for example "Pre-order now!". It reassures them that your shop will send them the product immediately once it is in stock.
You can also configure the general settings applied to all of your products: the default option is to deny orders, but this can be modified under the "Products Settings" in the "Shop Parameters section" ("Allow ordering of out-of-stock products" option), which is fully explained in the "Understanding the Preferences" chapter of this guide.
Shipping
The "Shipping" tab enables you to give some precious details about your product's package. It isn't available in the case of a virtual product.
...
Package dimension (width, height, depth & weight). You should strive to fill each field, because knowing the exact size and weight of a package is not only useful to you, but PrestaShop can also direct specific sizes/weights to specific carriers automatically, based on these settings. The order's final price will appear to the customer once PrestaShop (or the customer) has selected a carrier.
These values use the default weight, volume, distance and dimension units, as set in the "Localization" page of the "Localization" menu.
These values do not have to be integers. If your products weight less than 1 lbs, you can simply use a period (.) to indicate the fractions:
- 123 lbs
- 1.23 lbs
- 0.23 lbs (equals 3.68 oz)
- etc.
- Shipping fees (Additional shipping fees). This can prove very useful to you for specific products that are particularly tricky to package, or really heavy.
- Available carriers. You can choose to have the current product only be shipped by a selection of carriers. If no carrier is selected then all the carriers will be available for customer orders.
Pricing
The pricing tab makes it possible to refine your pricing strategy, either by using alternative prices (price per unit), or by creating some price rules specific to the product.
Retail price
The price of your product before taxes.
...
You can fill out the "Price - tax included" field and choose the tax rate to apply, and the field will automatically calculate the pre-tax retail price. The opposite operation is also available.
Cost price
Enter the price you paid for the product (how much it cost you to acquire or manufacture the product), it will allow you to compare it to your selling price in order to easily calculate your profit.
The cost price should be lower than your retail price.
Specific prices: Managing Quantity Discounts
You can change the total price of the product depending on the quantity of products your customer buys, the user group, the country, etc. This is done with the "Specific prices" section of the "Pricing" tab. Click on the "Add a specific price" button to reveal the creation form:
...
If you want to build more complex discounts, go read about the "Discounts" menu in the "Managing Discounts" chapter of this guide.
Priority management
A customer might fit into multiple prices or discount rules, even when you have set detailed prices and quantity discounts, with custom groups and shops (if in a multistore context). PrestaShop therefore uses a set of priorities in order to apply a single price rule to such customers. You might want the user group to be more important than the currency, for instance.
...
A checkbox at the bottom enables you to update the settings for all products. If the checkbox remains unchecked, then your changes only apply to the current product.
SEO
To improve your product listing as well as increase your store's visibility we suggest that you carefully fill out the various SEO fields: meta titles, meta descriptions, and keywords and friendly URLs.
...
To access the product's SEO information, go to the "SEO" tab.
Image
Search Engine Optimization
The fields in this page enable you to directly optimize your catalog's visibility on search engines.
...
| Warning |
|---|
Friendly URLs will only work if URL rewriting is enabled. You can do this in "SEO & URLs" preference page (in the "Traffic" menu), in its "Set up URLs" section. You will find more information on the "SEO & URLs" preference page in the "Traffic" chapter of this guide. |
Redirection page
When your product is offline, its product page will no longer available on your shop. You have to decide what you want to show to your visitors instead:
- No redirection (404). This will display a "404 error - Not found" page.
- Permanent redirection (301). This will permanently redirect the visitor to another product page. The current URL of your product page will no longer be indexed by search engines: it will be replaced by the URL of the product page of your choice. Choose which product page you would like to display instead. Remember, this is permanent, so make sure you don't need this URL anymore before activating the 301 redirection!
- Temporary redirection (302. This is a temporary redirection to another product page. Choose which product page you would like to display instead. Search engines will still index the product page URL, so you can reuse it later easily, should you reactivate the product, for example.
Options
The "Options" tab provides additional settings to manage product references, suppliers, product customization, visibility and files.
Visibility
You can choose to have the product available through different channels:
...
- Available for order. If you uncheck this box, customers will not be able to add this product to their cart. This makes it more like a single-product Catalog mode (in comparison with the "Catalog mode" preference).
- Show price. If the "available for order" option above is unchecked, you can either choose to display the product's price nevertheless (even though visitors won't be able to buy it), or choose to not display it.
- Web only (not sold in your retail store). If your business does have brick-and-mortar stores, this option will prove invaluable when a product is only sold online, not in store – this prevents customers from checking a product price online, then come to your store hoping to buy it directly, and thus avoid shipping cost.
Tags
Tags are terms and keywords that will help your customers easily find what they are looking for. When they use the search bar to browse your catalog, they will type some specific keywords. Choose the most relevant keywords to your product, to make sure the product shows in results when a visitor search for it.
...
| Note |
|---|
Products tags are not the same as page keywords: they have no direct impact on search engine placement. |
Condition & References
Condition. Not all shops sell new product and some marketplaces require this information from you. This option enables you to indicate the condition of the product:
New. The product is brand new, sealed in its original packaging.
- Used. The product has been sold at least once before, and probably used by someone else (second hand). It should come in its original packaging, which might be closed with tape.
- Refurbished. The product has been returned for various reasons ("scratches, dents or other forms of cosmetic damage which do not affect the performance of the unit"). Read more on Wikipedia: http://en.wikipedia.org/wiki/Refurbishment_%28electronics%29.
- Reference code. This is your own internal reference. It might be a number, or its reference from the storage location or its supplier, or anything that makes it unique.
- ISBN. ISBN is used internationally to identify books and their various editions. If your products are books or entitled to have an ISBN number, enter it here.
- UPC barcode. This standard for barcodes is mostly used in the United States, Canada, the United Kingdom, Australia, New Zealand.
- EAN-13 or JAN barcode. These are the numbers of the product's barcode, which are used worldwide in order to identify it. You can use either an EAN-13 or a JAN number.
- An EAN-13 is the product's 13-digit international article number. Read more on Wikipedia: http://en.wikipedia.org/wiki/International_Article_Number_%28EAN%29.
- A JAN is specific to Japan, but is compatible with the international EAN. Read more on Wikipedia: http://en.wikipedia.org/wiki/Japanese_Article_Number.
Customization
PrestaShop makes it possible for your customers to customize the product that they will buy.
...
Once all the label fields have been filled, do not forget to save your changes.
On the customer's side
Once a product has customizable properties set, its front-end product page has a new blockb, below the description: "Product customization".
The customer must choose the file(s) and/or add some text and save them before they add the product in the cart.
...
The rest of the purchase process is the same as usual.
On the merchant's side
Once the order has been validated by the customer, the merchant gets a notification of the order in the back office.
...
The rest of the order and delivery process is the same as usual.
Attaching a file
PrestaShop enables you to make some files available to your customers before their purchase.
For example, let's say you sell electronics, and you would like to urge your customers to read a document on how a product works. You can upload a document for that purpose.
You could also simply have the product's PDF manual directly available for download right on the product page. The customer can access it even if they didn't purchase the product.
Attached files
If you already uploaded some files to be attached, you will see here the list of the files available to be attached to the product. Simply select the file you want to attach to the product.
Attach a new file
If you haven't attached any file yet, you can upload a new file directly on this page:
...
You can view all of your store's attached files, add some more and remove some, by going to the "Files" page under the "Catalog" menu. This also makes it possible to use the files that you already uploaded for other products: if you need to apply the associated one file with many products, you will thus only have to upload it once.
Suppliers
Indicating the product's supplier is not really important to your customers (very much less so than its brand in any case), but it may turn out to be an essential part of your own internal management, not the least when managing your stock: you simply need to know who you bought the product from. The supplier of the current product is to be set from the "Suppliers" section of the "Options" tab.
...
Associating the current product with one or more suppliers is really easy: simply check the box corresponding to the supplier, and save your changes.
Supplier reference(s)
The supplier's section also features a table that enables you to set the precise reference and unit price/currency for each product combination, per supplier. If the product has more than one supplier, the table will display each supplier one after the other.
...