...
Creating a product
Basic settings
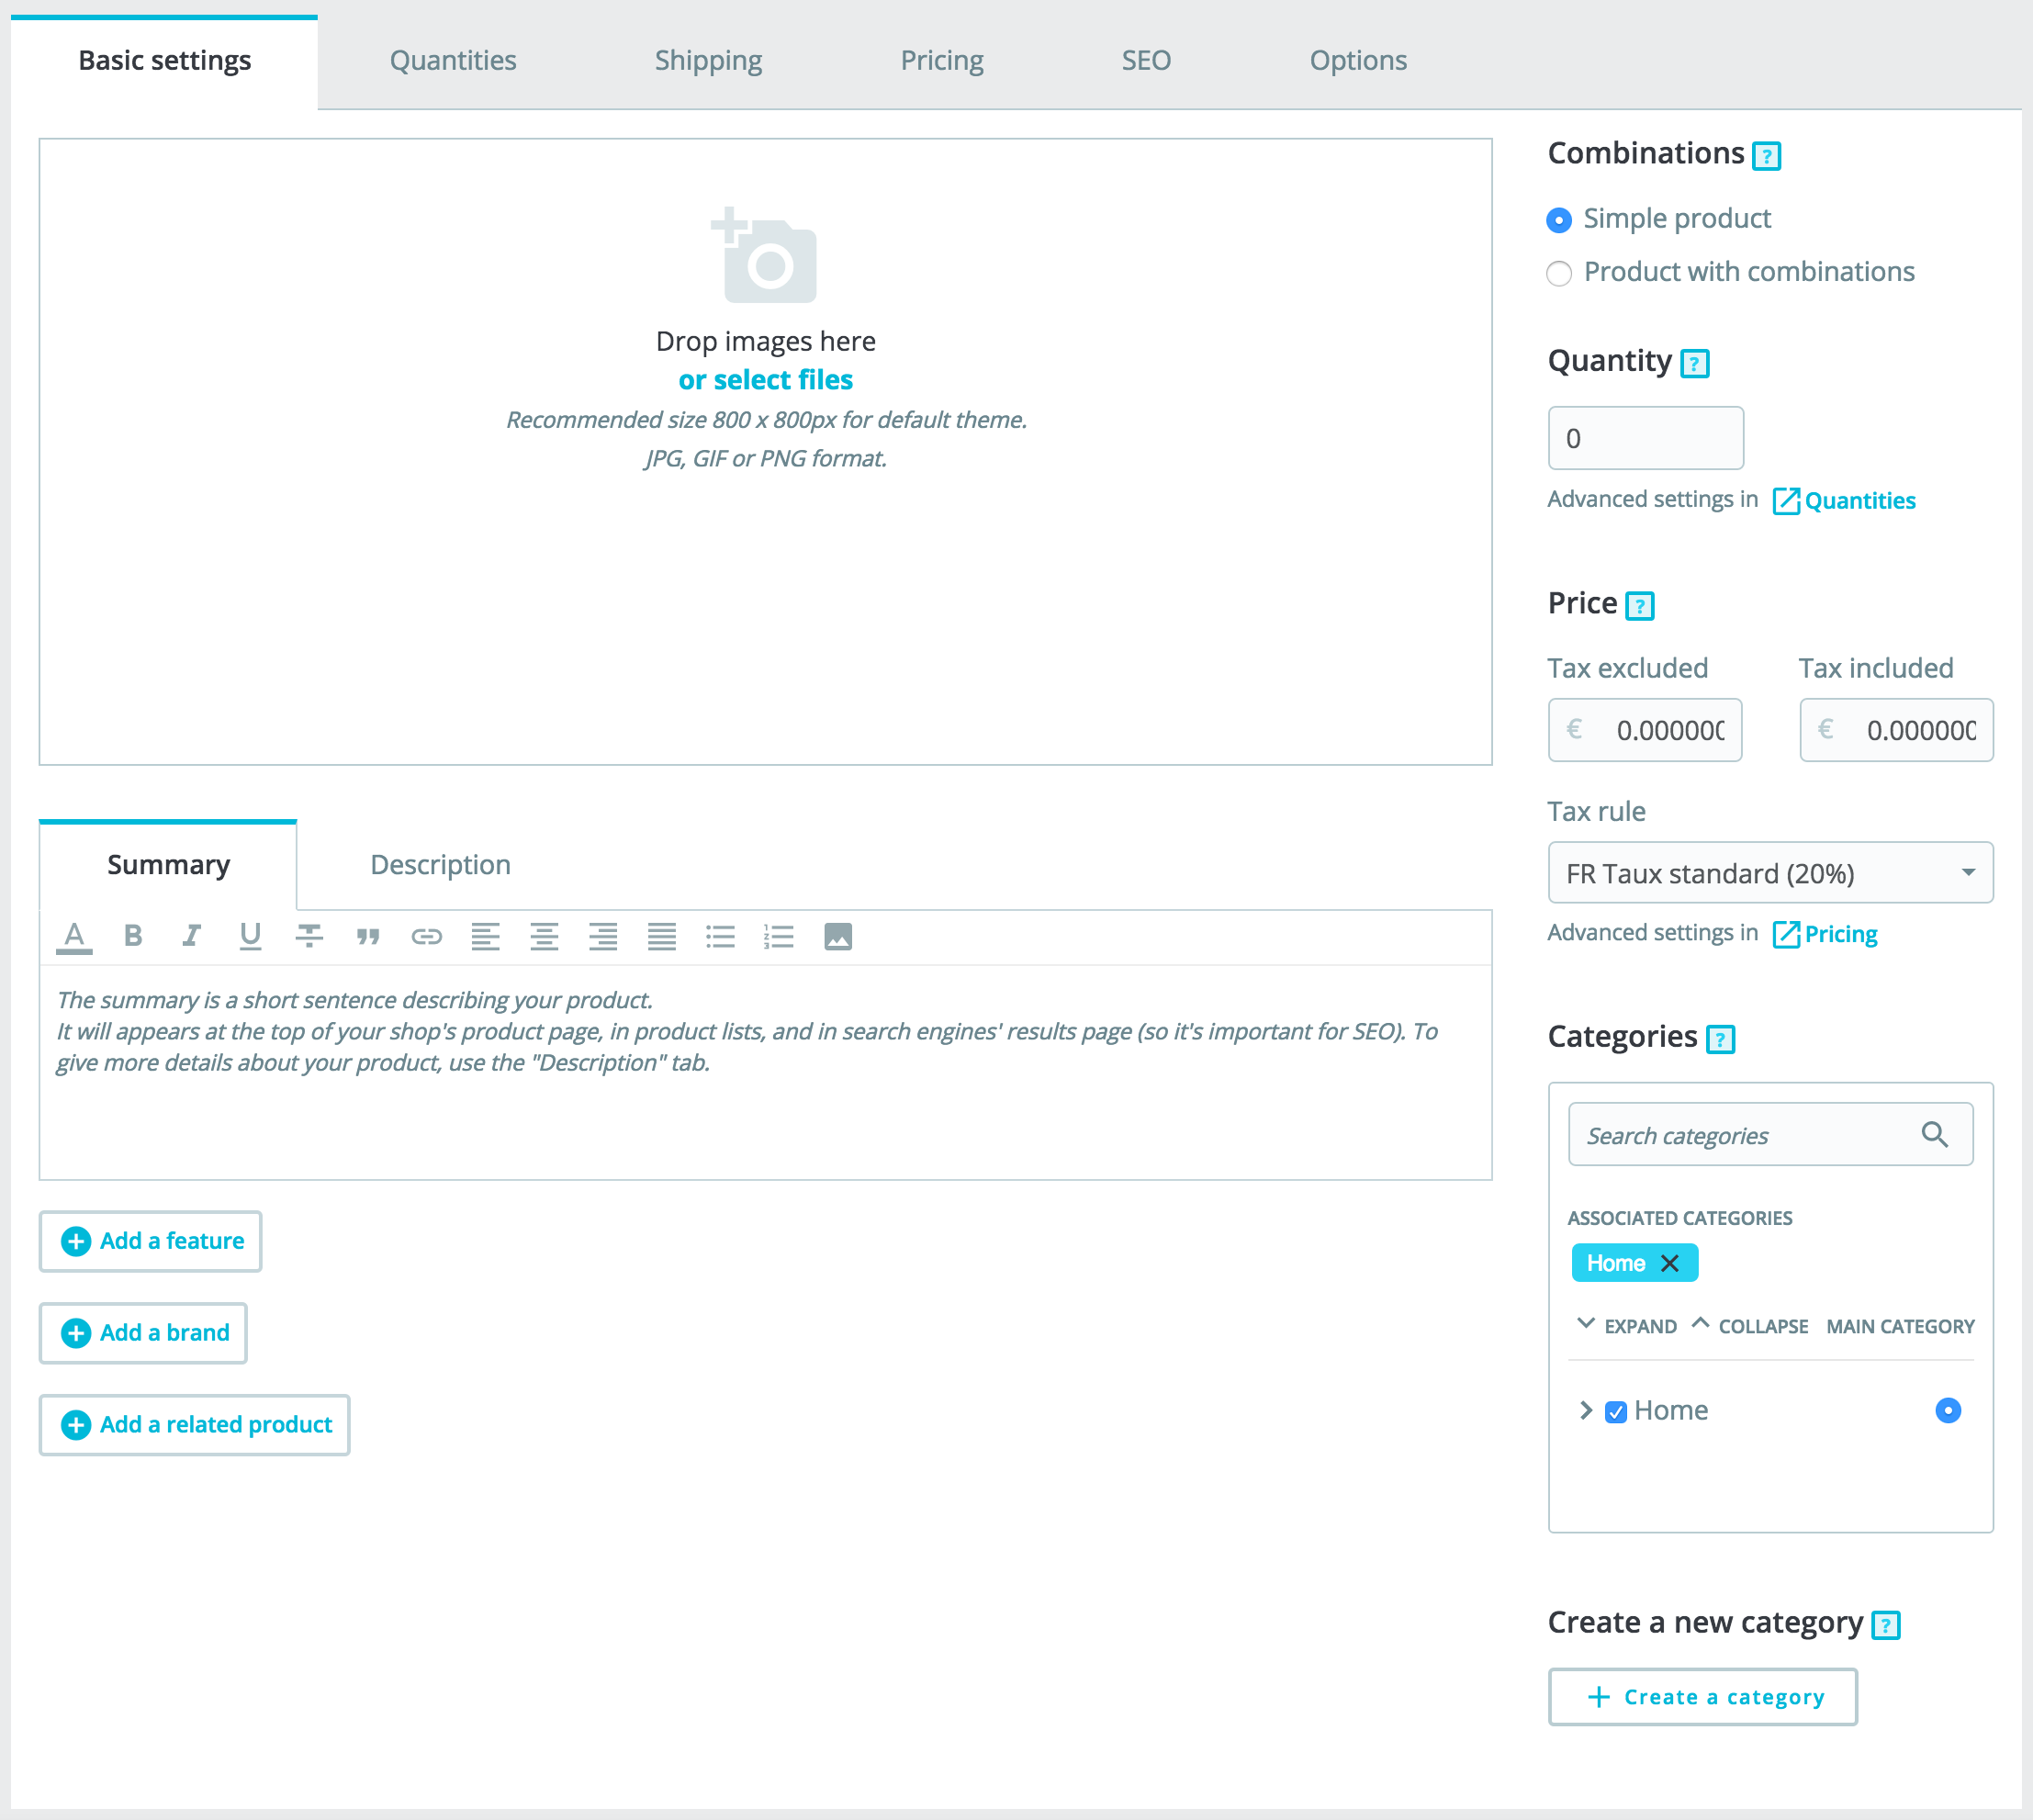
The "Basic Settings" tab provides the main options required to create a basic product: in a few clicks you'll be able to create a new product. Fom there you can also browse the other tabs to add further details to your product.
Images
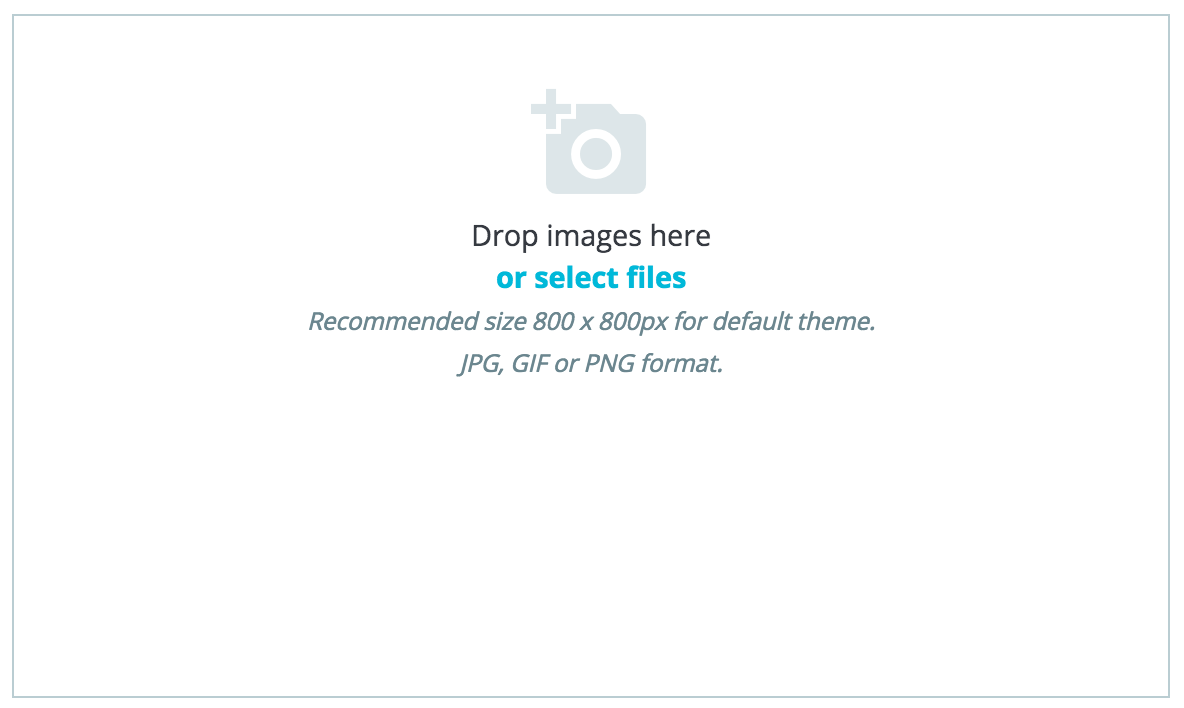
The image section is on the top-left part of the "Basic settings" tab. You should upload all the images for this product, including all of its combinations (color, size, shape, etc.).
...
Drag and drop your images directly from your folder, or click on "select files" (or anywhere in the image section in fact) to search and open the folder containing your images. You can select as many images as necessary by keeping the Ctrl-key pressed while selecting files, or you can make your selection one by one. The default maximal size for an image file is set by PrestaShop according to your server's PHP settings. This size can be lowered in the "Images" preference page, "Product images" section.
Cover image
The uploaded images appear as thumbnails. The first one will be your default/cover image for the product. That cover image will also appear automatically on the product page of your shop.
You can change which image is your cover image by clicking on the image's thumbnail: the settings for this given image will appear. There you can check or uncheck "Cover image" to define whether the image should be the cover or not.

Zoom and Caption
When you click on "Zoom" the image will appear in its real format, in case you want to have a closer look at it.
...
Be aware that contrary to the combinations, these values do not change, and are valid for the general product (meaning: all your combinations will share these same features).
Adding a feature
Before adding a feature to a product, you must create it for general use in your shop. You should go to the "Attributes & Features" page of the "Catalog" menu for this.
Feature and feature value creation are explained in details in the dedicated section of the guide.
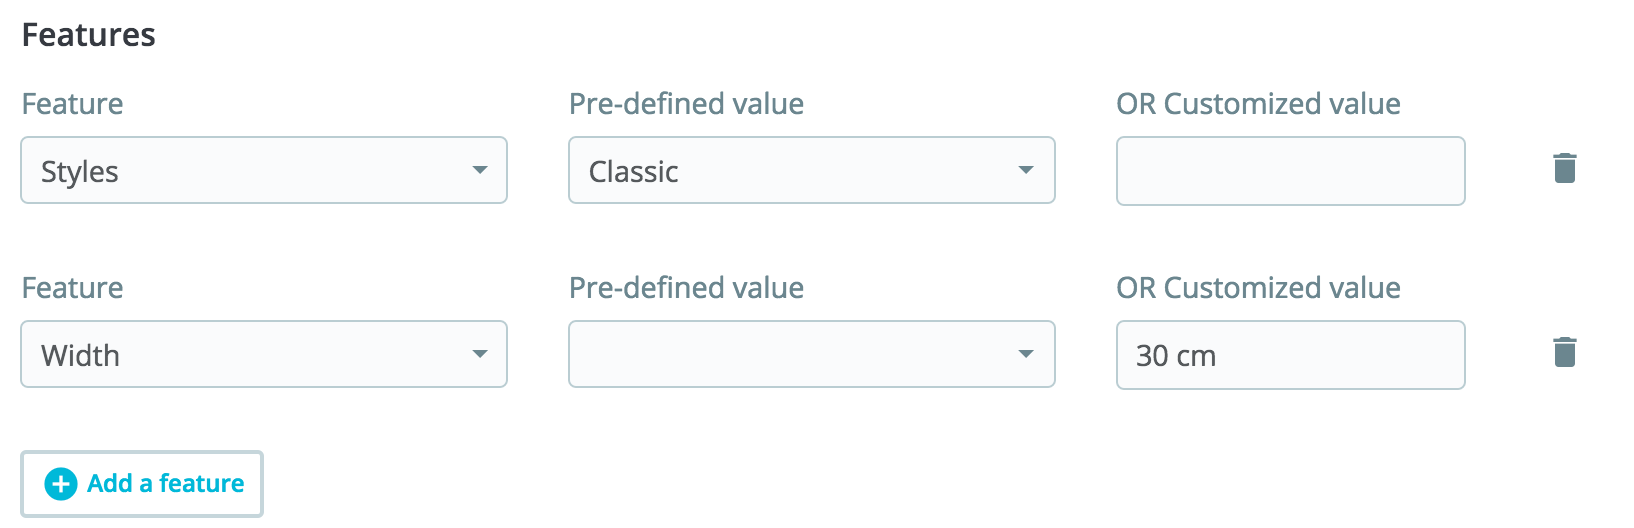
Assigning a value to a feature
...
A product can only be associated with one brand.

Related product
The "Add a related product" field gives you the option of choosing relevant products to associate with this product, to suggest them to your customers when they visit the product's page (if the theme supports it). Click on "Add a related product", type in the first letters of product and select it. The product is then added at the bottom of the field.
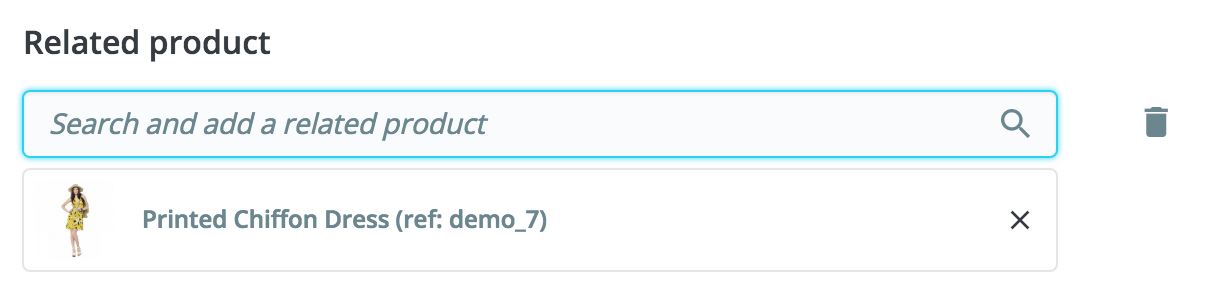
You can associate a product with as many other products as you deem necessary. Click on the trash icon to delete the product association.
An association goes one way only: the associated product will not feature an association to the current product in its setting page.
| Tip |
|---|
Accessories addition/removal is not automatically saved! Do not forget to click on the "Save" button. |
Combinations
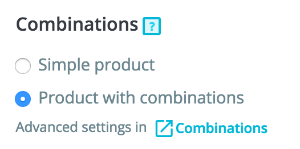
You will often sell the same product under different versions: they share the same overall name, but they might differ by their color, their capacity, their screen size, and other attributes. Most of the time, these attributes come together: you could have the red version of the product available with either 1 Gb capacity or 2 Gb, or with 12'' screen or a 15'' screen. This is why PrestaShop calls these versions "combinations": your stock of products can be made of several variations of a single product, which in effect are simply its attributes combined in specific ways.
...
More quantity options are available in the "Quantity tab".
Price
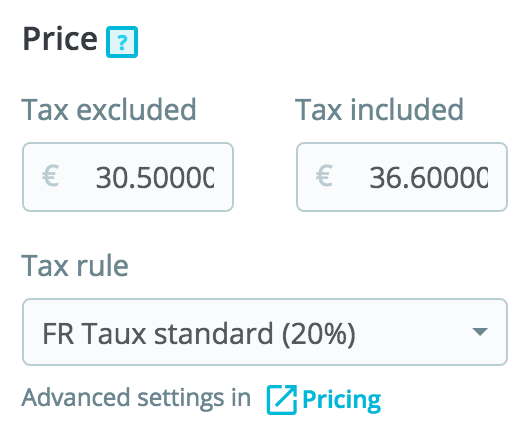
Define how much you want to sell this product.
...
Tax rules can be managed in the "International" menu, "Taxes" page.
Categories
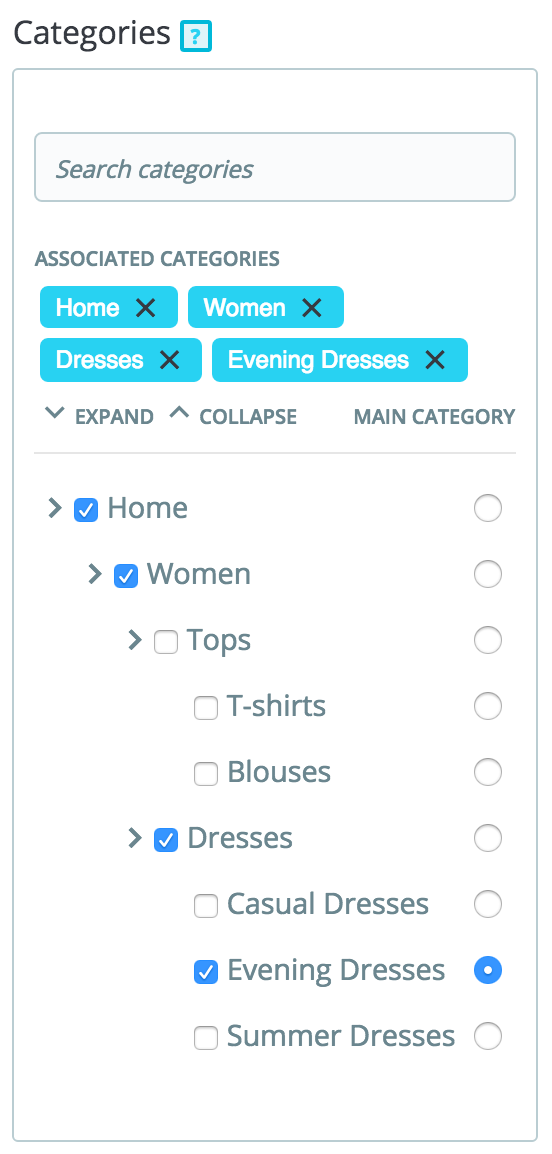
The "Categories" section enables you to select in which category the product should appear. You can select more than one, but keep in mind that it is better for the customer if the category only contains equivalent and comparable products. Therefore, you should prevent from selecting root categories, and prefer child categories.
For instance, the "telephone" category can feature sub-categories of "brands" (Apple, Samsung, Nokia, etc.) and as well as "characteristics" (smart-phone, flip-phone, etc.). It is up to you to indicate the category most useful to your customers.
| Tip | ||
|---|---|---|
| ||
Checking the "Home" box enables you to highlight the product on your shop's homepage, provided your theme supports it. To remove a product from the Featured list, simply uncheck the "Home" box. |
Associating existing categories
To associate a category to your product, you can either use the search bar, or expand the category list and select the one you want to associate.
Using the search bar. Type in the first letters of product and the bar will display all the matching categories and the path to access it. Choose your category and click on it. It will be shown in the "Associated categories" section.
Using the category list. By clicking on "Expand", you will see the category tree and from there you can select the categories you want to associate.
Main category
The "main category" selector is useful when an article is filed under several categories. It serves mainly to clarify which category to use in case your customer arrives at your site from a search engine, since the name of the category will appear in the product's URL.
| Tip | ||
|---|---|---|
| ||
Checking the "Home" box enables you to highlight the product on your shop's homepage, provided your theme supports it. To remove a product from the Featured list, simply uncheck the "Home" box. |
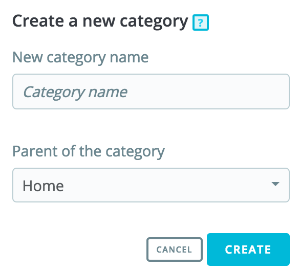
Creating a new category
If you feel you need to add a category, save the current state of your product before clicking the "Create new category" button. Category creation is explained in another section of this guide.
...
You can add as many products as you would like to the pack.
You can remove a product from the pack simply by clicking the trashcan icon next to it.
...
Once you are done with the "Pack" tab, you can edit the content of all the other available tabs as if you would for a regular product.