...
- Basic settings: it contains all you need to create a product quickly and easily. If however, you need to add more details to your product, then you should have a look at the others tabs.
- Quantities, Combinations or Virtual product: define you your product quantities and other stock-related options. When your product has combinations the tab will be renamed Combinations. This is where you manage all your combinations. On the other hand, if you have a virtual product, this is where you upload its associated file , if any.
- Shipping: give details that can have an impact on the delivery of the product.
- Pricing: refine your pricing with specific prices or price per unit (among other pricing options).
- SEO: manage the meta description or product URL to make sure it's optimized for search engines.
- Options: additional functionalities to manage your product's visibility, specific references, attached files or suppliers. It is also here that you can set up the customization.

Product Name
The first field to fill is the product name, which will appear in the search engine results and in your product sheet's URL by default. Next to the field, you will find a language selector , which enables you to choose the language into which you wish to edit or create the product.

| Info |
|---|
You must give the product a name in at least the default language before you can save it. You won't be able to save until it has a name. Make sure to translate each field in every language that your shop supports. In order to do that, click on the language selector next to the product type field, and choose the language in which you wish to edit the product. |
Type of product
This second option is an essential one: indicate whether the product is a pack (a combination of at least two existing products), a virtual product (downloadable file, service, etc.), or simply a classic, mail-sent product. For now, we will only explore the standard product with no combinations, and deal with products with combinations, packs and virtual products in their own sections of this chapter.
...
| Tip |
|---|
To add new languages to your shop, go to the International section. You can either add just a language in "Translations" or add a localization pack in "Localization". You will find more information in the international section of the documentation. |
Global Buttons
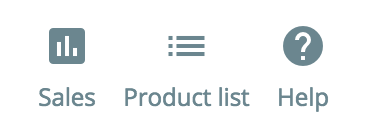
- Sales. Redirects you to the "Product detail" page of the statistics dashboard ("Stats" menu), which gives you a graphic of both the visits to this product's page , and also its sales.
- Product list. New in PrestaShop 1.7. Displays a list of all your products to allow you to quickly navigate from a product to another.
- Help. Opens the contextual help in a column, with the page from the User Guide corresponding to the product page.
...
- Delete (trash icon). Removes all the data for the current product and deletes it, including its images, combinations, features, etc.
- Preview. Displays the front office page of your product. This is very handy, as it works even if the product is disabled.
- Online / Offline. This is where you enable or disable your product. By default it is disabled, so your customers won't be able to see it in your shop.
Duplicate. Save the current product, then creates an exact copy of the current product and takes you to the new product page. This is very useful when you'd rather use the current product's data as a template for another new product, and not have to create every data of the new product by hand. For instance, two products might be very different , but could share the same associations, carriers or supplier settings.
Note title Don't over-duplicate! If you need to create different versions of the same product, because of its variety of colors, capacity, size, etc., then you should create product combination for the current product rather than duplicate it X times. See the "Combinations" option in the "Basic settings" tab, which is explained in the "Creating a product with combinations" section of this chapter.
- Go to Catalog. This saves any change you have made to any of the data for the current product , and takes you back to the product list.
- Add new product. This saves any change you have made to any of the data for the current product , and opens a new page to create a new product.
- Save. This saves any change you have made to any of the data for the current product , and keeps you on the current tab. This is particularly useful when you want to switch tabs without losing your changes to the current tab, or in order to see your changes get applied immediately.

| Tip | ||
|---|---|---|
| ||
Some keyboard shortcuts have been introduced in PrestaShop 1.7 to help you save time when you create several products in a row. The behavior is the same as described above, and it works for the following options:
|
Creating a product
The product page, which has been redesigned in PrestaShop 1.7, makes it easier to create a product thanks to enhanced tabs.
Basic settings
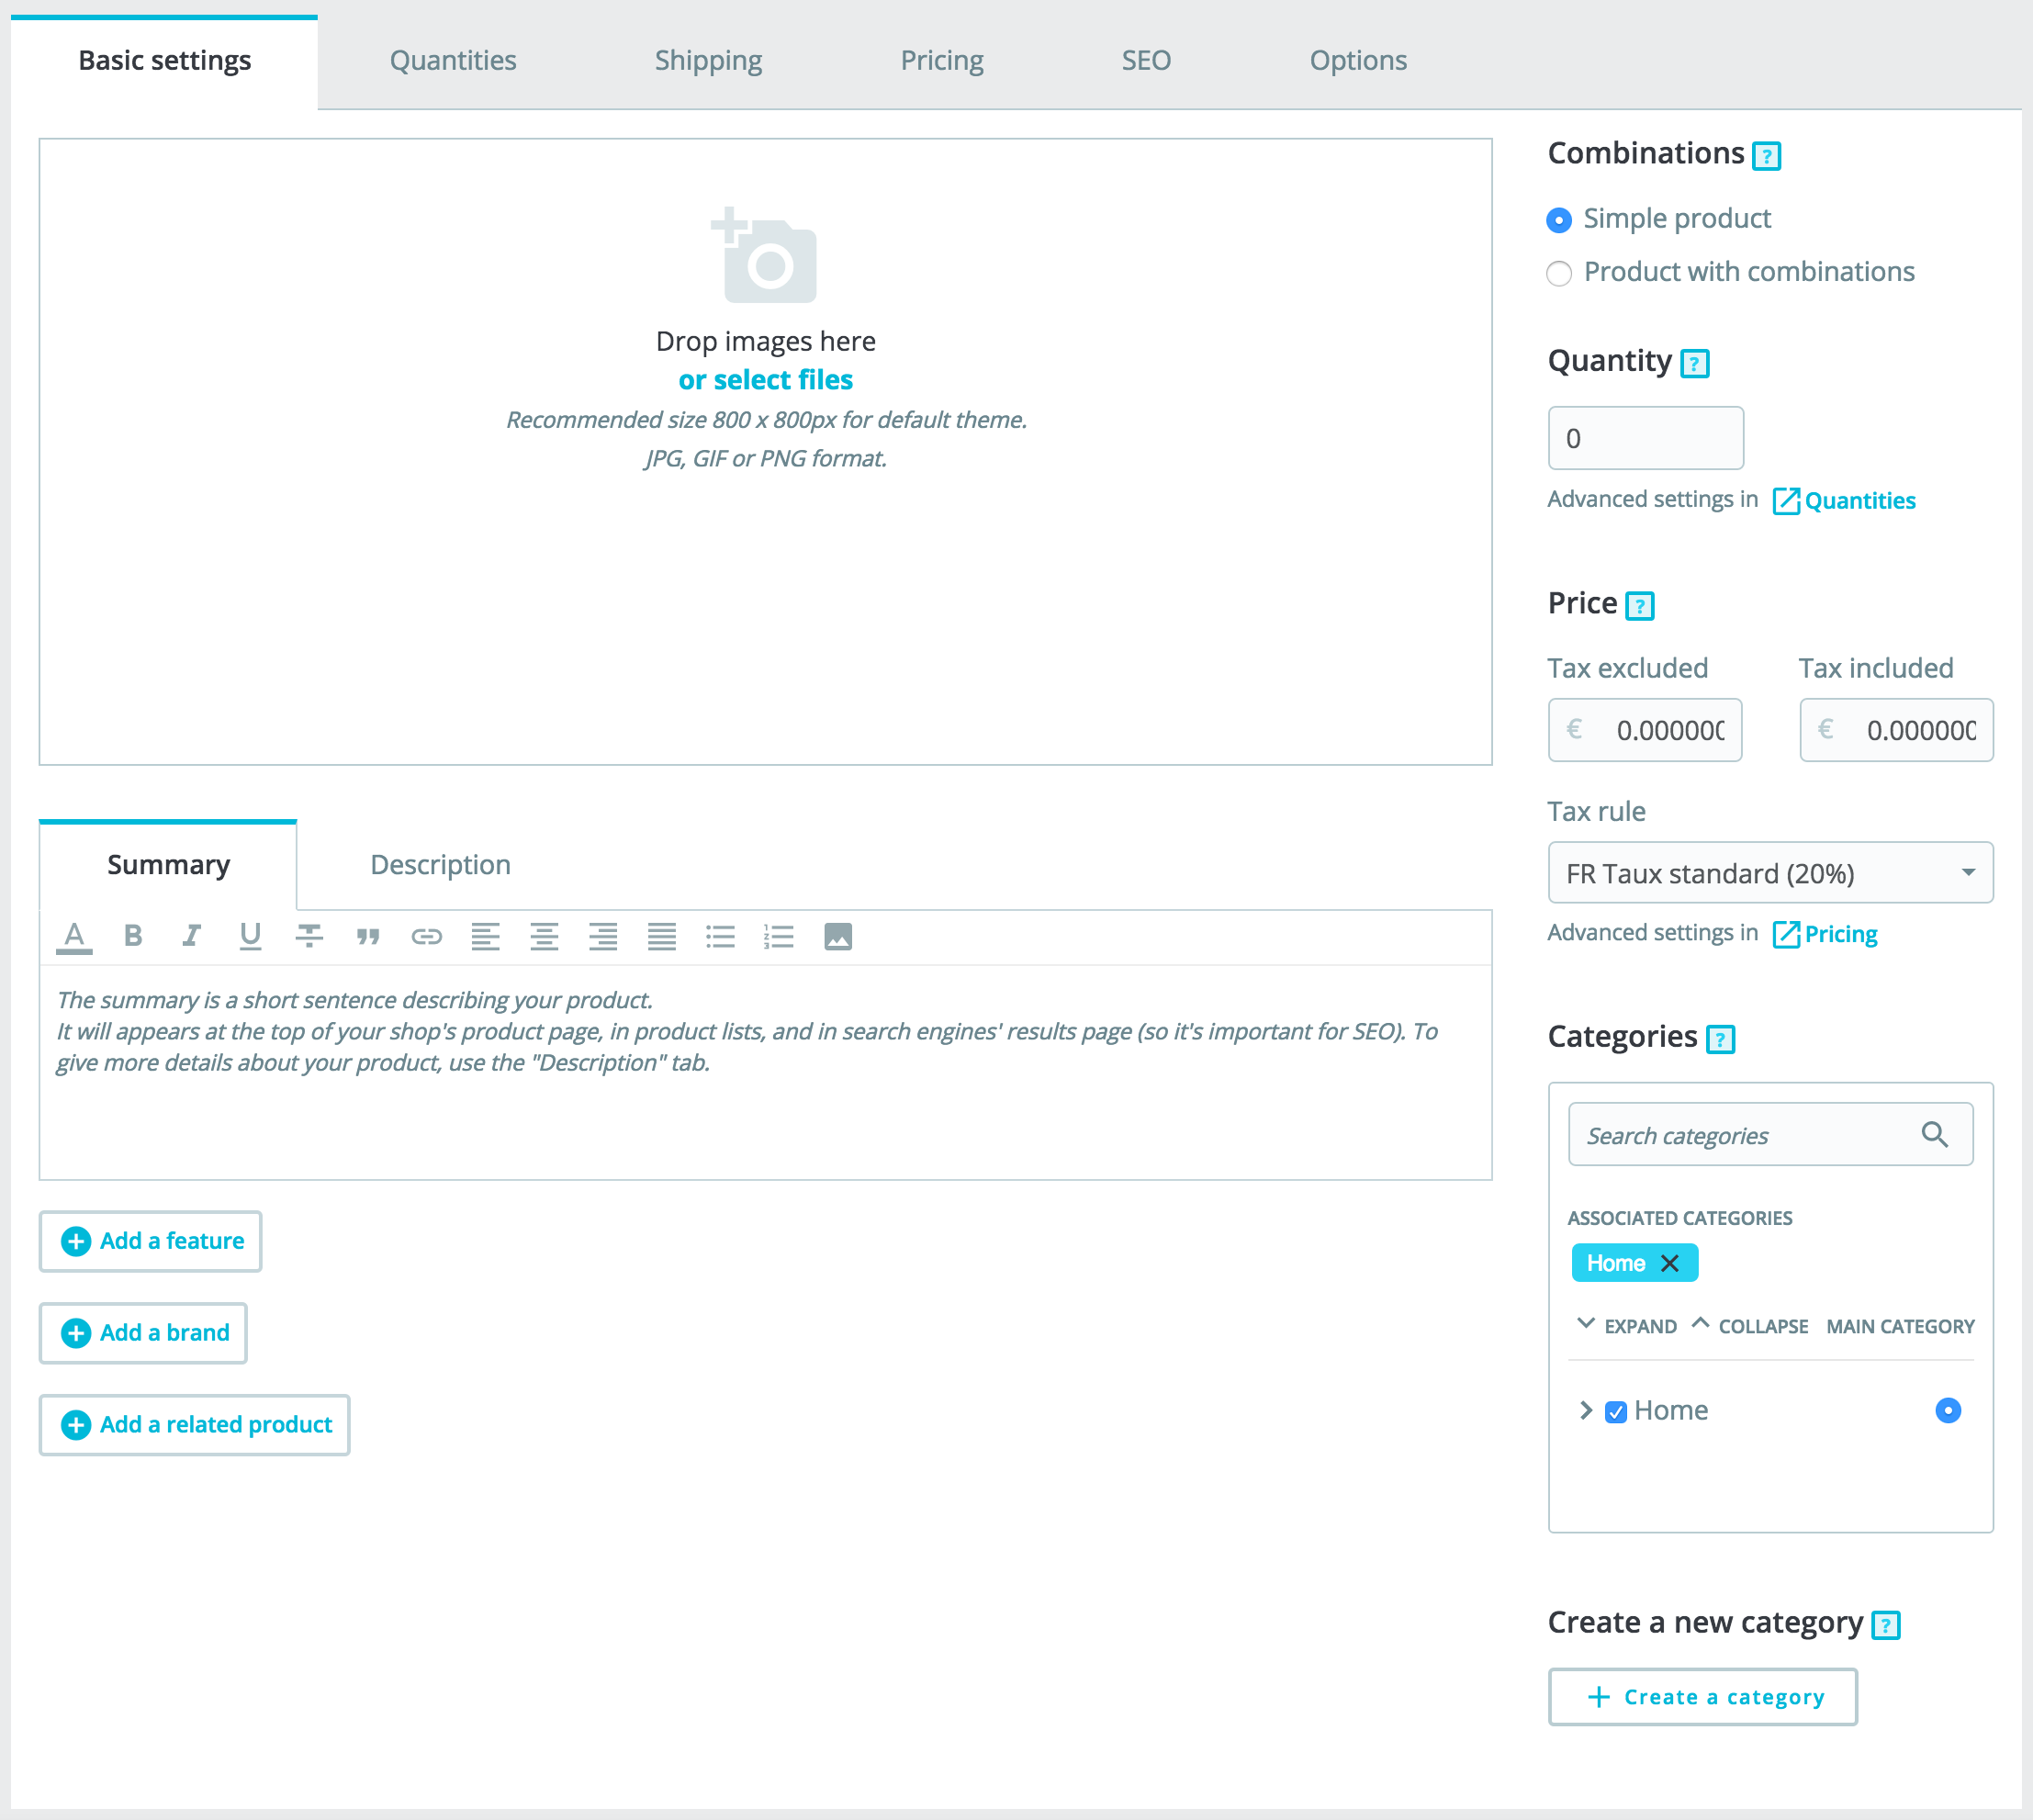
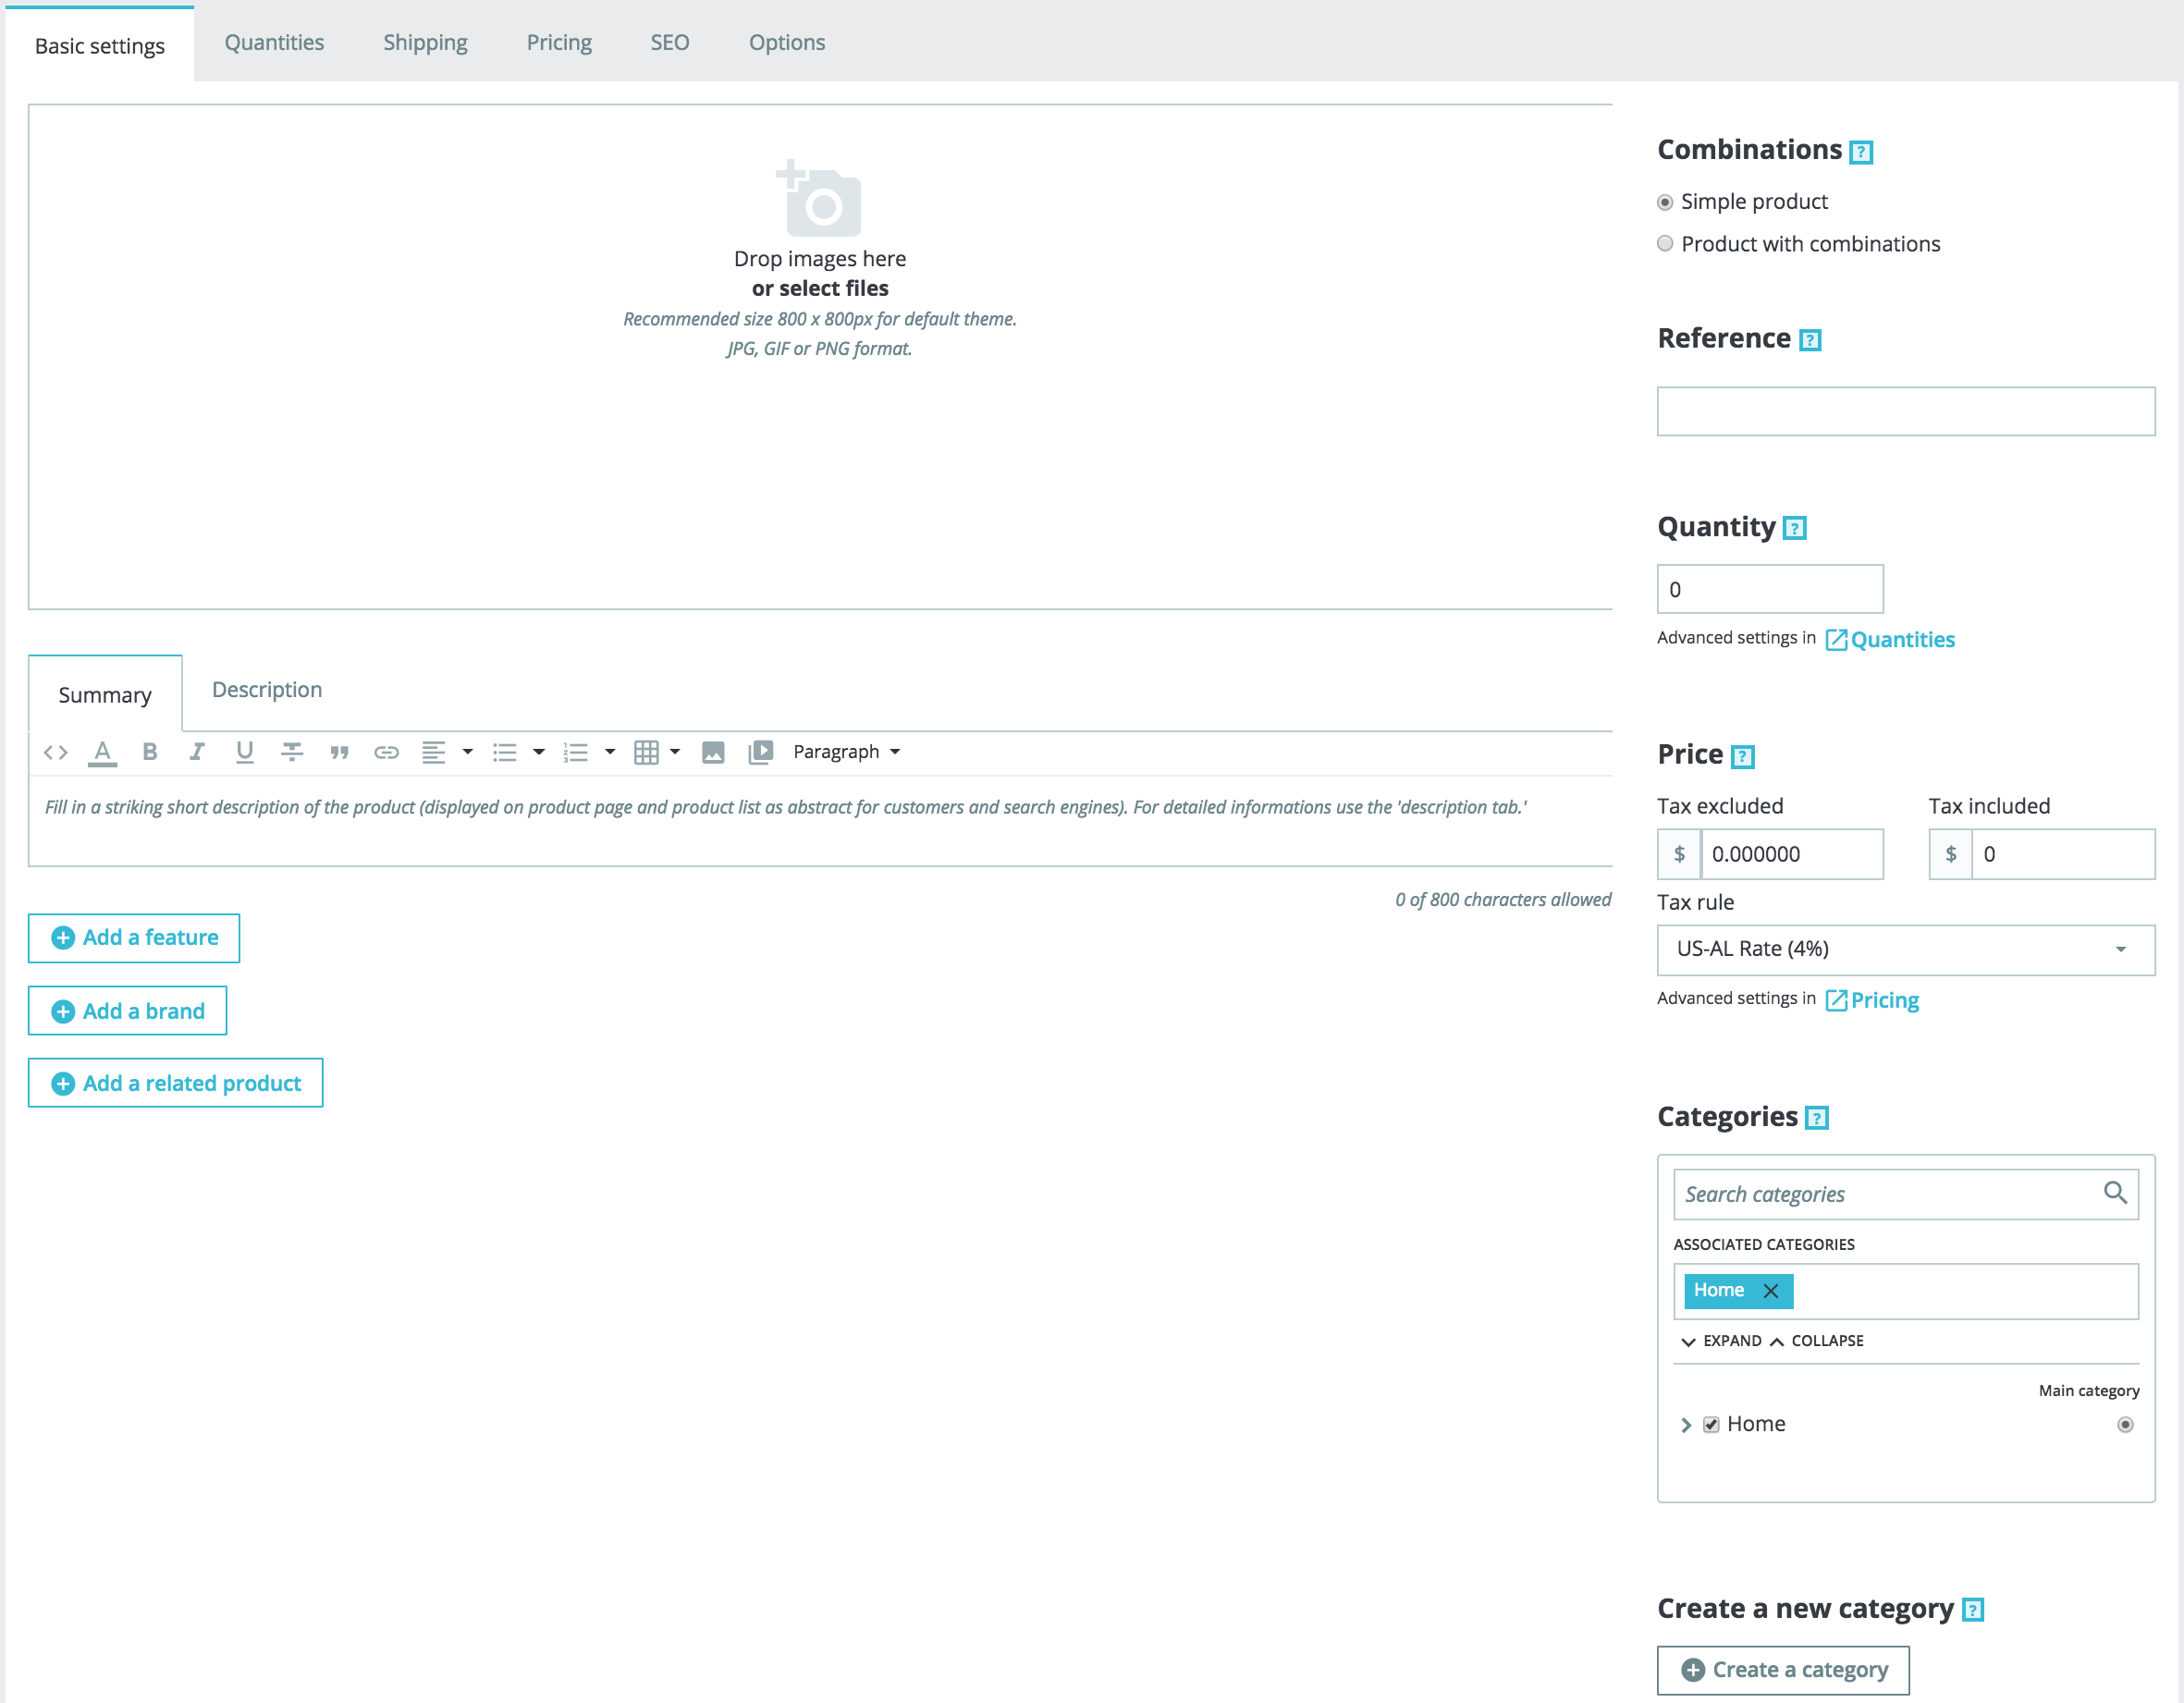
The "Basic Settings" tab provides the main options required to create a basic product: in a few clicks, you'll be able to create a new product. From there you can also browse the other tabs to add further details to your product.
...
Each image can have a caption: use it to briefly describe the image (and the product). It is important for the SEO since it is considered as the alt attribute of the image, and therefore it helps search engines to better rank your product. If you have several languages, don't forget to translate it!
Sorting images
Once you have uploaded all your product images, you can modify their order by drag-and-dropping each image. You can also add more images by clicking on the "+" icon, or dropping it.
...
When clicking on "Add a feature", a drop-down menu appears, listing all of your shop's features. Select which feature you want to add. Next, you can either assign one of the pre-defined values (as set when creating the feature) if there are any available , or set a value manually in the "Customized value" field.
...
Remember: If a feature does not have any value assigned to it, it will not be taken into account for this product, and will not be visible on in your shop.
Brand
The same way you can add a feature, you can add a brand. Click on "Add a brand" and choose a brand in the dropdown drop-down menu.
If the brand you want isn't available in the drop-down menu, go to the "Brands & Suppliers" page to create a new brand.
...
Product quantities are managed in a single tab. PrestaShop will use this to determine when a product is soon out-of-stock or unavailable anymore.


Standard Product
For a standard product you only have two four fields:
- Quantity. Define how many products are for sale. It is the same value as the one in "Basic settings".
- Stock location. We know it is always useful to be able to know where to find a product. So be this field.
- Minimum quantity for sale. You might prefer this product to be sold in bulk. Use this field to set the number of items to be sold in bulk. It means customers will be able to purchase this product only when they reach this minimum quantity.
- Stock alerts. You also can set a rule for low stock products in this section. Indicate a threshold and check the box "Send me an email when the quantity is below or equals this level" to have an email sent to all the users who can run the stock page - permissions can be modified in Advanced Parameters > Team.
Product with Combinations
...
To access the product's SEO information, go to the "SEO" tab.
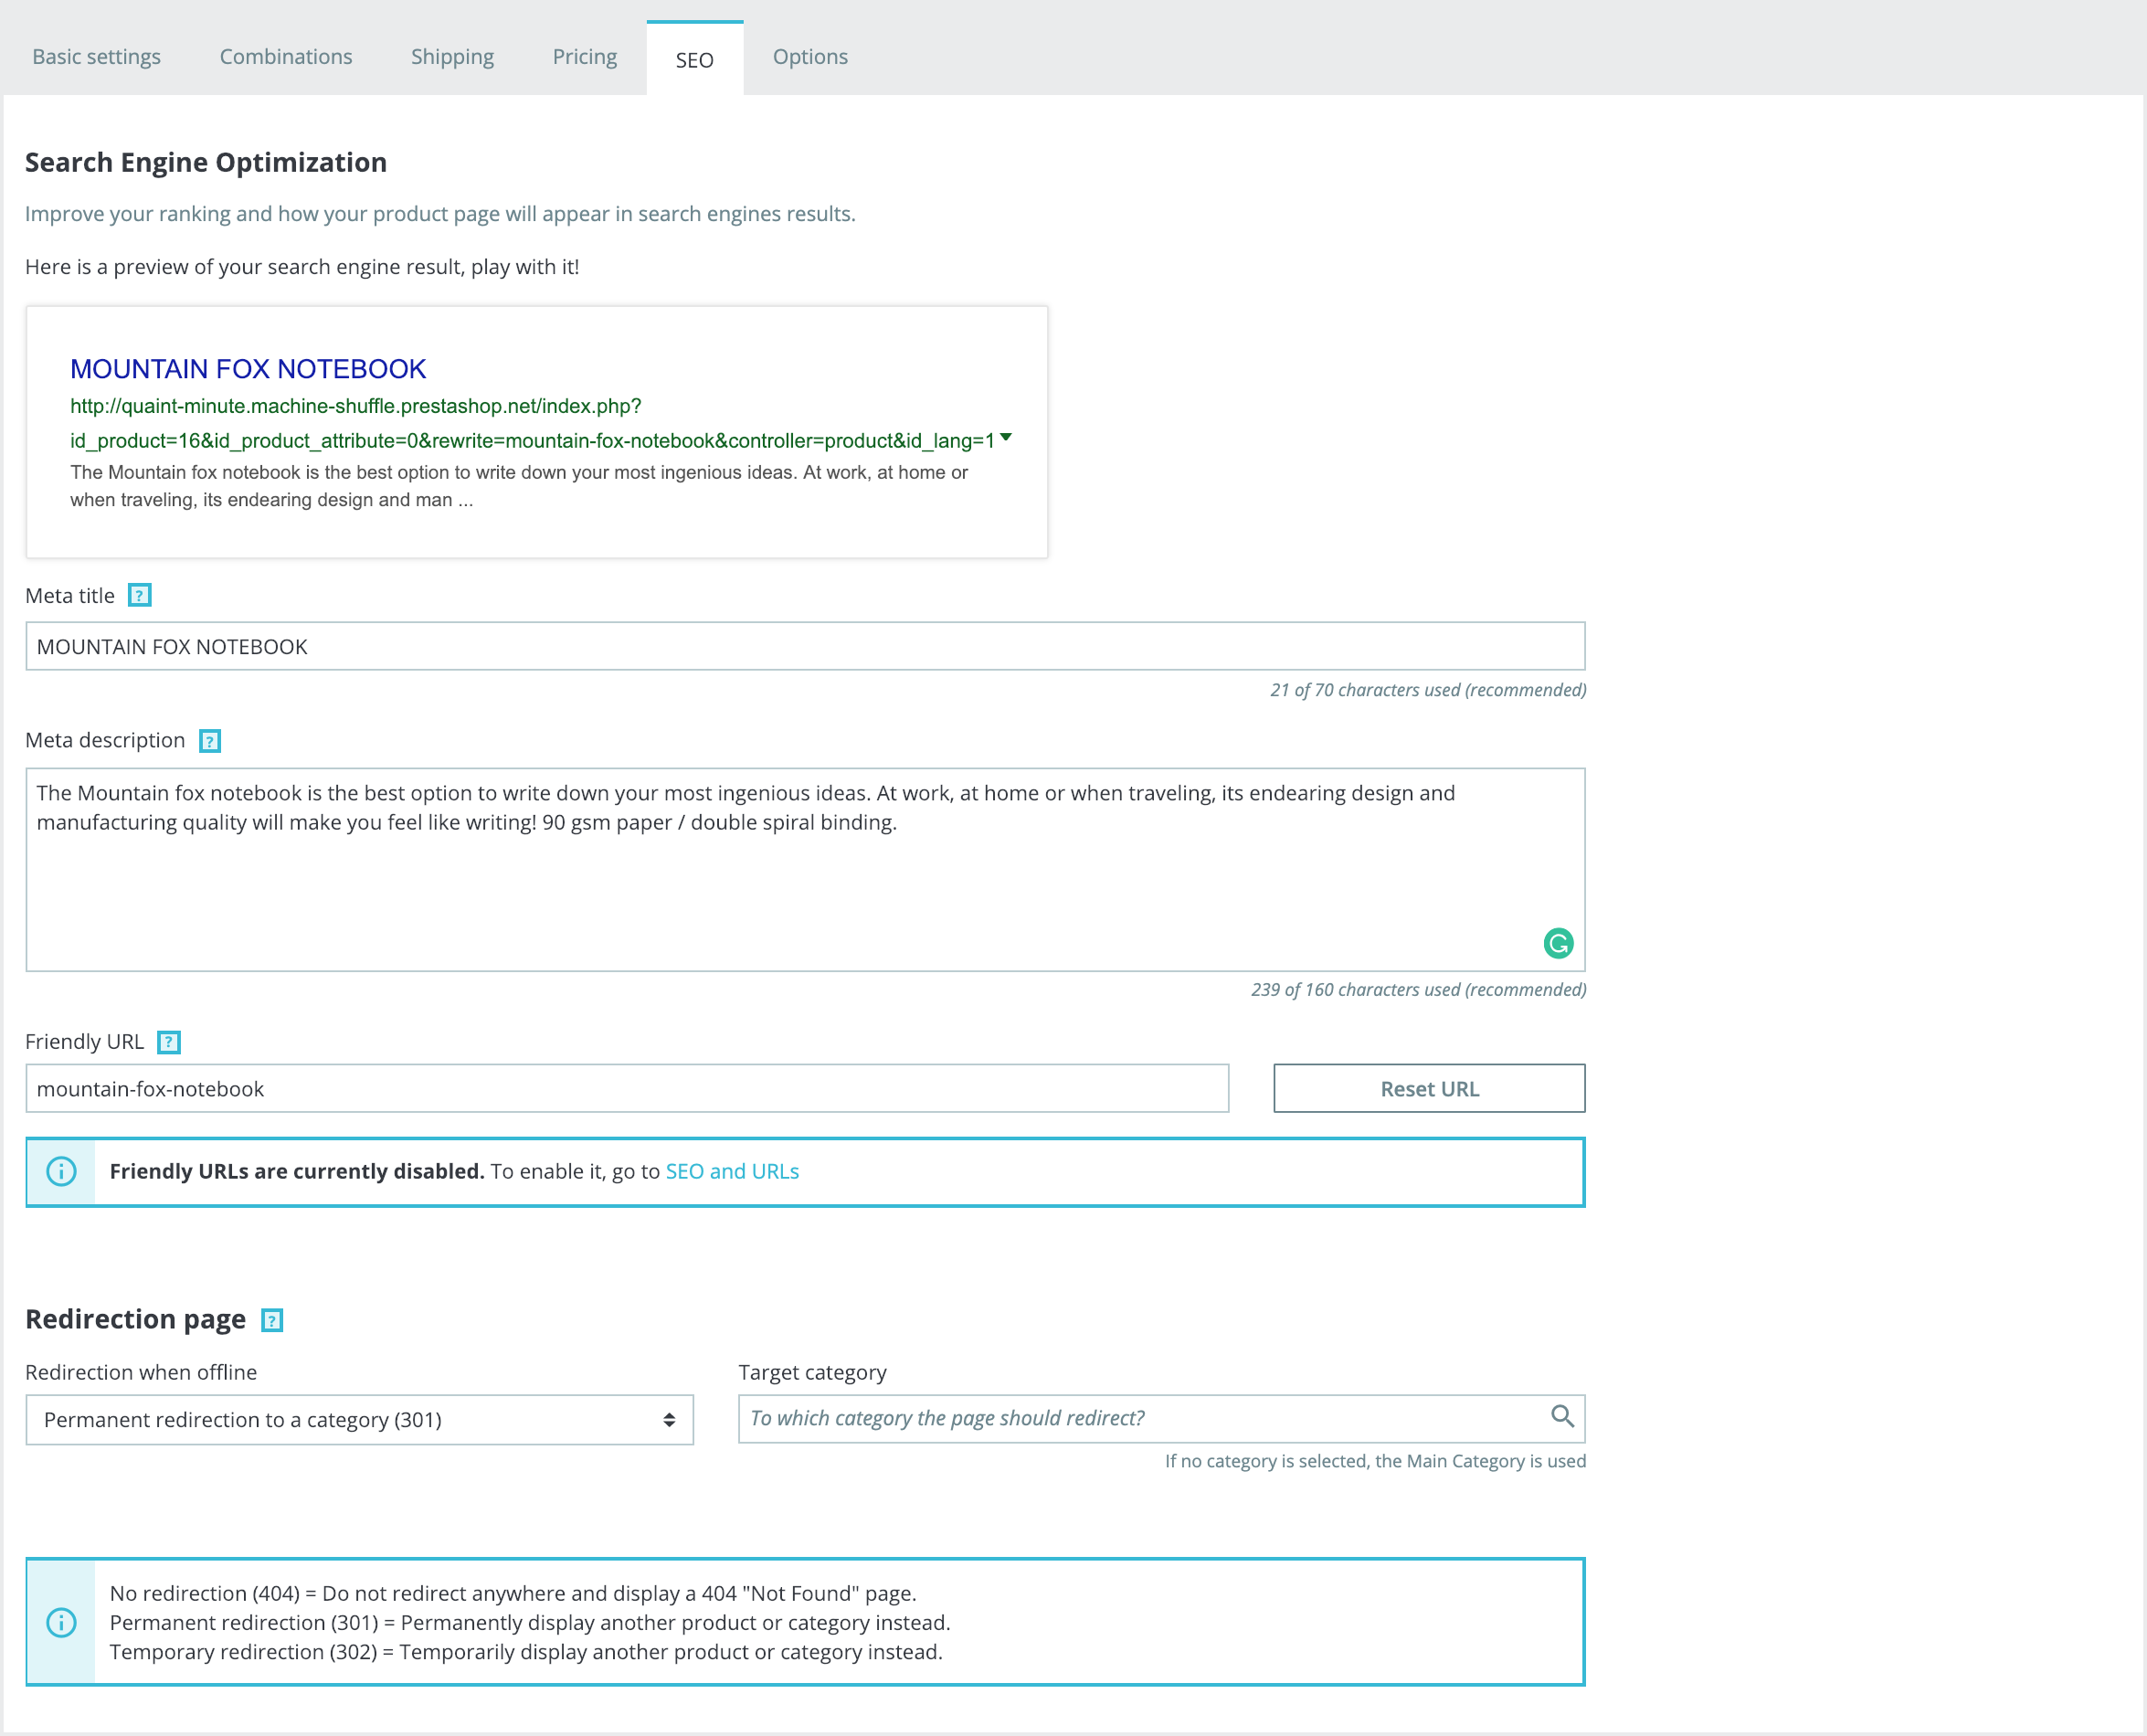
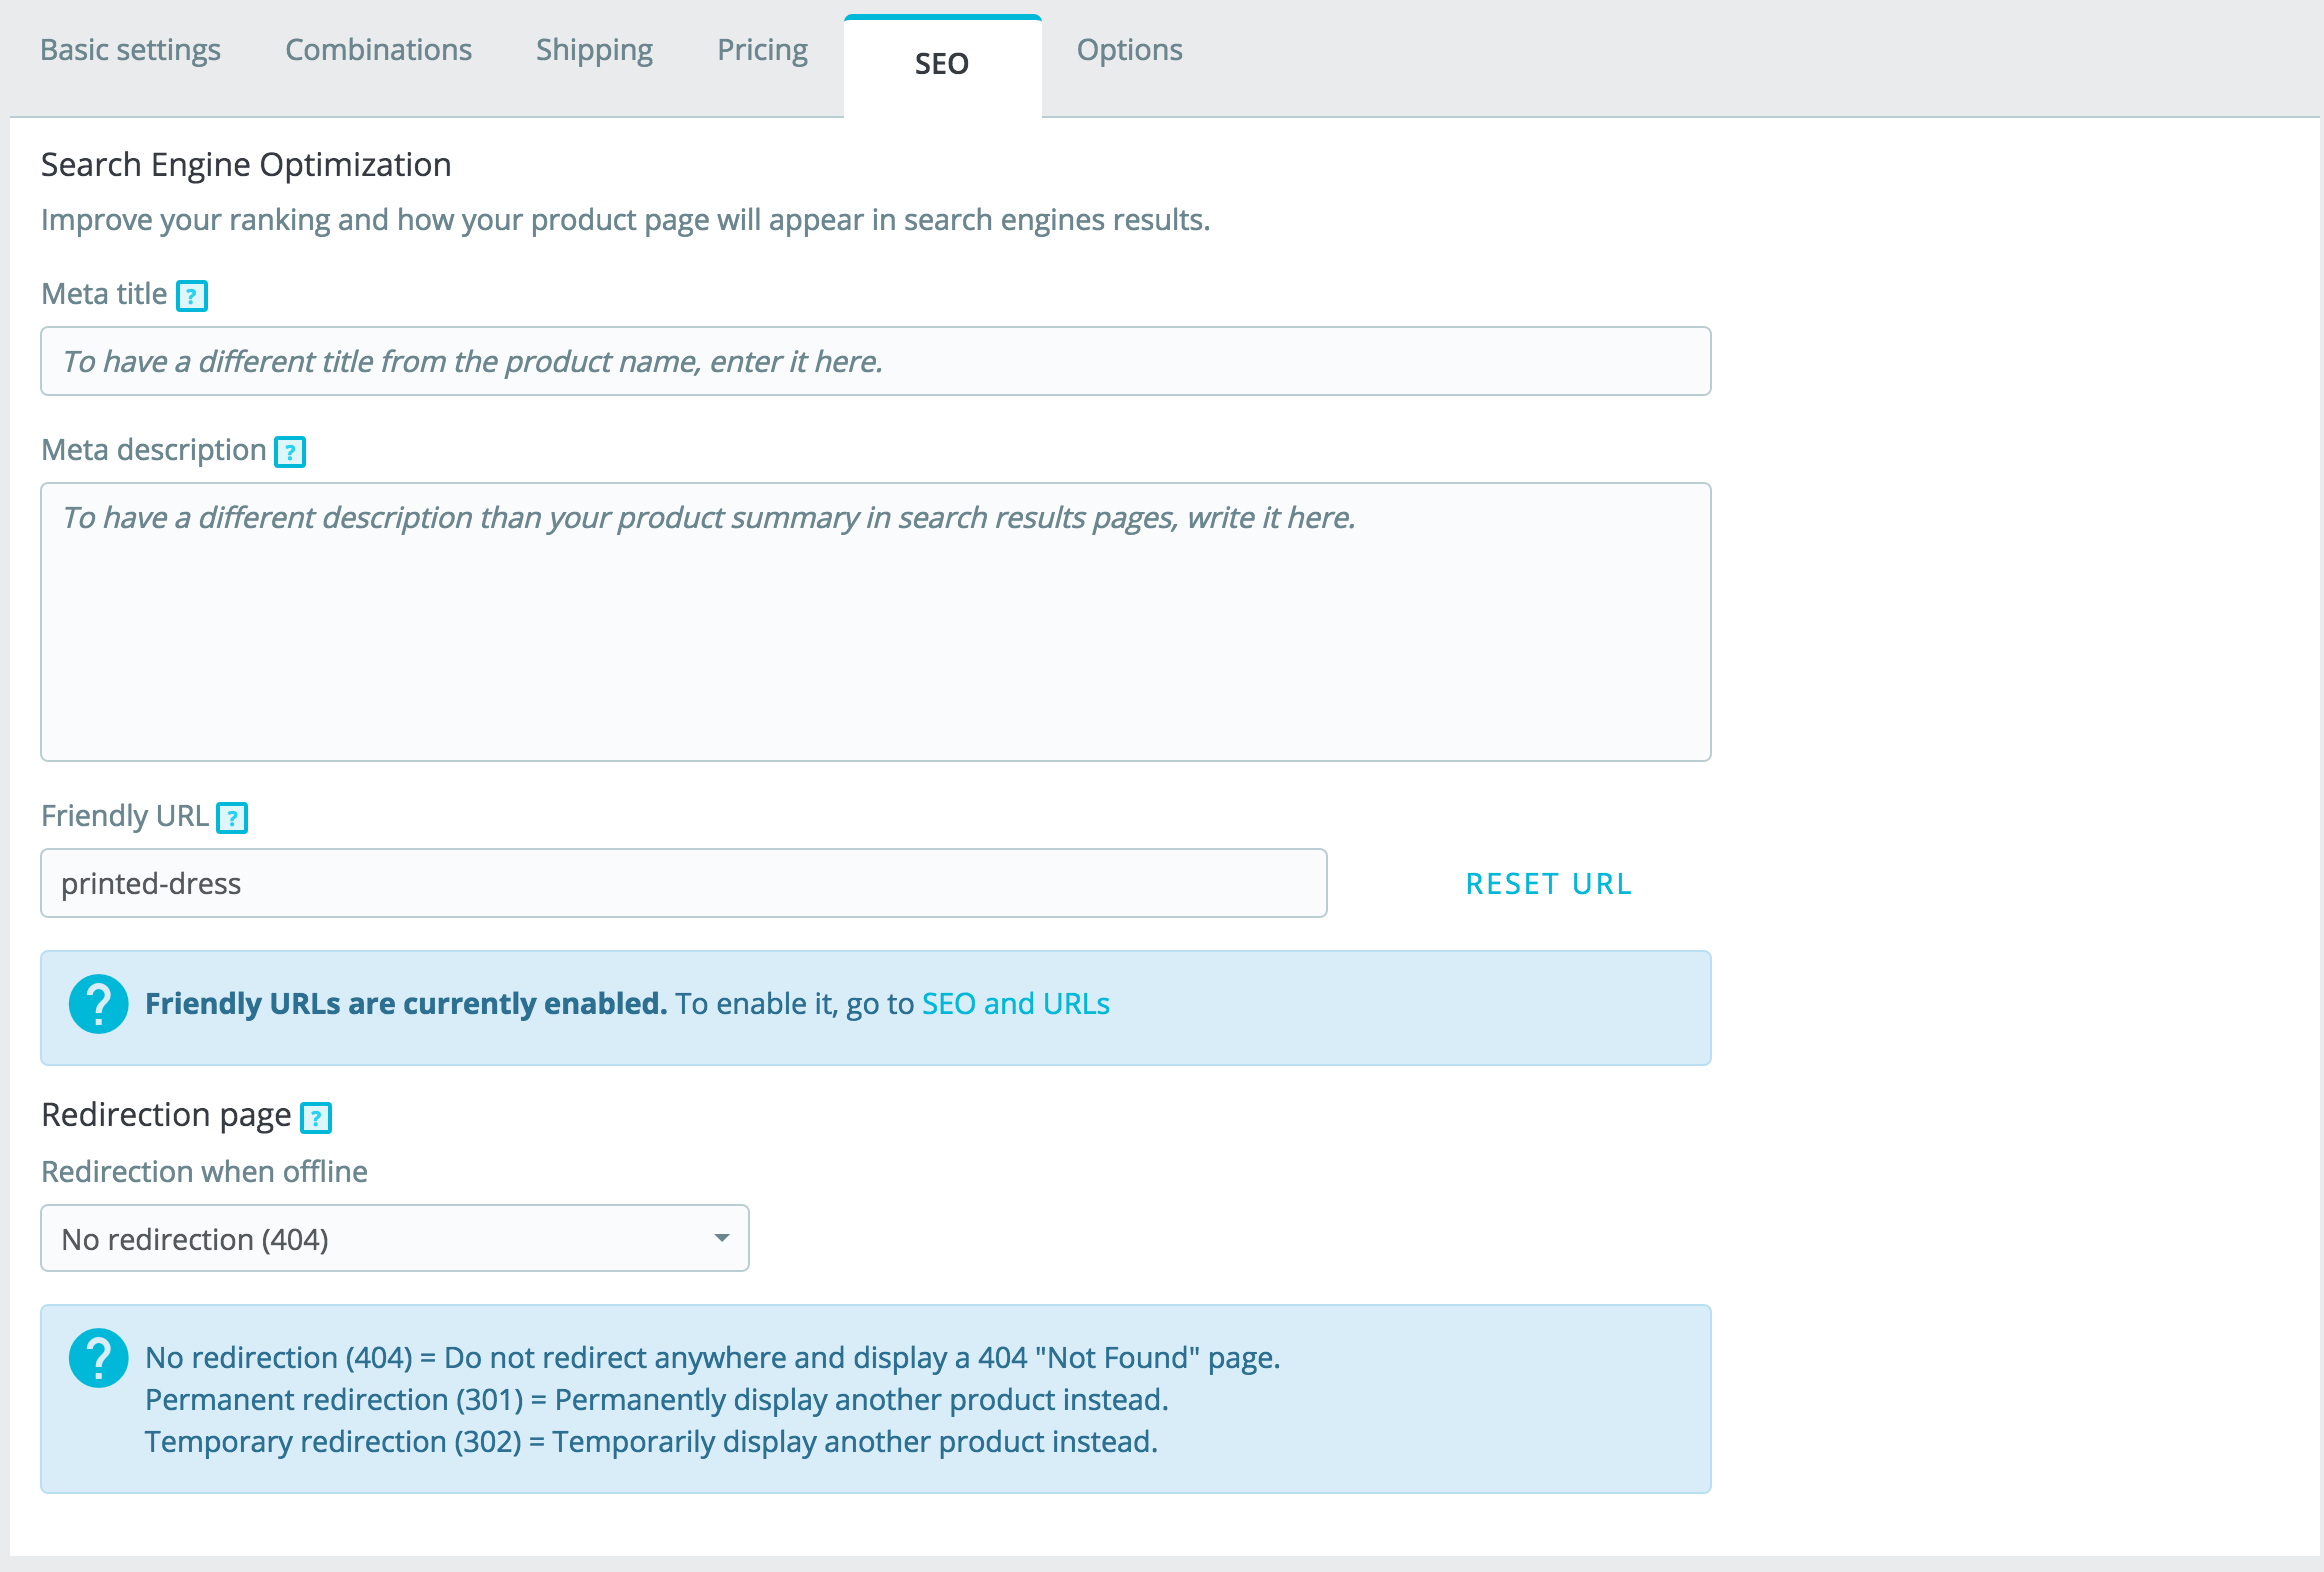
Search Engine Optimization
The fields in this page enable you to directly optimize your catalog's visibility on search engines.
- Preview. With PrestaShop 1.7.5 released, you can now get a real-time preview of your search engine result to help you see how your page would be displayed.
- Meta title. This is the most important field, as the title that will appear on all search engines. Be very factual: you must convince the search engine user to click your link, not one from another site. Make sure the title is unique to this product within your site.
- Good example: "Levi's 501® Original Jeans - Tidal Blue - Original Fit".
- Bad example: "Item #02769869B bestseller".
- Meta description. A presentation of the product in just a couple lines (ideally, less than 155 characters), intended to capture a customer's interest. This will appear in results for some search engines, depending on the search request: some search engine might choose to display the searched keywords directly in the context of the page content. Make sure the description is unique to this product within your site.
- Friendly URL. This is another extremely important field. It enables you to rewrite the web addresses of your products as you wish. For example, instead of having an address such as
http://www.myprestashop.prestashop.com/index.php?id_product=8&controller=product
you can have:
http://www.myprestashop.prestashop.com/8-name-of-the-product.html.
All you need to do is indicate in the "Friendly URL" field the words that you wish to see appear instead of the default name, separated by dashes.
The "Reset URL" button makes it easy to produce a proper friendly URL based on the product name. Once generated, you can edit the URL produced if necessary.
| Warning |
|---|
Friendly URLs will only work if URL rewriting is enabled. You can do this in "SEO & URLs" preference page (in the "Traffic" menu), in its "Set up URLs" section. You will find more information on the "SEO & URLs" preference page in the "Traffic" chapter of this guide. |
Redirection page
When your product is offline, its product page will no longer available on your shop. You have to decide what you want to show to your visitors instead:
- No redirection (404). This will display a "404 error - Not found" page.
- Permanent redirection (301). This will permanently redirect the visitor to another product or category page. The current URL of your product page will no longer be indexed by search engines: it will be replaced by the URL of the product or category page of your choice. Choose which product page you would like to display instead. Remember, this is permanent, so make sure you don't need this URL anymore before activating the 301 redirection!
- Temporary redirection (302). This is a temporary redirection to another product or category page. Choose which product or category page you would like to display instead. Search engines will still index the product page URL, so you can reuse it later easily, should you reactivate the product, for example.
If you want to display a category page, you have to select what category you want to redirect to.
Options
The "Options" tab provides additional settings to manage product references, suppliers, product customization, visibility and files.
...
- Reference code. This is your own internal reference. It might be a number, or its reference from the storage location or its supplier, or anything that makes it unique.
- ISBN. ISBN is used internationally to identify books and their various editions. If your products are books or entitled to have an ISBN number, enter it here.
- UPC barcode. This standard for barcodes is mostly used in the United States, Canada, the United Kingdom, Australia, New Zealand.
- EAN-13 or JAN barcode. These are the numbers of the product's barcode, which are used worldwide in order to identify it. You can use either an EAN-13 or a JAN number.
- An EAN-13 is the product's 13-digit international article number. Order it on GS1 as soon as your product is created to be able to sell it with Google Shopping, or on marketplaces. Read more on Wikipedia: http://en.wikipedia.org/wiki/International_Article_Number_%28EAN%29.
- A JAN is specific to Japan, but is compatible with the international EAN. Read more on Wikipedia: http://en.wikipedia.org/wiki/Japanese_Article_Number.
...