Store Contacts Preferences
PrestaShop provides a complete physical store locating tool for your customers, with detailed contact information.
Customers can reach the Store Locator page from the front office.
Obviously, this feature is only useful if you do have physical stores, where customers can come buy products.
| Info |
|---|
You cannot disable this feature, but you can make it inaccessible to customers:
If you do have stores in your database but you do not want the Stores block to be displayed in the front-page, either temporarily or permanently:
You can put the block back in the right column from the "Positions" page:
|
Store list
You can choose how these stores are displayed in the front office. The customer can access them through the "Our stores" link (depending on the theme)
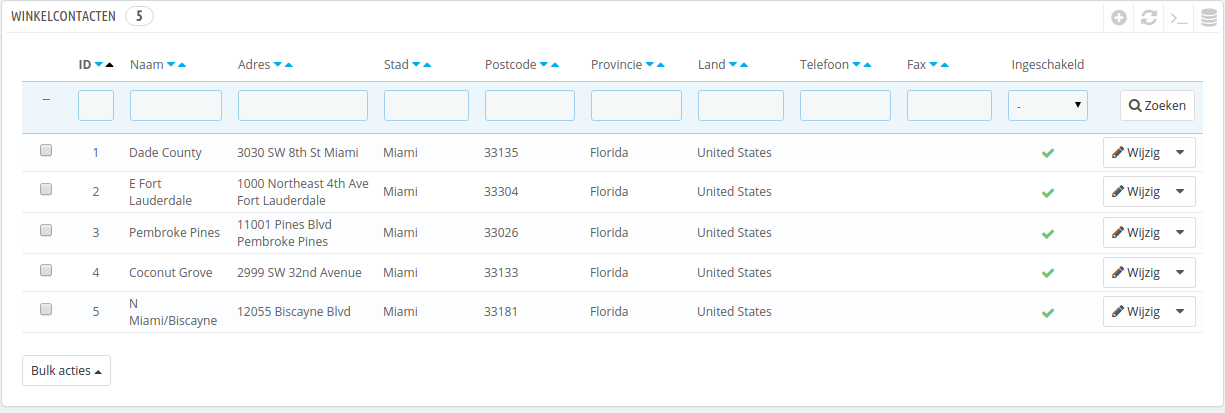
All your stores are listed in a handy list, giving every store's information as well as an indicator telling whether the store is currently active or not – you might for instance want to gather the information for a new store in advance, in order to have its page ready for the launch.
Adding a new physical store
As usual, click "Add New" to reach the store creation form.
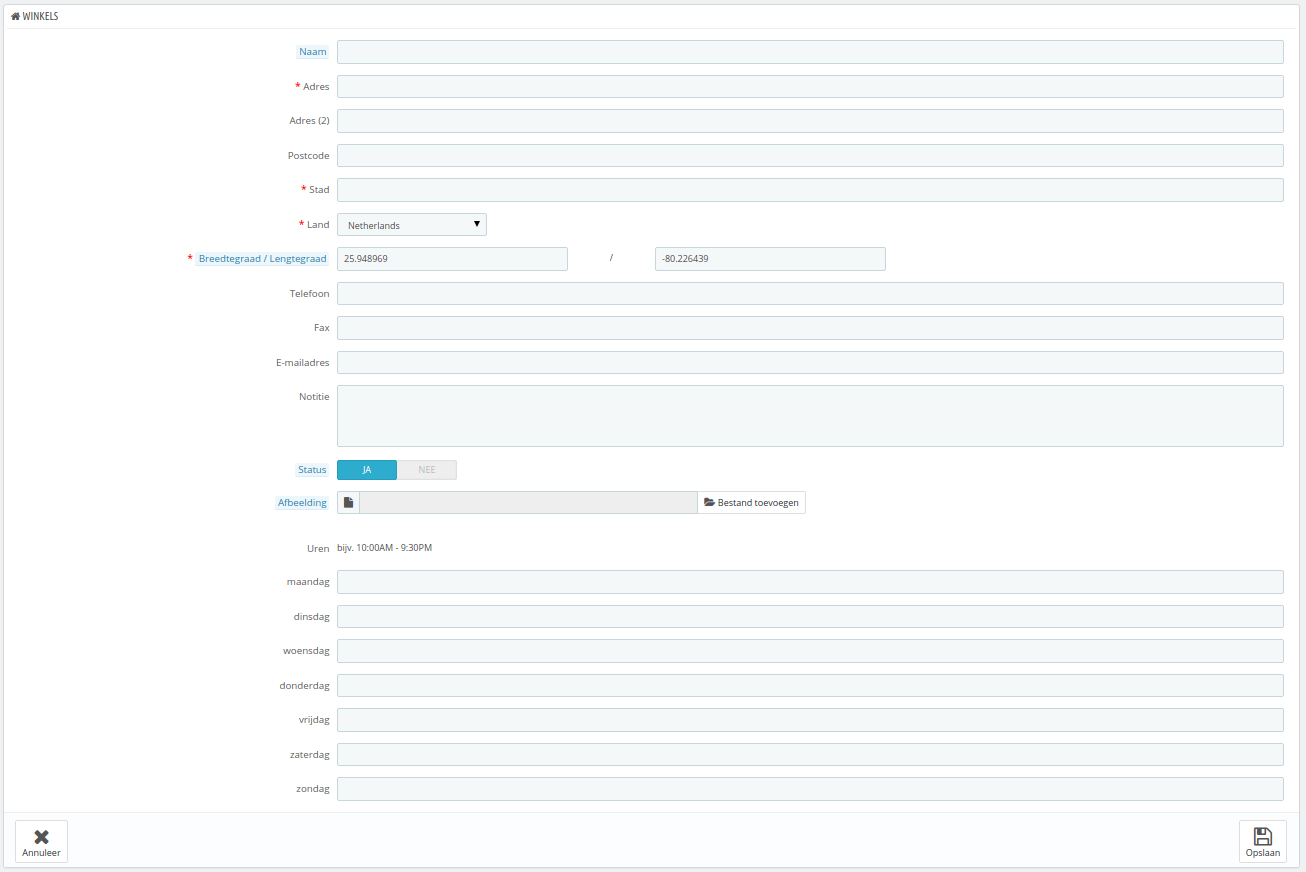
Fill as many of the fields as possible, as they will be displayed to your customers within the map.

...
Winkelcontacten beheren
PrestaShop biedt het juiste gereedschap voor klanten om uw fysieke winkel te vinden, met uitgebreide contactinformatie.
Klanten kunnen de winkelzoeker bereiken via de frontoffice.
Deze functie is alleen nuttig wanneer u fysieke winkels hebt, waar klanten producten kunnen kopen.
| Info |
|---|
U kunt deze feature niet uitschakelen, maar er wel voor zorgen dat klanten deze niet kunnen bereiken:
Als u winkels in uw database hebt, maar u wilt niet dat het winkelblok getoond wordt op de database, dan doet u het volgende:
U kunt het blok weer terugzetten in de linkerkolom op de configuratiepagina "Posities":
|
Winkellijst
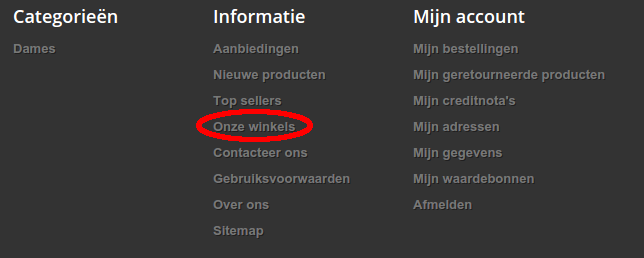
U kunt kiezen hoe deze winkels worden getoond op de frontoffice. De klant kan de winkels zien door te klikken op de link met de naam "Onzes winkels" (afhankelijk van het thema).
Al uw winkels worden getoond in een handige lijst, waarmee de informatie van elke winkel wordt getoond alsook een indicator die verteld of een winkel momenteel al dan niet actief is – u wilt wellicht de informatie van een nieuwe winkel alvast invoeren voordat u de pagina lanceert.
Een nieuwe fysieke winkel toevoegen
Zoals gebruikelijk klikt u op de knop "Nieuwe winkel toevoegen" aan de rechterbovenkant van de pagina om het aanmaakformulier te openen.
Vul zoveel velden in als nodig is, omdat deze worden getoond op een kaart.
Een erg belangrijk veld is het veld met de naam "Breedtegraad / Lengtegraad", omdat deze gebruikt gaat worden door PrestaShop om de locatie van uw winkel op de kaart te tonen. U kunt de online tool van Steve Morse gebruiken om de lat/long coördinaten van een gegeven adres te vinden: http://stevemorse.org/jcal/latlon.php.
Make sure to add a picture of the store front, as this is how your customers will be able to find it once in the street.
Finally, the business hours are an essential part of any physical store, and you should be as precise as possible about them.
Parameters
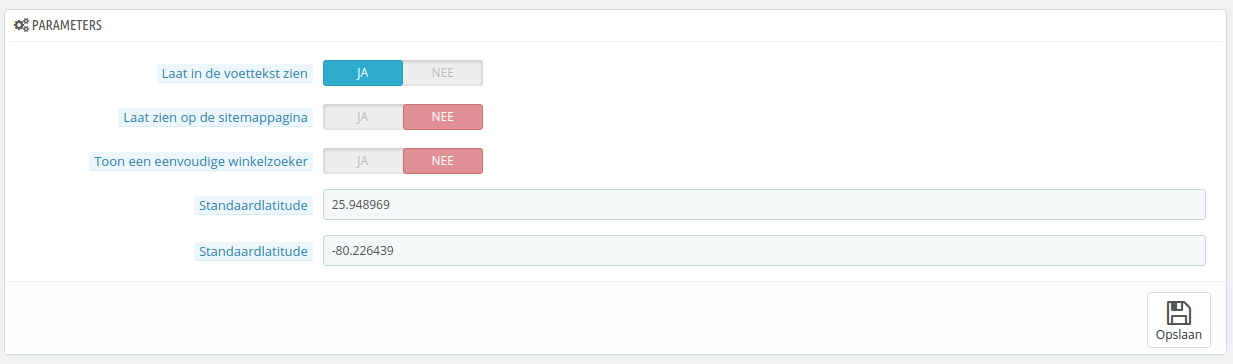
- Display in the footer. By default, PrestaShop displays a link to the store locator, titled "Our stores", in your shop's footer. In the default theme, it appears in the "Information" block, below the special product listing pages (best sellers, new products, specials, etc.). You can choose not to have that link appear here.
- Display in the sitemap page. You can choose to add the "Our stores" link in your shop's sitemap page, which lists all the pages on your site (not to be confused with your Google Sitemap file, which is for SEO purpose).
- Show a simplified store locator. The store locator presents itself as an interactive map with a search field. You can choose to make that interface much simpler by only displaying a list of stores.
- Default Latitude and Default longitude. The default starting position of your map. Very useful when you have many stores and you would rather primarily point customers to a specific area.
Contact details
This section enables you to give the main details of your company, rather than those of a specific shop. You should fill all the fields with information on your headquarters, as this is certainly the address customers will use to contact you, or even visit you.
These fields should be carefully filled:
- Shop name. The name of your store. Keep it short, as it will be used in all your correspondence and page titles.
- Shop email. The official contact address for your business. Use the general contact e-mail address that the customers should see when they receive an e-mail from your shop.
- Registration. Indicate your company's legal registration numbers, which depends on your country's legal system (Duns number in the USA, SIRET number in France, CNPJ number in Brazil, etc.). This shows that you are a fully registered business, thus giving a more reassuring opinion of your shop to your potential customers.
- Shop address line 1 / Address line 2 / Postal code/Zip code / City / State / Country. Use the official contact address of your business. The "State" option only appears when the selected country has states set in your database (through the "States" page in the "Localization" menu)
- Phone. The official contact phone number for your business. If you'd rather customers not call you, do not put anything in there.
- Fax. The official contact fax number for your business.
...
Do not use a colon (":") in your store's name, as it might prevent some features from working (for instance, e-mail sending might fail).
...
Zorg ervoor dat u een afbeelding van de winkel toevoegt, omdat klanten hiermee uw winkel in de straat kunnen herkennen.
Als laatste zijn de openingstijden een belangrijk onderdeel van uw fysieke winkel, deze moeten overeenkomen met de openingstijden van uw fysieke winkel.
Parameters
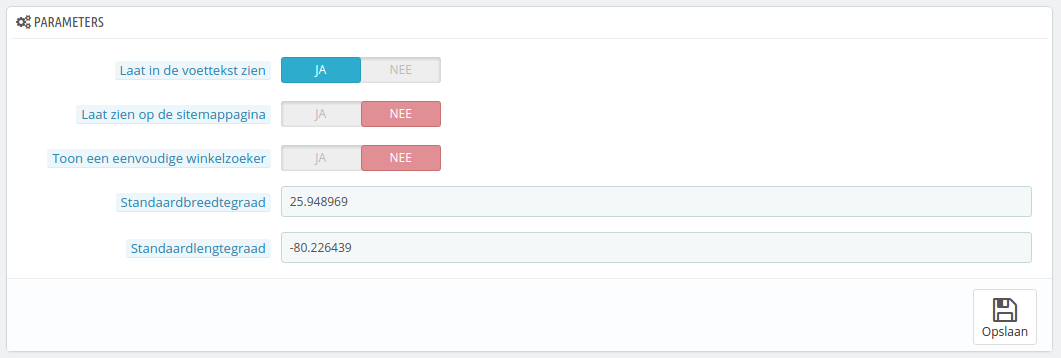
- Laat in de voettekst zien. Standaard toont PrestaShop een link naar de winkelzoeker, getiteld "Onze winkels", in de voettekst van uw winkel. In het standaardthema verschijnt deze in het informatieblok, naast de links naar categoriën. U kunt ervoor kiezen om de link daar niet te tonen.
- Laat zien op de sitemappagina. U kunt ervoor kiezen om de link "Onze winkels" te tonen in de sitemap. De sitemappagina toont alle links in uw winkel (niet te verwarren met het sitemap-bestand voor Google, deze is voor SEO-doeleinden).
- Toon een eenvoudige winkelzoeker. De winkelzoeker wordt weergegeven als een interactieve kaart met een zoekveld. U kunt ervoor kiezen om de interface nog eenvoudiger te maken door alleen een lijst met winkels te tonen.
- Standaardbreedtegraad en Standaardlengtegraad. De standaardpositie van uw winkel. Erg nuttig als u veel winkels bij elkaar hebt en de kaart graag wilt centreren op een centraal gebied.
Winkelcontacten
Deze sectie maakt het mogelijk om de hoofddetails van uw bedrijf in te voeren, in plaats van een enkele locatie. U moet alle velden invullende met de gegevens van uw hoofdkantoor, want dit is uw correspondentieadres voor klanten.
Deze velden moeten ingevuld worden:
- Winkel naam. De naam van uw winkel. Houd deze kort, want het wordt gebruikt in alle correspondentie.
- Winkel e-mail. Het officiële contactadres van uw bedrijf. Gebruik het algemene e-mailadres dat klanten te zien krijgen als ze een e-mail ontvangen van uw winkel.
- Registratienummer. Geef het registratienummer aan van uw bedrijf (Duns-nummer in de VS, SIRET-nummer in Frankrijk, KvK-nummer in Nederland, ondernemingsnummer in België). Dit geeft aan dat u een geregistreerd bedrijf bent en hiermee meer vertrouwen kunt wekken.
- Winkel adresregel 1 / Winkel adresregel 2 / Postcode / Stad / Land. Gebruik het officiële contactadres van uw bedrijf. De optie "Staat" is alleen beschikbaar als het geselecteerde land staten heeft.
- Telefoon. Het officiële telefoonnummer van uw bedrijf. Als u liever niet hebt dat klanten bellen, dan laat u dit veld leeg.
- Fax. Het officiële faxnummer van uw bedrijf.
| Warning |
|---|
Vermijdt de dubbele punt (":") in de naam van uw winkel, want dit zorgt voor fouten bij het versturen van e-mails. U kunt de dubbele punt vervangen door een streepje als u graag twee secties hebt in de titel. Gebruik bijvoorbeeld "MijnWinkel - De beste plek om elektronica te kopen" in plaats van "MijnWinkel: De beste plek om elektronica te kopen". |