...
You can download the latest version of PrestaShop at http://www.prestashop.com/en/downloads. This page presents you with an informal form, which helps the PrestaShop team better know its users. Whether you fill the form or not, click the "Download" button to display the download page.
You have only one choice: the latest stable version, ready for all websites.
| Info |
|---|
If you need to download any of the Previous version, go to this address: http://www.prestashop.com/en/developers-versions. Note that it is never recommended to use any other version than the current stable one. |
Click on the download button, and save the archive on your computer (such as on the desktopyour Desktop). You should get a file named "prestashop_1.5.02.10.zip" (or an equivalent, depending on the version numbers).
| Tip |
|---|
The downloaded file is an archive, meaning one file containing all of PrestaShop's files in compressed form. In order to continue with the process, you must uncompress the archive using a proper. * If your operating system does not natively support Zip files, you can download and install a dedicated tool, such as:
|
Using a Zip - tool, extract the content of the archive to a known location on your hard-drive (such as on the desktop Desktop again). Do not upload the Zip file to your server.
...
You should now have a hosting space at your disposal, and a folder on your hard-drive with the uncompressed PrestaShop archive.
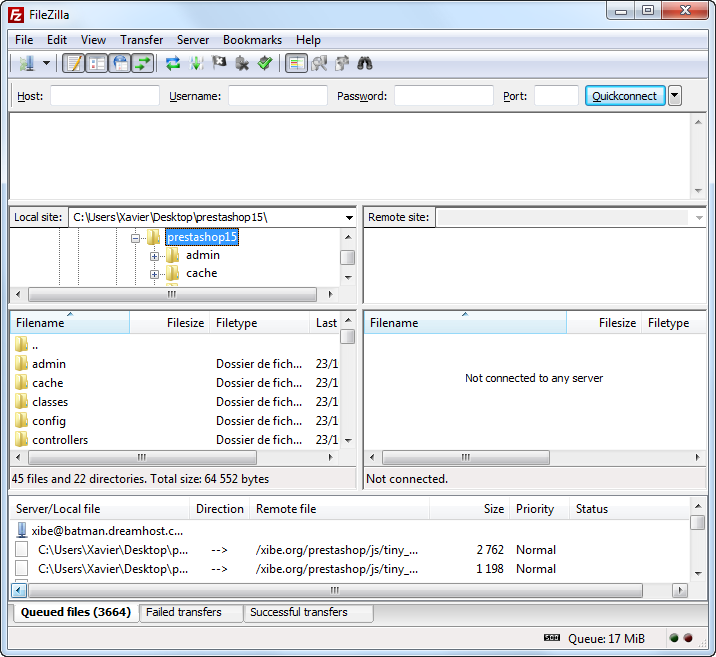
This step makes you upload the PrestaShop files on your hosting space. This is done using a FTP client, which you should have installed while reading the previous chapter of this guide, "What you need to get started".
...
In FileZilla (or any other FTP client), browse your local folders until you find the one that contains the PrestaShop files. Keep it open.
In the "Remote site" section (on the right), browse to the location where you want PrestaShop to be publicly available (root of the domain, sub-folder, sub-domain...). This can change a lot, depending on both your host and your needs:
...
On FileZilla's left side, you should now have the local folder where you keep the uncompressed the PrestaShop files, and on the right side, the destination location. If you haven't done it yet, uploading is simple: select all files and folders from the local folder (use Ctrl-A), and either drag & drop them to the remote folder, or right-click on the selection and choose "Upload" in the context menu.
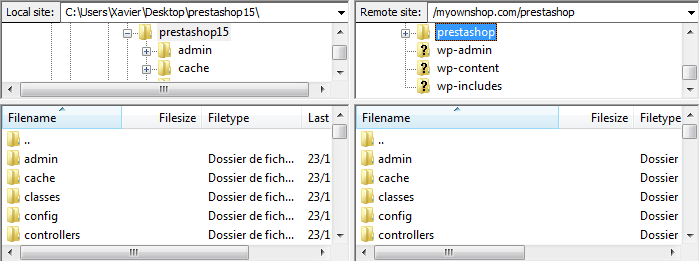
After a short while, all of PrestaShop's files and folders should be online. Great!
...
Before you can actually install PrestaShop, you need to make sure your MySQL server has a database ready for PrestaShop's data, and if not, create one. This can be done using the free phpMyAdmin tool (http://www.phpmyadmin.net/), which should come pre-installed on your web server most of the time (read you host's documentation). Connect to it using your account credentials, which your host provided you with. It should be accessible through a standard URL, tied to your domain name, or that of your host.
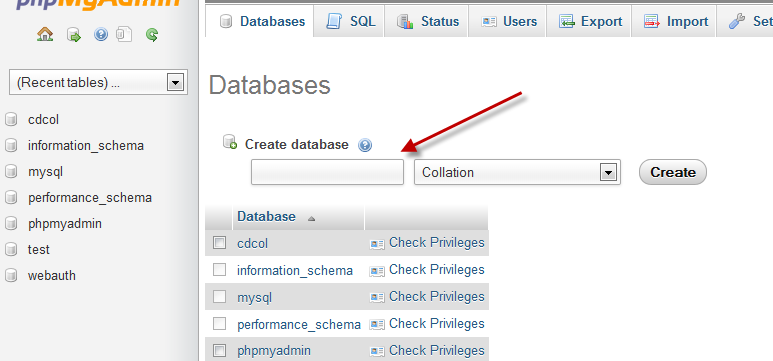
In the left column, you can see the current databases. Some of them should be left alone, because they are either used by phpMyAdmin or by the host: phpmyadmin, mysql, information_schema, performance_schema and others. Read your host's documentation to know if one of these can be used as a default database.
Either way, you can create a brand new database using the central form named "Create new database" in the "Databases" tab. Simply enter a unique name, and click "Create". The name of the database will be added to the list on the left. You can now use it to store PrestaShop's data.
...
This page is a quick intro into the installation process.
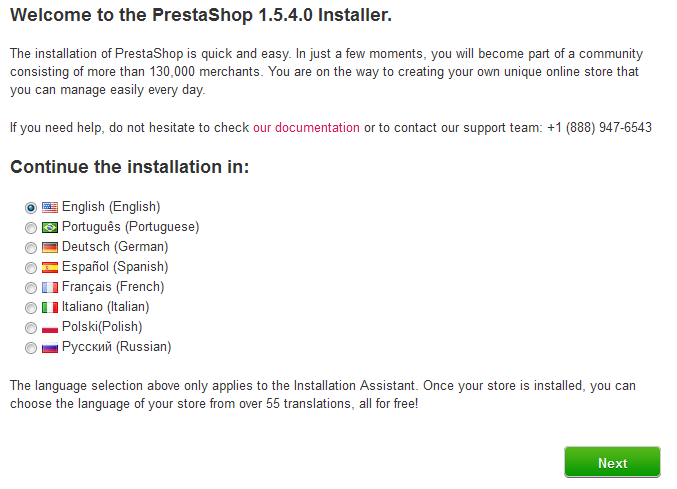
- Select the language in which you wish the installer to be.
- Select whether you wish to install or update PrestaShop (if this is your first time, you can only install).
- Read the PrestaShop license (the Open Software License 3.0, see http://www.opensource.org/licenses/OSL-3.0), and agree to it.
To access the next step, you must check the "I agree to the above terms and conditions" box, then click "Next". If you do not explicitly agree to the license, you cannot install PrestaShop.
| Info |
|---|
If you want to help the development team improve PrestaShop with anonymous usage data, please check the "I agree to participate in improving the solution by sending anonymous information about my configuration" box too. |
Step 2 & 3: System compatibility & system configuration
The second page makes a quick check of all the server parameters on your host, and if nothing wrong is found, takes you directly to the third steppage.
System compatibility
This page checks that everything is OK with your server configuration: PHP settings, permissions on files and folders, third-party tools.
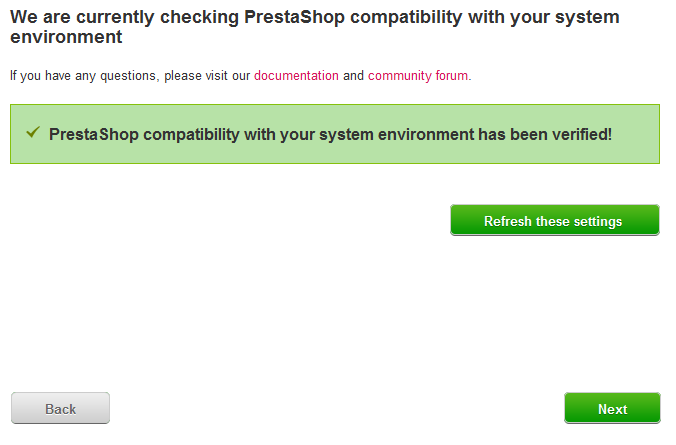
If anything goes wrong, the installer stops you here, enabling you to see the few technical details that need fixing, be it changing the PHP configuration or updating the file permissions.
...
In any case, thanks to FileZilla (and most FTP clients), you can change permissions easily and graphically: once you have found a file or folder that needs such a change, right-click on it from your FTP client, and in the context menu choose "File permissions...". It will open a small window.
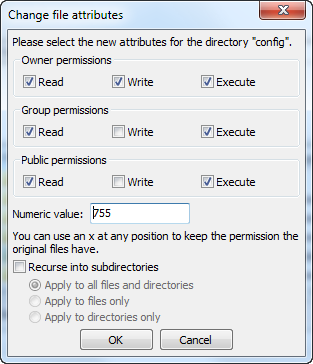
Depending on your server configuration (which you don't always have a hand at), you'll need to both "Read" and "Execute" columns of boxes checked, and at least the "Owner" and "Group" rows for the "Write" column. Some host might require you to have the public "Write" box checked, but be careful with that: have anyone be able to edit the content of your folder is rarely a good thing.
...
This page contains a form that enables you to tell PrestaShop where the database server is, and which database it should use, along with a few other details.
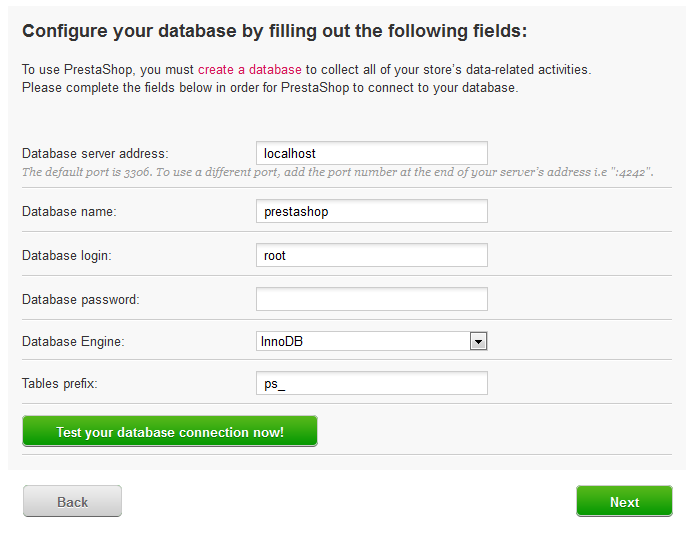
Database configuration
Fill all the fields with the connection information provided by your web-host, along with the name of the database you chose/created for PrestaShop, then click the "Verify now!" button in order to check that everything is fine. If so, the installer will display the following message: "Database is connected".
Choose the prefix for your tables. "ps_" is the default, resulting in the PrestaShop SQL table having names such as "ps_cart" or "ps_wishlist"; but if you need to install more than one instances of PrestaShop on the same database, then you must use a unique prefix for each install. Note however that we recommend to create one database per installation of PrestaShop.
E-mail delivery set-up
PrestaShop relies heavily on e-mail for notifications, both for the shop owner and its customers. This form enables you to test whether the current server configuration lets you send e-mail using PHP's mail() function. If this is not the case, then check the "Configure SMTP manually" box in order to configure your own mail server. Note that this is reserved to advanced users.
...
This is where you can already start customizing your shop: give it a name and a logo, indicate its main activity, and indicate the personal information for the shop owner (which has legal binding in most countries)...
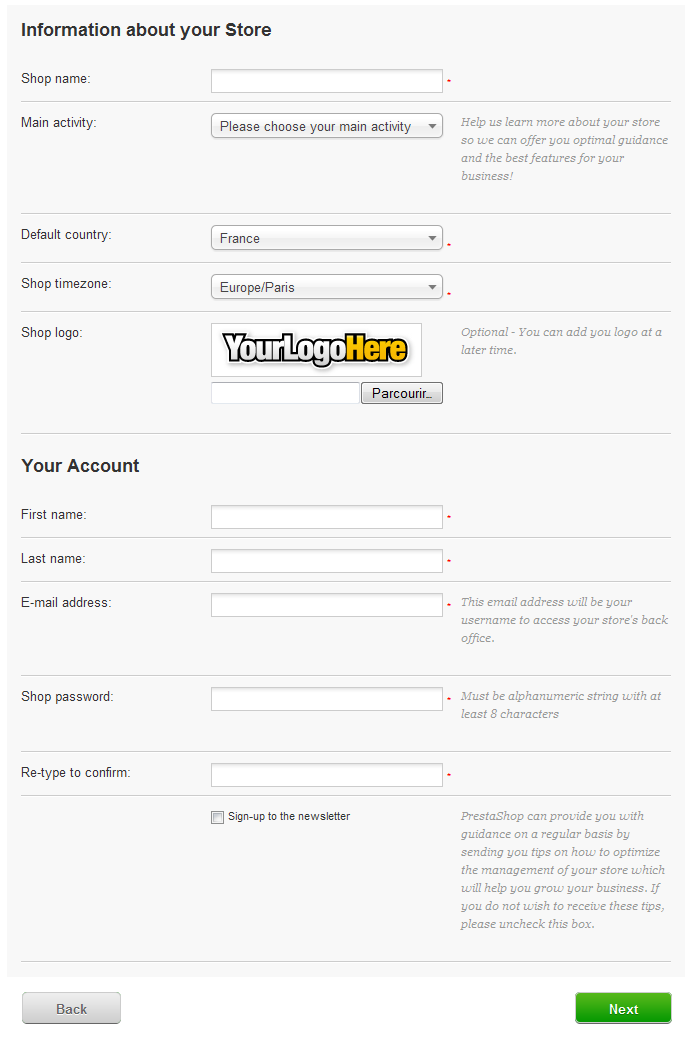
You can choose to install default a bunch of demo products. This is great if you are discovering PrestaShop, as it helps you learn how to use the various features... and it can of course serve as a good basis for your own shop, after removing the demo products and categories!
If you know what you are doing and do not need sample products, choose "No".
...
Click "Next", and the installer will start filling the database with tables and data. This might take a few minutes in the slower a slow server.
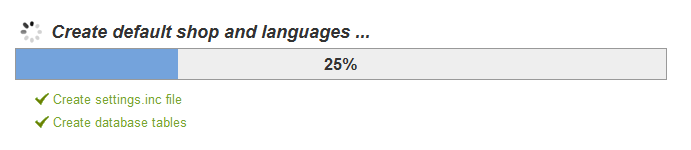
Once it is done, your shop is online!
...
As you can read about right on the final page of the installation process, there are a couple of last actions to perform before you can call it a success.
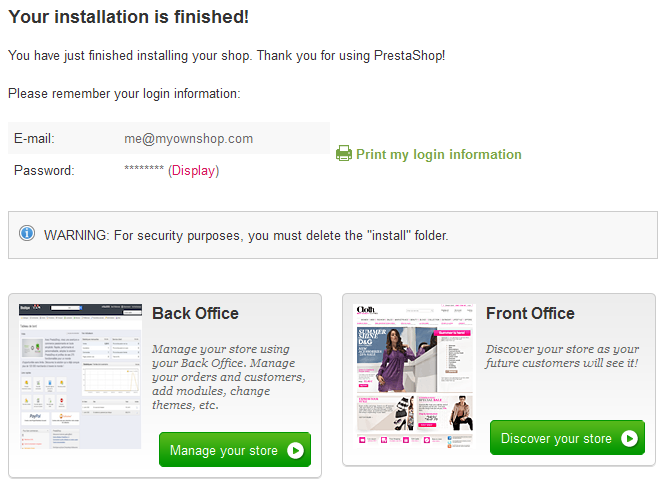
An easy way to improve your installation's security is to delete or rename some key files and folders. This is done using your FTP client, directly on the server.
...