...
If advanced stock management is enabled, a "Warehouses" tab appears in the product sheet, where you can indicate which warehouse(s) the product and each of its combinations can be stored in. You can even indicate the location for the product and its combinations.
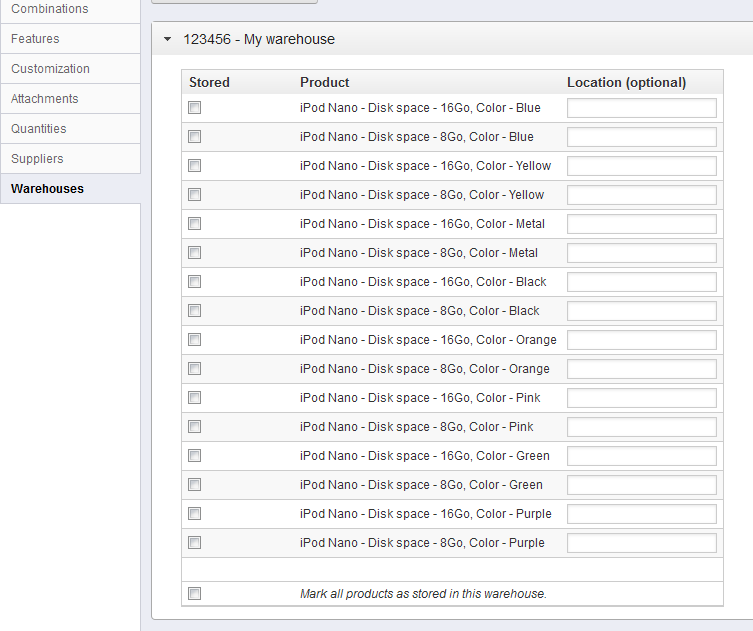
You must first create at least one warehouse (see below) before associating a product to it and setting the product location in it. This step is essential: it is important to at least set one warehouse in which a product can be stored. This will have considerable impact on the order preparation in the multi-shipping context.
...
In version 1.4.x, stock management was strictly tied to the quantity of product available for sale, which was set once then varied according to stock movement without taking any warehouse issue into account.

The advanced stock management feature makes it possible to create one or more warehouses. In order to create one, go to the "Warehouse" page under the "Stock" menu.
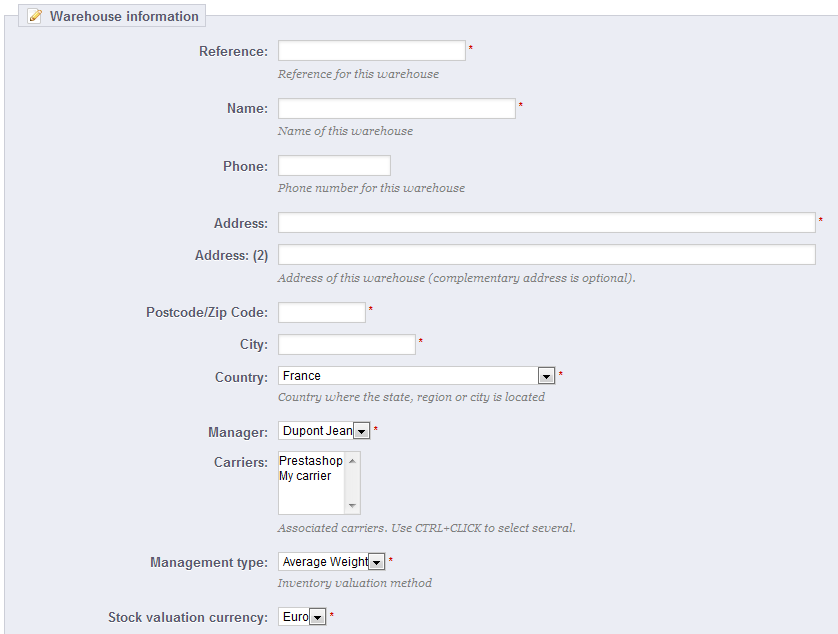
Once you start creating a new warehouse, you must at least fill in the following fields:
...
Now that you have created one or more warehouses, you have to set stock for each of them. To that end, go to the "Stock Management" page under the "Stock" menu.
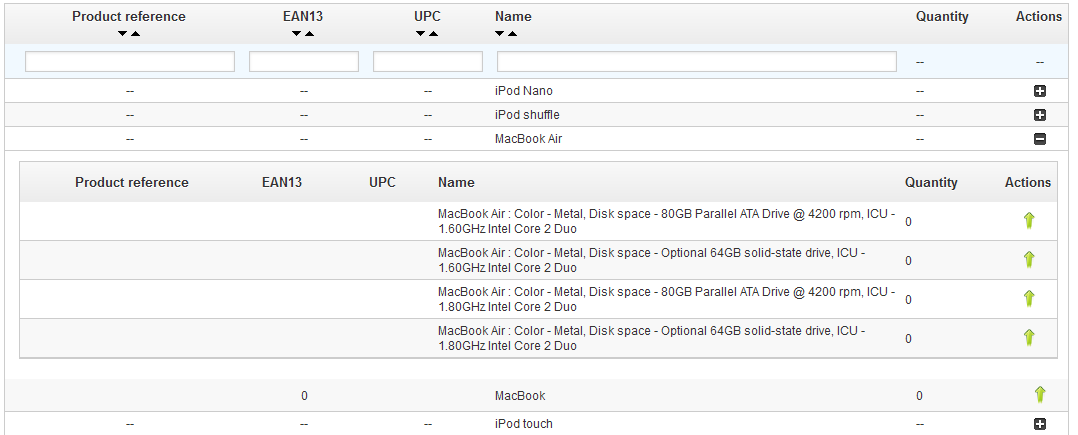
All available products from your catalog are listed in this interface. If you have any combination of product, you can manage them from the "Details" action (the "+" icon).
...
- "Up arrow" icon. Add stock for a specific product in a given warehouse.
- "Down arrow" icon. Remove stock for a specific product in a given warehouse.
- "Sideways arrows" icon. Transfer stock from one warehouse to another.

The two last icons only appear if there already is some stock of the chosen product in any warehouse.
...
This interface enables you to view the stock movement history. You can display all of the stock movements, or only those tied to one warehouse. Filters can be applied to refine your search.

When the "Filter movements by warehouse" drop-down list is set to a warehouse, you can make a CSV export of the obtained list.
...
This interface enables you to have an instant overview of your stock, either globally or per warehouse. The numbers are current.

For each product or product combination in stock, the following indicators are available:
...
This interface enables you to overview the coverage of your stock. The coverage indicates how many days your current stock can last. This information is very useful, as it helps you predict the necessary restocking. Coverage is calculated according to previously registered stock movements.
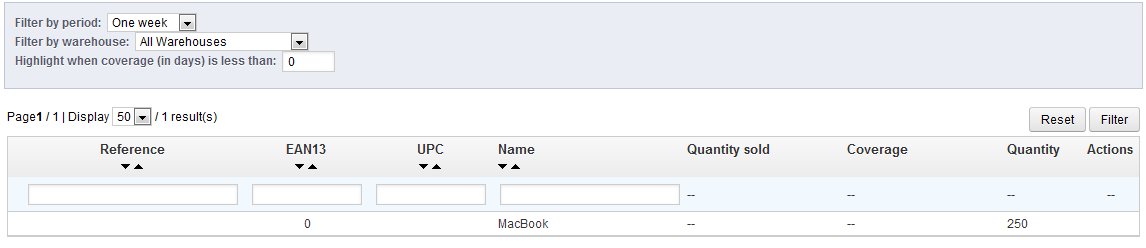
You can get the stock coverage for all the warehouses, or for a single warehouse.
You can also set the time period (one week, two weeks, three weeks, one month, six months, a year) of registered stock movement which is to be taken into account when calculating the coverage.
Finally, you can highlight the stock coverage which is below a given number of days. This will highlight the relevant products, helping you identify them quicker.
...
One of the major features of the stock manager is the ability to place orders to suppliers so as to better manage your restocking.
This interface enables you to manage all your supplier orders, as well as reusable order templates.

The order template creation process is the same as the order creation process (except for the "Expected delivery date" field). We will therefore only explain the order creation process.
...
The creation of an order for a supplier can be broken down in two steps: creating the order, then adding products to it.
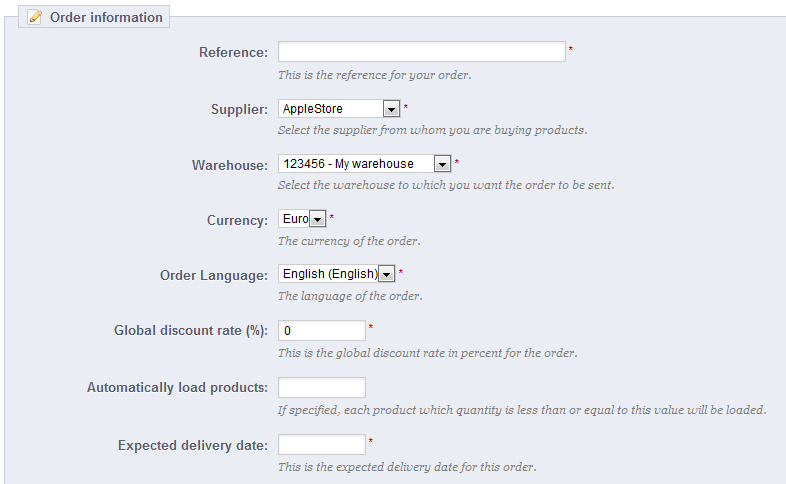
So, the first step is to define the order's headers:
...
The whole point of creating a template is to serve as a basis for new orders.

The order template creation process is the same as the one for a real order, except that:
- You do not have to set a planned delivery date.
- The "Automatically load products" value will be the quantity to order for the loaded products, not the stock/typed value difference.
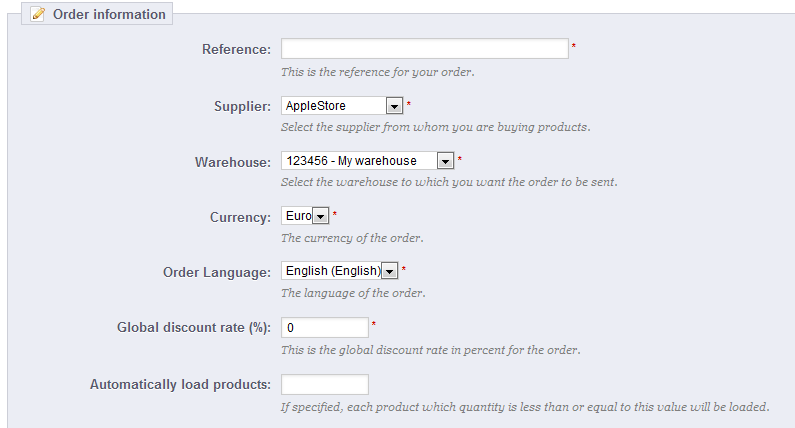
Moreover, contrary to an ordinary order:
...
Each order has many available actions. One of them enables you to edit the status. There are six possible default statuses, but you can add your own (see the "Configuration" section of this chapter).
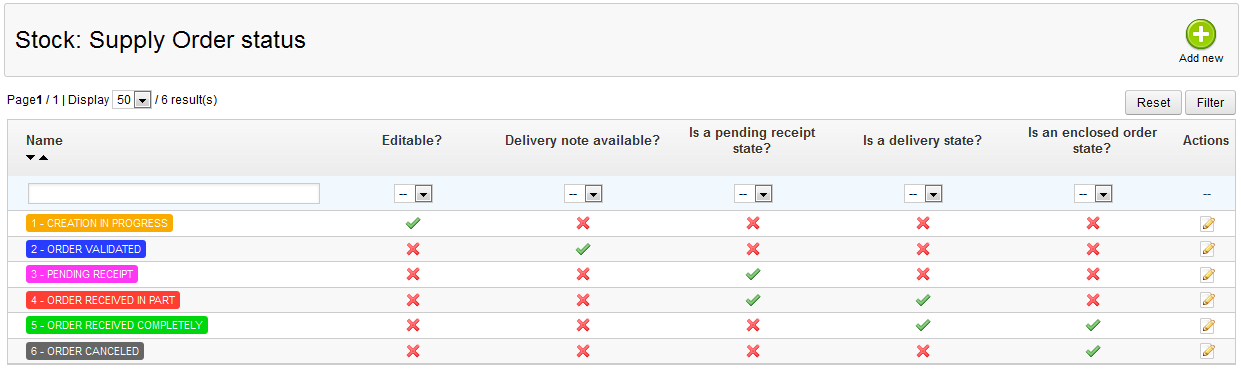
Here is the significance of the six default statuses:
...
Click the "Add new" button to reach the creation form.
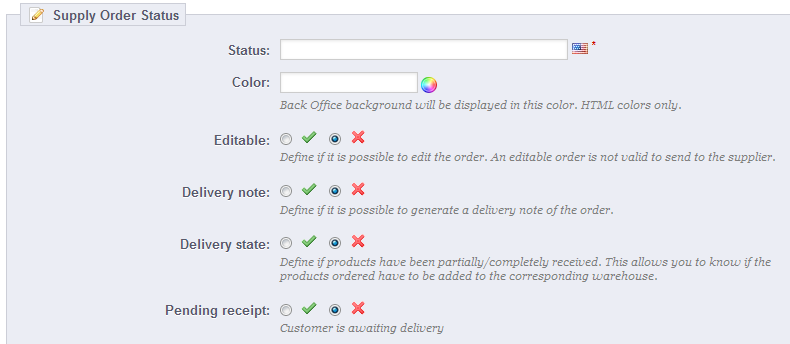
A status has a label, a color, and enables you to define whether:
...
It is possible to add more labels to stock movements. Click the "Add new" button from the "Stock movement labels" section to access the creation form.
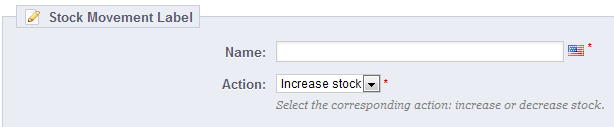
You simply have to set a name for the label, and indicate whether it pertains to stock increase or decrease. Those labels can be used when adding/removing/transferring stock manually (as explained earlier).
Changing default supply order labels
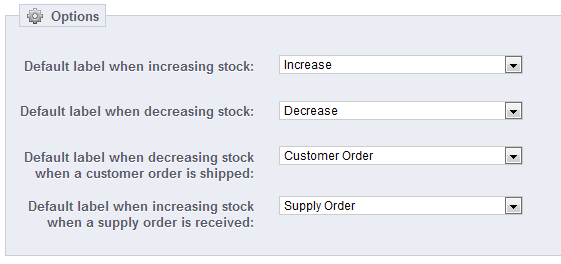
It is possible to choose the default stock movement labels in the following standard cases:
...