Building Image Maps
| Warning |
|---|
Image maps was a feature that was introduced with version 1.1 of PrestaShop, and available up to version 1.5 included. If you have made a fresh installation of PrestaShop 1.6 and you still want to use image maps, here's how:
Note that this feature is deprecated, and not supported anymore. |
Image mapping consists of assigning multiple clickable zones to an image so that different product pages can be opened by clicking on one single image. This feature makes your site very attractive by easing your customers' navigation.
...
Now we are going to learn how to set up an image map. Click anywhere on your image and drag your mouse over one of the products presented, in order to highlight/cut out the part of the image you want to be clickable to the user.
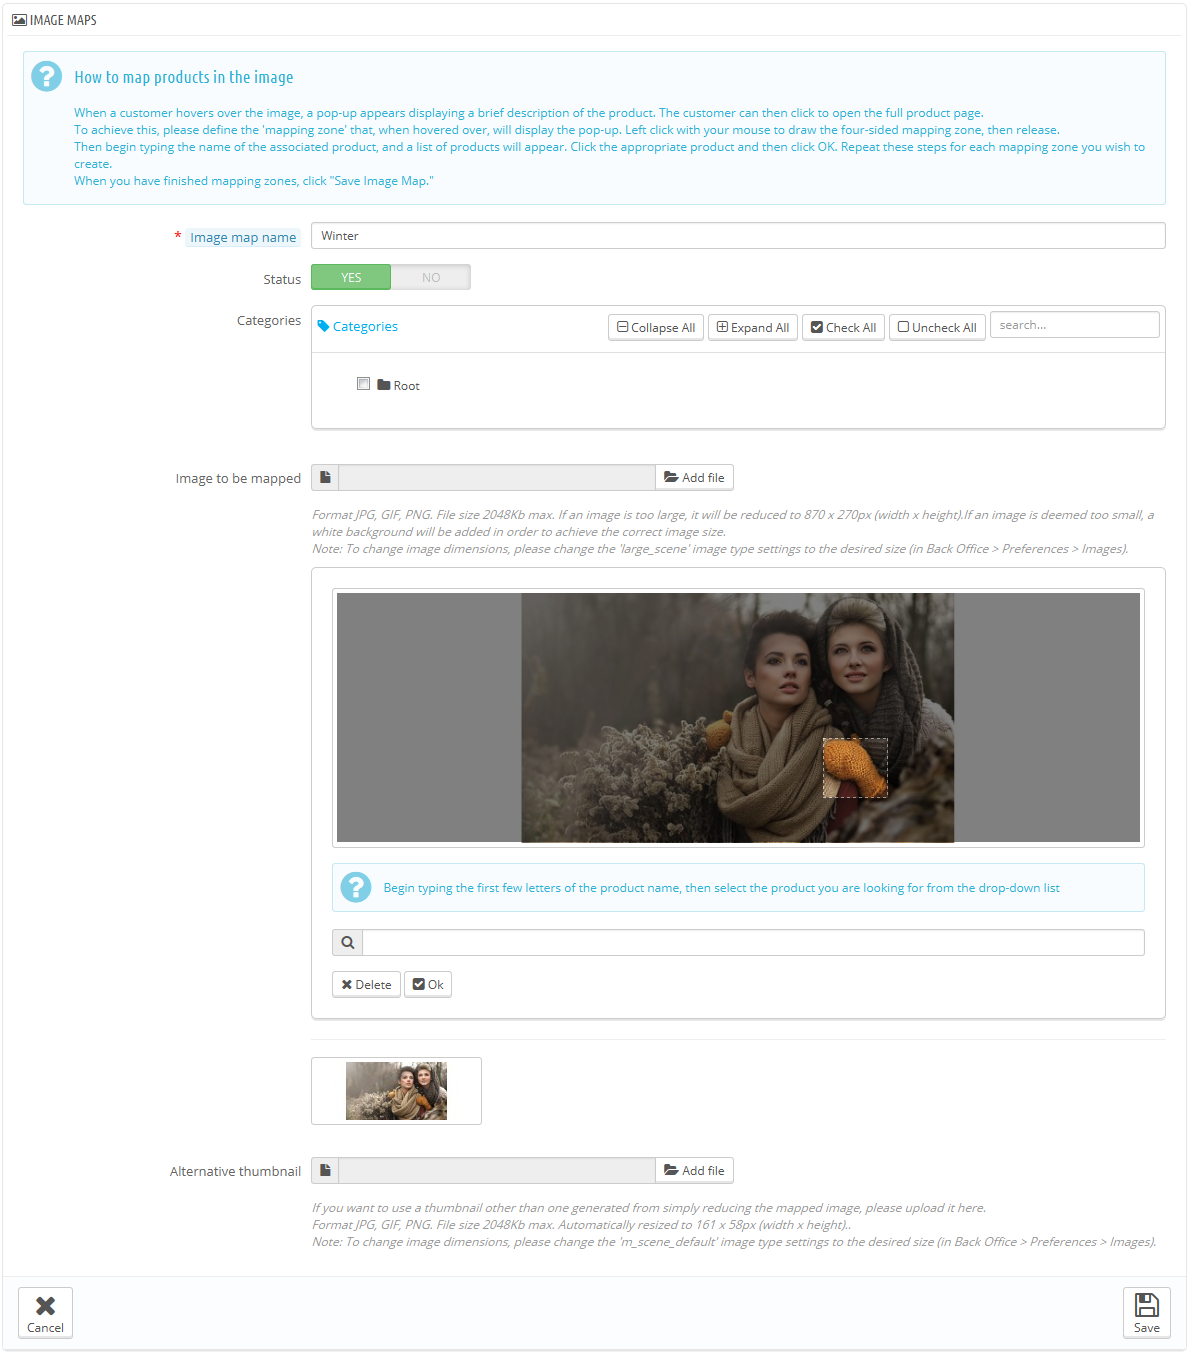
Your selection will be clear and illuminated while the rest of the image will darken. Pay attention to carefully align the frame of your selection with the zone onto which your customer will be able to click.
...