...
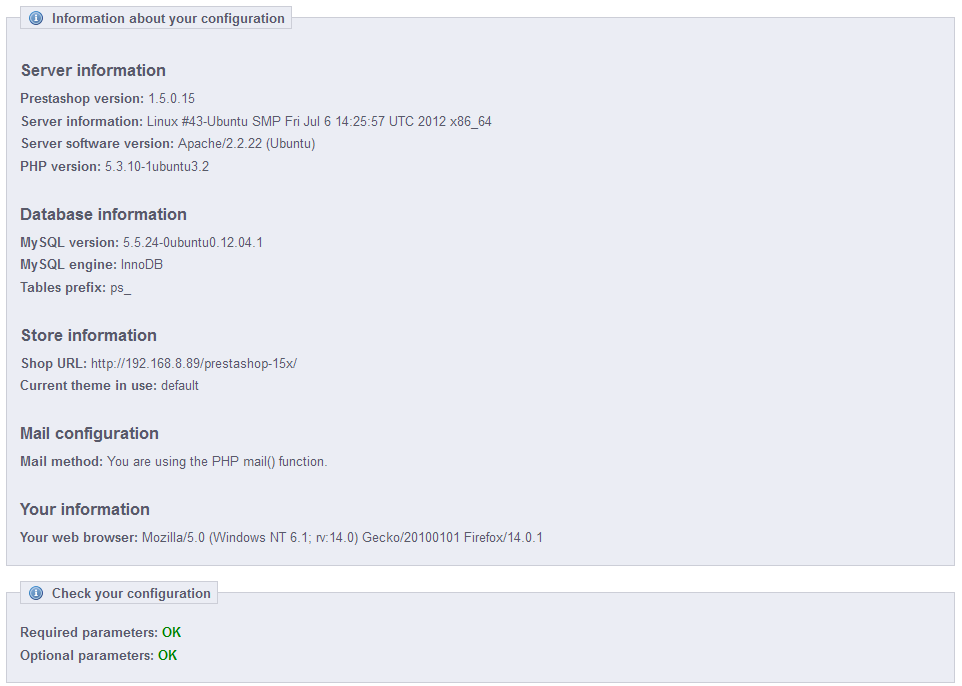
This page serves as a handy reminder of your PrestaShop configuration: version, server info, PHP version, MySQL version. All these prove really useful when you need to report an issue to the PrestaShop developers, or simply your webmaster or web host.
Performance
This page combines many tools and tips that might help you improve your shop's performance server-wise – not sales-wise, although a server that performs well is able to serve more customers, and therefore make more sales.
...
Smarty is the name of the template language used by PrestaShop's themes. You can learn more about it at http://www.smarty.net/.
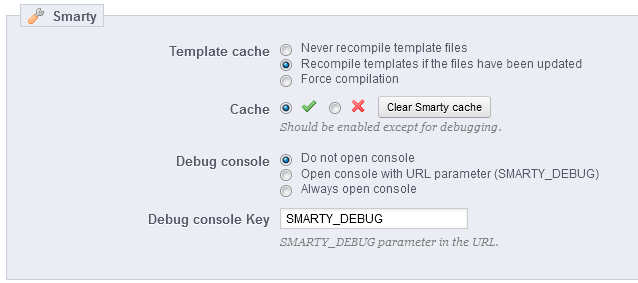
There are three options:
- Template cache. For better front-end performance, PrestaShop caches your HTML pages
- Never compile cache. Only enable this if you are making edits theme, and need to see your changes every time you reload your page.
- Compile cache if templates are updated. PrestaShop is able to see when a theme file has changed, but this might not always work as expected.
- Force Compile. The normal behavior: HTML pages are compiled and cached, even if the theme has changed.
- Cache. This option makes it possible for you to disable all file caches, and not just the one pertaining to template files. Only disable this if you debugging a theme or a module for PrestaShop. Otherwise, you should leave it enabled.
- Debug console. New in 1.5. PrestaShop enables you to display the Smarty Debug Console, which gives you valuable information on a template page. Read more about it at http://www.smarty.net/docsv2/en/chapter.debugging.console.tpl. Note that the console opens in a pop-up window: make sure to make your browser allow them for your shop's domain name.
Because the debugging console might display private information, make sure only to use it when in maintenance mode, or with the URL parameter. - Do not open console. The default setting. No one sees the console, not even you.
- Open console with URL parameter (SMARTY_DEBUG). The console is only displayed if you add
?SMARTY_DEBUGat the end of the URL. This is great, but once your tests are done, do revert to the default setting, as this "trick" is known and some hackers could make use of it. - Always open console. The "full on" setting. Everyone who has access to your shop can see the console. Therefore, keep it for maintenance sessions.
...
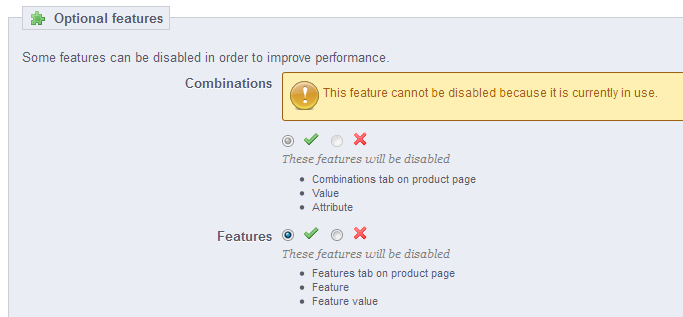
- Combinations. Product combinations enable you to have a whole product line out of a single product: varying size, colors, capacity, etc.
- Features. Product features enable you to indicate the product's specific information: weight, material, country of origin, etc.
Combine, Compress and Cache (CCC)
...
| Warning |
|---|
Your theme must completely compatible with at least PrestaShop 1.4, otherwise CCC will not work as expected. This is why most options are disabled by default. |
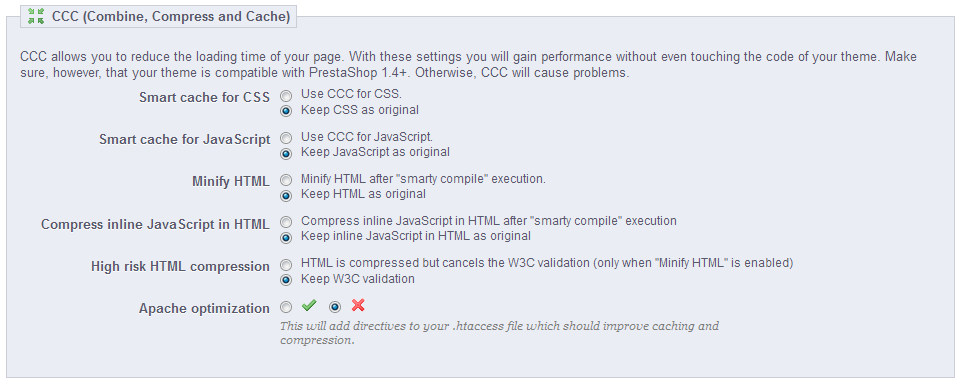
- Smart cache for CSS. CSS files are text-based, and can be safely combined and compressed.
- Smart cache for JavaScript. JavaScript files are also text-based, but their combination can sometimes prove problematic. Make sure to test everything before leaving that setting enabled.
- Minify HTML. The HTML code generated by Smarty can be minified, meaning that PrestaShop will remove all whitespace in order to save a few bytes. This is mostly safe.
- Compress inline JavaScript in HTML. Some themes have JavaScript code directly within. You can either leave it alone, or have them compressed. Again with JavaScript compression, make sure to test everything before leaving that setting enabled.
- High risk HTML compression. This option is marked as "high risk" because while the HTML code is very much compressed, it will not respect web-standards anymore. Use this at your own risk: some search engines do not deal well with websites that do not respect HTML standards, and this might make your lose your position in search results. Use with caution.
- Apache optimization. This setting will change your Web server's configuration file in order to make them more efficient for CCC.
...
This section enables you to redirect part of your traffic (media files, for instance) to other servers under your control, through other domains or sub-domains. By default, PrestaShop supports up to 3 media servers.

Cyphering
Cyphering means to encrypt data so as to render it unreadable to unwanted eyes. Your costumers' account details, as well your own, are protected by cyphering.

Here you can choose the algorithm you prefer:
...
| Tip |
|---|
Most of the time, you should check with your web host about this setting, as it requires special settings on the server. |
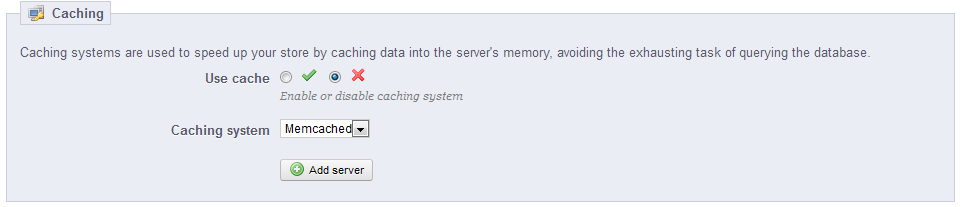
This section enables you to choose to enable caching, and choose the caching method:
...
The first setting is a front-end one. At the end of the checkout process, a client can leave a message to you staff. You can choose to whom this message will be sent by selecting from the drop-down menu.
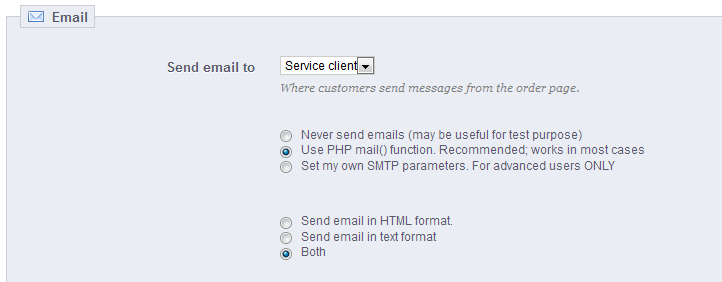
Next in the "E-mail" section are settings: configure PrestaShop to send emails to your customers. We strongly advise you that you consult your web host to determine which settings to use for this feature.
...
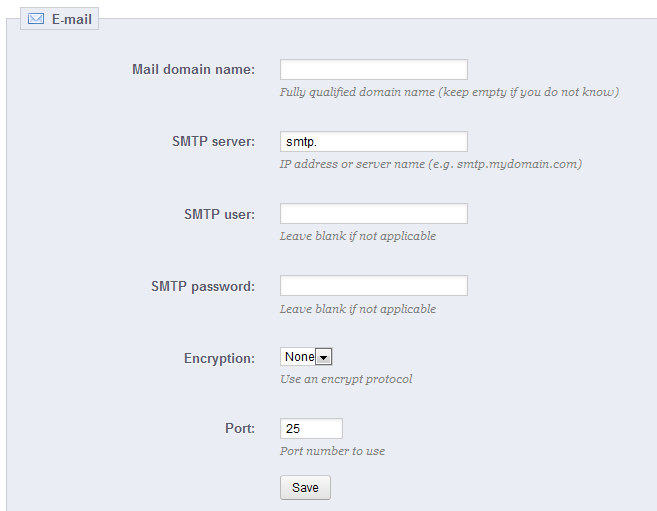
In the event that this does not work, then use the second option, "Set my own SMTP parameters". In this case, a new section appears, with more fields. The information for these fields should be provided by your web host: mail domain name, SMTP server, SMTP user, etc. Make sure to transcribe exactly what your web host provides you with.
The configuration information can be provided to you either by:
...
Once you have configured your e-mails using one of the two methods, enter your own e-mail address in the section labeled "Test your email configuration" then click the "Send an e-mail test" button.
Now check the inbox of the address provided to verify that you indeed have received the test e-mail. If you have not received it, update your configuration with the correct information.

CSV Import
CSV is an acronym of "Comma-separated values". It is an popular plan-text format when there is a need to import, export or simply store data in a non-proprietary format. Almost all data handling tool support CSV format, in various incarnations. You can read more about the CSV format on Wikipedia: http://en.wikipedia.org/wiki/Comma-separated_values.
The CSV import page enables you to easily fill your product catalog when you have a very large amount of products, or to import data that you exported and converted from another e-commerce tool.
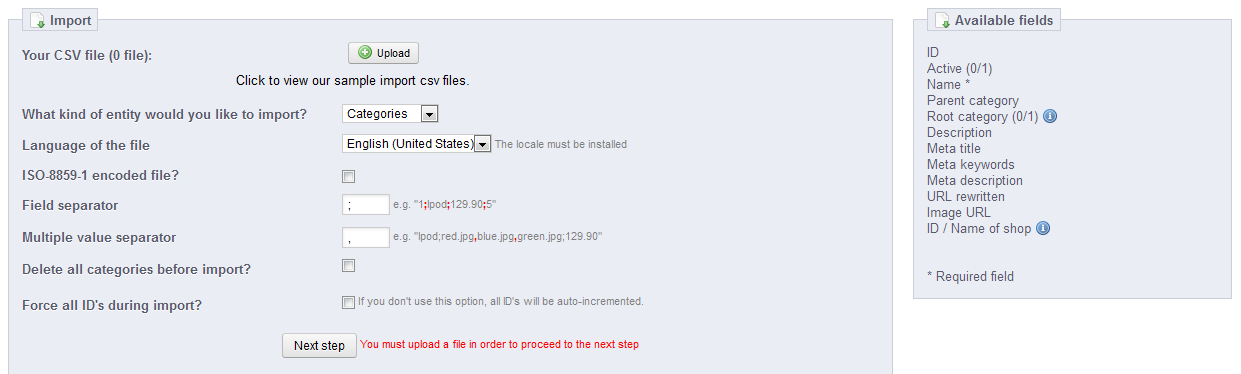
The import process requires preparation, and starts with a form of primary settings:
...
When clicking "Next step", the page reloads with the matching tool. This interface helps you match you file's data columns with the ones required by PrestaShop.

Presented in this table are the rows from your CSV file, placed under arbitrary columns matched to PrestaShop's database needs. It is up to you to make sure that all the columns from your CSV file are matched with the correct column header, using each header's drop-down menu, so as to import your content correctly.
...
The matching process can be a tedious task if you cannot customize your CSV file
s columns order according to that used by the PrestaShop importer, and even more so if you have to do that repeatedly or frequently. That is why PrestaShop includes a small tool to save the current matching order that you have set up using all the headers drop-down menus
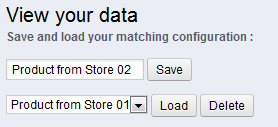
The tool is a simple field at the top of the matching tool. You can do the three basic actions:
...
- The 'view' icon enables you to download this backup.
- The 'trash' icon enables you to delete this backup. Be careful, there is no turning back.

After each backup process, you should download the generated backup file by clicking on its "View" icon, or simply by using the link in the notification box at the top.

Your database is saved using the standard SQL format and its .sql file extension, and compressed using the BZip2 algorithm (simply put, a variant of the popular Zip format. Read more: http://en.wikipedia.org/wiki/Bzip2) and its .bz2 file extension. That gives a file archive with the .sql.bz2 file extension.
Put your backup file in a safe place, for you might need it at any given time. Furthermore, you can find these backups directly on your server, in the /backup folder, under your custom-named /admin folder.
...
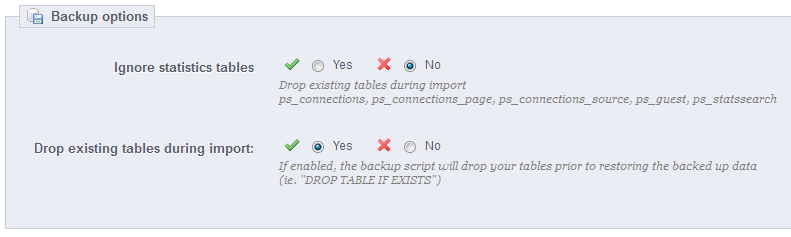
- Ignore statistics tables. PrestaShop stores you site's statistics in a handful of database tables, and these can grow big quite quickly. While it can be sound to keep your stats in a safe place, they also make for huge files to download, while you are probably more interested in a backup of your products, categories, customers, orders, etc.
By default, PrestaShop backups all tables, but if you are short on disk space, change this options to "Yes". - Drop existing tables during import. When importing a backup file, the system can either overwrite the existing live tables with the content of the ones that were backed up, or delete all existing in order to replace them with the content of the back up. The first case can result in doubles, which is why this option is enabled by default.
SQL Manager
New in 1.5.
The SQL manager is a complex feature, which should be reserved to technical people who know how to explore a database using the SQL language. In return for this complexity, it can be extremely powerful and prove immensely useful to those who master it.

This tool enables you to perform SQL queries directly on the PrestaShop database, and save them for use at any later time. Indeed, PrestaShop presents its database data in many ways, but you might need something more, or more simply, something rawer than PrestaShop's clean interface. Using the SQL manager you can perform complex queries which build tables of data in the way YOU need them.
For instance, using this tool and your knowledge of SQL, you could create a reusable query giving you an updated list of the clients who are subscribed to your newsletter, or get a list of products in HTML or CSV format.
...
- Name. Make the name as long and descriptive as necessary.
- Request. The SQL query itself. You are free to perform JOINS or other intricate selections.

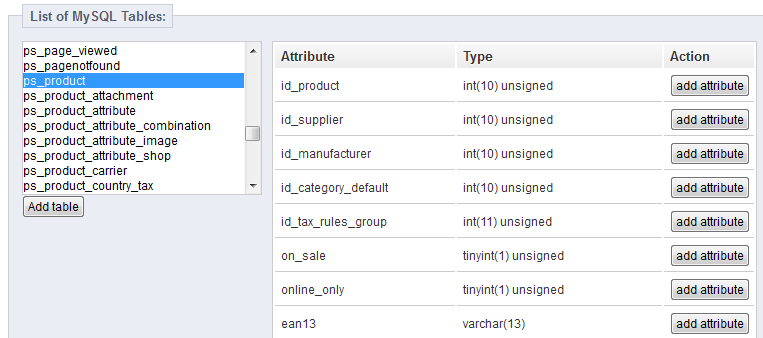
Additionally, he "List of MySQL Tables" section helps you explore the database, and makes it easier for you to build your queries. It gives you a handy and clickable selector of all the currently available database tables. Select a table to have PrestaShop display its attributes and types, then click "Add attribute" to send its name into the "Request" field.
Saving the form sends you back to the main page, with its list of queries.
...
- Export. Performs the query, and has it downloaded by you in CSV format.
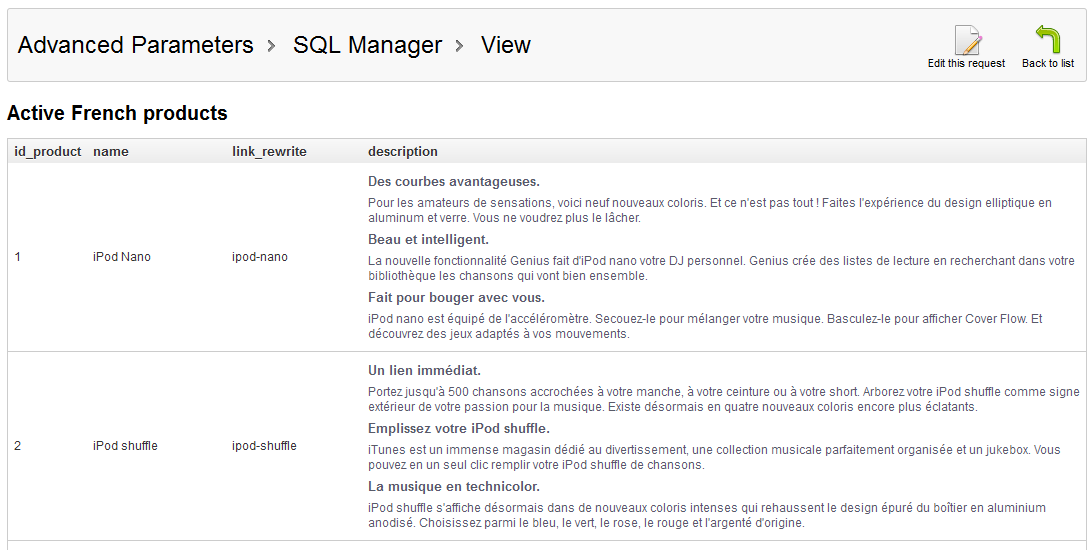
- View. Performs the query, and has it displayed in an HTML table, right within the PrestaShop interface.
- Edit. You can edit a query as often as necessary, in order to refine it and get better results.
- Delete. Once a query is not used anymore (or simply because it does not work), you can delete it by clicking this button and confirming your choice.
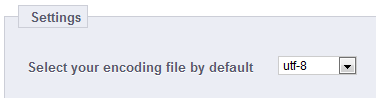
Settings
There is only one setting at this time:
- Select your encoding file by default. You can configure the character encoding of the downloaded CSV file. The default, UTF-8, is recommended, but you can select ISO-8859-1 if need be.
Some sample queries
The possibilities are endless, but here are a few sample queries to help you build your own.
...
Listing all the e-mails address of all the customers who are subscribed to your newsletter
| Code Block |
|---|
SELECT email
FROM ps_customer
WHERE newsletter = 1
|
...
Errors happen. Most of the time, you are not aware of them because PrestaShop handles them silently. But you might want to know about them, in order to be able to correct the most regular ones, and insure a better stability for your shop.
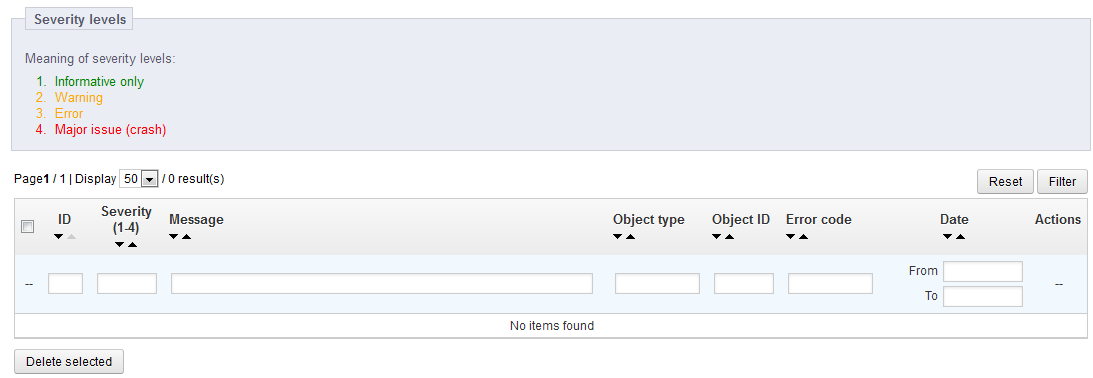
The "Logs" page is where you can have a look at the PHP errors which plague your shop. They are listed in the page's central table, and are presented in 4 types:
- Informative only. Run-time notices. Indicate that the script encountered something that could indicate an error, but could also happen in the normal course of running a script.
- Warning. Run-time warnings (non-fatal errors). Execution of the script is not halted.
- Error.
- Major issue (crash). Fatal run-time errors. These indicate errors that cannot be recovered from, such as a memory allocation problem. The execution of the script is halted.
These explanations are the official ones from the PHP manual. Read more: http://www.php.net/manual/en/errorfunc.constants.php.
...
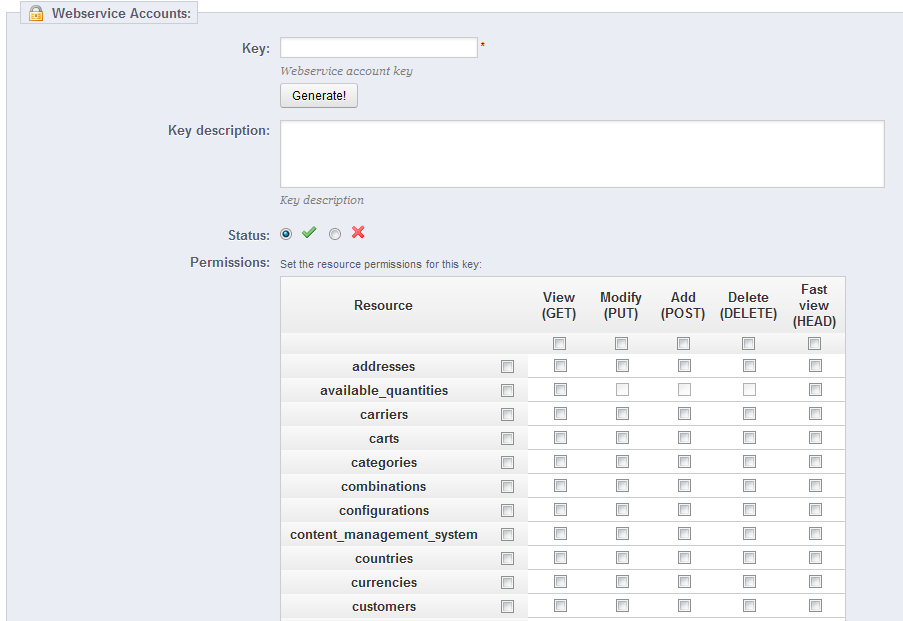
The page starts by listing the currently existing webservice keys in a table. A webservice key is a unique access that you grant to a developer, which can be used to tie a tool to your shop. Share them sparingly, as you might not always want everyone to access your data.

Not any app can access your shop through the PrestaShop webservice: you decide which can, and what they are allowed to do. Every app has a unique connection key, with specific access rights.
...
- Key. A unique key. You can either create your own, or choose to use a generated one, for instance by clicking the "Generate" button or by using any online key generator. Generated keys are most of the time safer, because they are harder to guess.
- Key description. A reminder of who that key is for, and what it gives access to.
- Status. You can disable a key anytime. This enables you to only temporarily grant access to your data from a certain key.
- Permissions. You do not have to share ALL your date with each key. You can choose among a wide array of permissions, either by section or by type of access. You might want some applications to only be able to view a handful of items, while some others (for instance, ones that you would use to manage the shop remotely) should be able to edit and delete just about everything. Choose wisely.
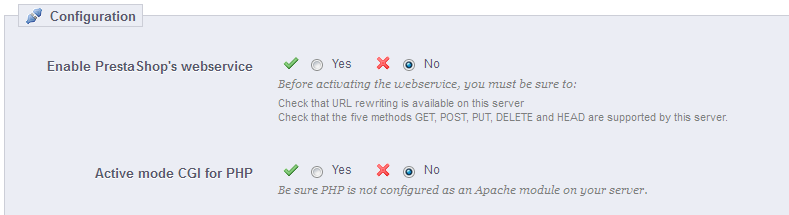
Configuration
| Warning |
|---|
For security reasons, make sure your shop supports secure SSL connection! |
The configuration is pretty basiceasy:
- Enable PrestaShop Webservice. If you do not want anyone to access your shop through third-party tools and applications, just keep it disabled.
- Active mode CGI for PHP. The CGI mode is a special setting for the Apache server, where you tell it to use PHP as a CGI script rather than an Apache module. While the CGI mode has a reputation of being more secure, it has been found to have a security flaw as recently as May 2012. Ask your web host for advices.
| Note |
|---|
Developers can find our documentation on how to build a tool around PrestaShop's webservice at this address: http://doc.prestashop.com/display/PS15/Using+the+PrestaShop+Web+Service. |